Thursday, March 11, 2010

Ah, comfort food

My comfort food often involves some spice. Sometimes it's black pepper, or just a lot of herbs, sometimes it's mysterious red-colored chili peppers. I don't always have easy access to such comfort food, but tonight I need it, and I have it.

My car broke down on the highway as I was on my way to pilates tonight. I'm kind of upset about it. I hesitate to risk jinxing myself by speculating on what might be wrong with my car, and how huge or minimal the fix would be, but mostly I'm sad/mad that I was stuck on the highway for over an hour and had to miss pilates.

However, eventually I got home, where I had last night's leftovers waiting for me. So let's get on to the food.

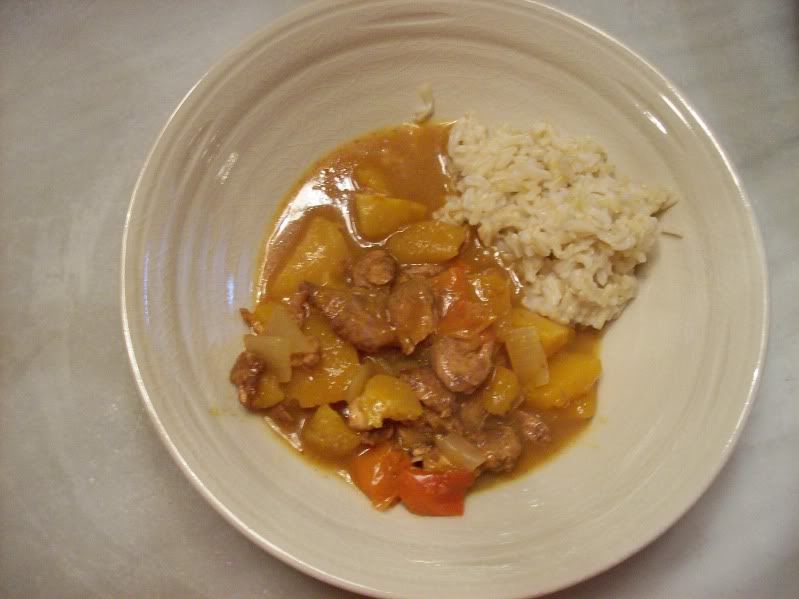
Butternut Squash and Chicken Red Curry


This is made in the crock pot. I assembled everything in the morning, before work (and prepping butternut squash takes a bit longer than I thought, so I was late), and Clint turned it on in the afternoon. All I had to do when I got home was cook the rice.

In a crockpot, combine
1lb butternut squash (or other winter squash, I used 1 butternut and 1 acorn), peeled and chopped
1 medium onion, chopped
1 red pepper, chopped

In a large saucepan, brown 1lb of chicken (cut into bite-sized pieces, or I happened to have some stir fry chicken on hand, all pre-cut, very easy). When you throw it in the saucepan, also throw in 1t cinnamon, 1t cumin, and 1.5t ginger, as well as salt and pepper to taste (a couple grinds of pepper, a couple pinches of salt). Brown the meat, and don't worry about it cooking all the way through. Add the chicken to the crock pot.

And finally, in a blender, combined 3 cloves of garlic, 2t red curry paste (in the ethnic aisle at the grocery store), 1T fish sauce, 2T lime juice, 1cup coconut broth (I used low-fat, Cara's Cravings suggest also adding coconut extract with the low fat coconut milk, since the low fat version has less flavor. This would probably be good, but I didn't have any coconut extract, and it was ok with out it) and 1cup chicken broth. Blend, pour over chicken and veggies in the crock pot.

Now turn the crock pot on to low for 6 hours. Then enjoy with rice.

I love this recipe.

*******

My other favorite kind of comfort food generally involves sugar.

I've been doing some experimentation with dairy products (some great, some I'll just buy at the store from now on) that I want to tell you all about, but I just don't have the energy (or the complete set of photos) to share that right now. Instead, I'll tell you the tale of...

How I Made Dulce de Leche

You know what this is, right? It's this gooey, caramelly thing, not to sweet, with a little tiny bit of tang to it. Delicious. Well, I made it. I don't exactly remember why, I think it might have been after seeing something about dulce de leche cupcakes on Cupcakes Take the Cake. I investigated the blog they were talking about, and she described all the different ways you can make your own dulce de leche. And I discovered, it's ridiculously easy. Here I shall describe, the oven method.

Ingredients:
1 can of sweetened condensed milk

that's it.

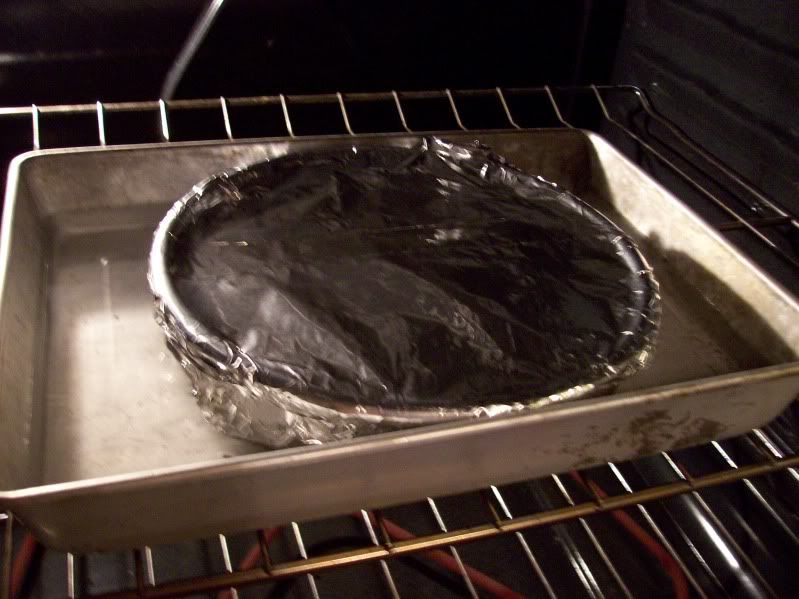
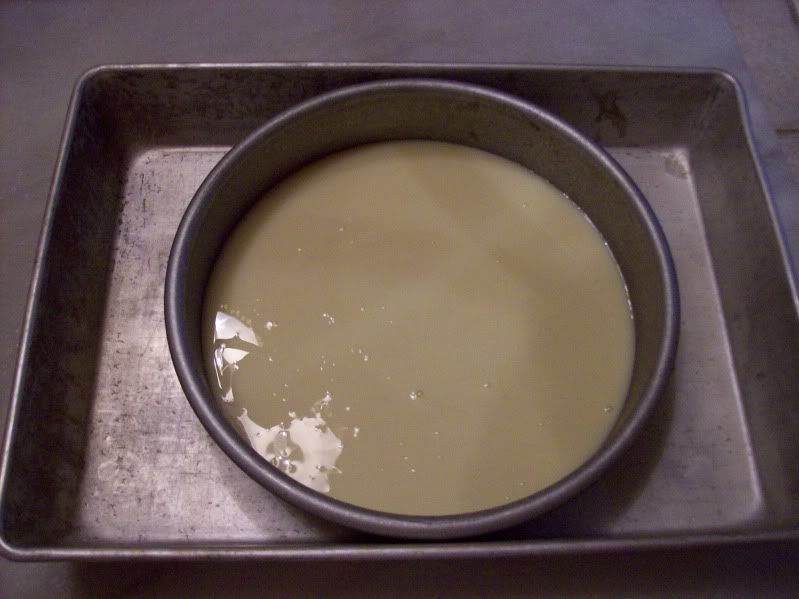
Pour sweetened condensed milk into a pan. I used an 8in cake pan. Place the cake pan into a larger pan, and fill the larger pan about halfway up the milk-containing pan.
Cover milk pan tightly with foil. Place in the oven set at 425oF. Bake for 1-1.25 hrs.
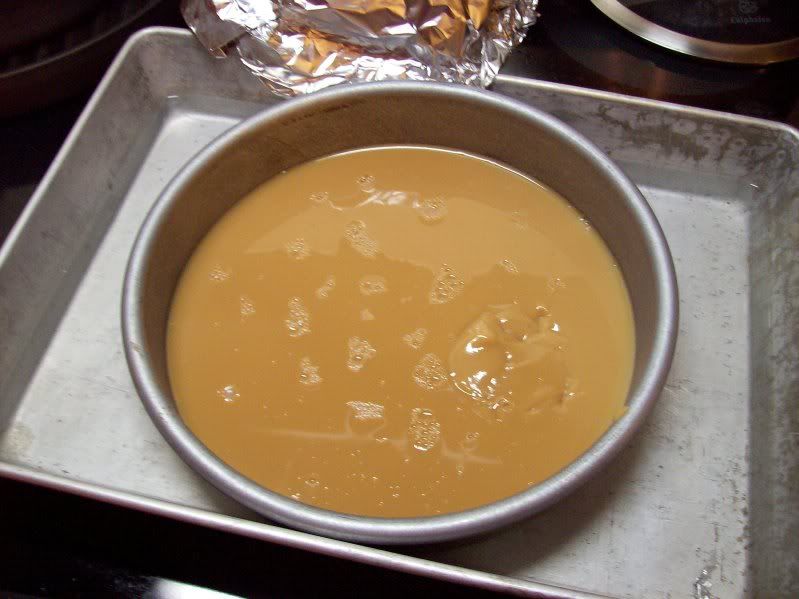
Dulce de leche is done with it's thickened (remember, it'll thicken as it cools) and is caramel-colored.
It's ridiculously easy. And ridiculously tasty (note to self: dulce de leche tastes wonderful with a morning cup of coffee. A sugar rush can kind of jump-start the caffeine). And note- the little gloppy bit in the right-hand part of the photo is where I poked it with a spatula, to see if it'd thickened.

I might go have some now.

Tuesday, March 9, 2010

Easy, Healthy, Tasty

Isn't that a great combination?

Yesterday we decided on fish for dinner, and I pulled out one of the first dinner recipes I made as an adult (the few things I learned in girl scouts or from my mom don't count, I did those as a teenager). I started going on Martha Stewart's website to look for new recipes quite a bit in college, when I realized I really, really loved to cook and experiment with food. I printed out this recipe in March of 2001, my junior year of college. I've made it fairly regularly ever since then, with the exception of the past year or so, when I just haven't been cooking dinner that often.

Ginger-lime-soy cod with tomatoes, leeks and spinach, adapted from a Martha Stewart recipe from the February 1998 MSL.

The first thing I did with this recipe was cut out the oil. You don't need it, it's just extra calories and fat for no reason.

Ingredients, for the marinade:

1/4 cup soy sauce
10T (1/2 cup + 2T) lime juice (or a combination of lime and lemon juices)
3-4T freshly grated ginger (grate over the bowl to catch the juice, too)
1/4-1/2t freshly ground black pepper

Combine all in a bowl, set aside.

2lbs tomatoes, cut into wedges (any kind of tomatoes can be used, cherry and grape tomatoes cut in half also work well)
2lbs leeks, ends trimmed, cut into 1/2-3/4in rings, and washed well (or you can use 2lbs onions cut into wedges, or a combination of the two- onions will require a longer cooking time)
1lb spinach, washed

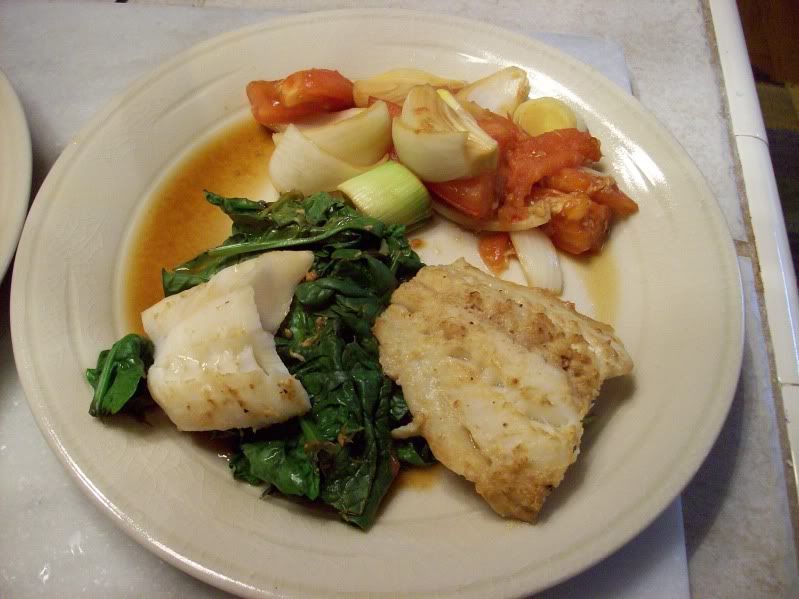
6 5oz cod fillets- last night I used half cod fillets and half "captain's cut cod loins", which were thicker pieces of fish, and I much preferred over the thin fillets (just from the taste and texture) (In the photo above, the piece of fish on the left is the "captain's cut loin") And finally, other white fishes, such as scrod, haddock, etc work well. I haven't tried tilapia, but I think it would substitute nicely, possibly with a shorter cooking time (thinner cut of fish).

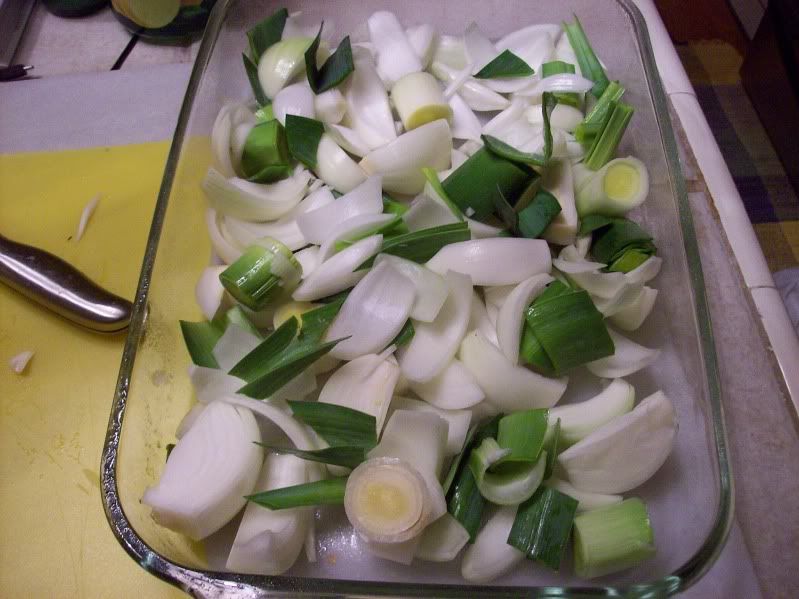
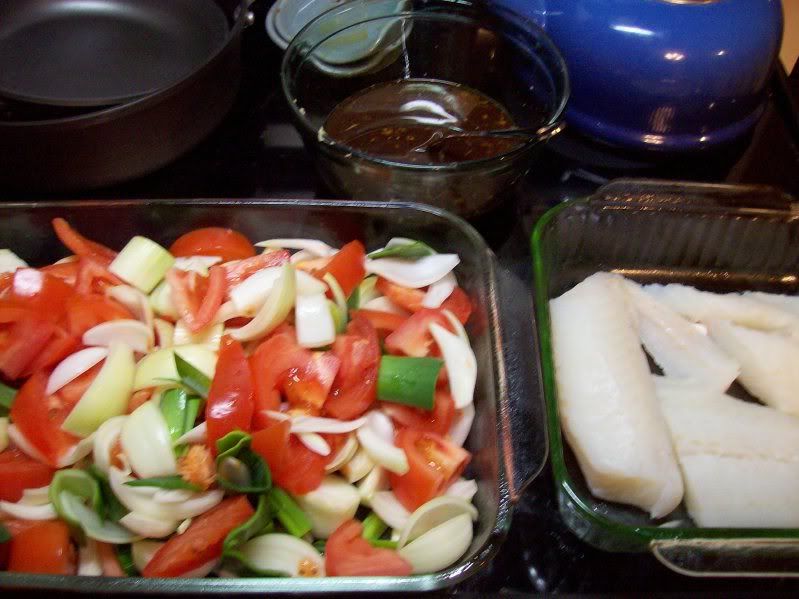
Arrange (i.e. dump or toss) the cut tomatoes and leeks/onions into a 9x13 inch pan, sprayed with nonstick cooking spray (photo taken before I cut the tomatoes)

In another 9x13 pan (pictured here is an 8x8 pan, I made a full recipe of veggies, but only half a recipe of fish), lay the cod fillets skin side down.
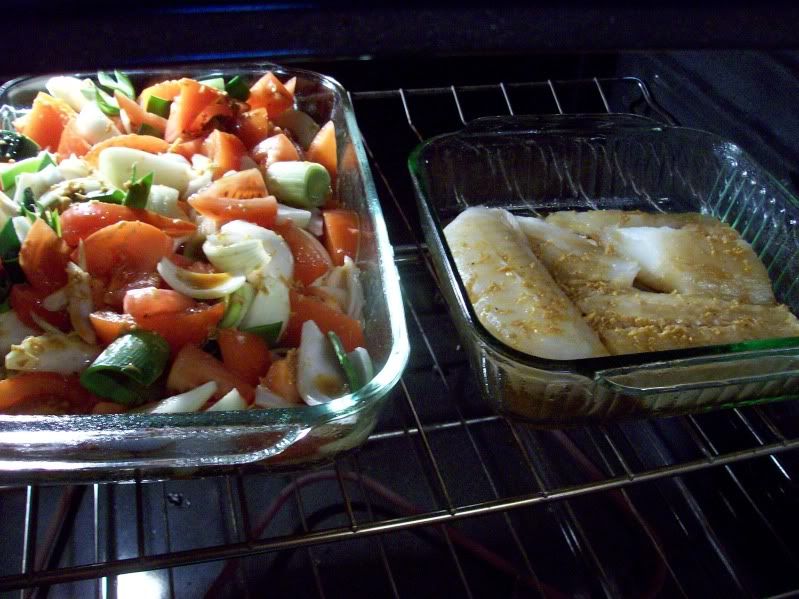
Brush liberally with the ginger-soy-lime sauce (or just spoon it over). Only use about half the marinade, you'll need more for later.
And bake in a 425oF oven for 10 minutes. After 10 minutes, remove the veggies, turn them over with a spoon, and brush with more marinade. Return to the oven for 10-15 minutes, until the onions/leeks are tender. Continue cooking the fish for 5-10 more minutes, until it's opaque, then remove and keep warm while waiting for the veggies.

Note: a better arrangement might be to cook the veggies for 10 minutes, remove to turn and brush with more marinade, then return to the oven and put the fish in the oven now to bake for 10 minutes more. This way the fish will be done when the veggies are.

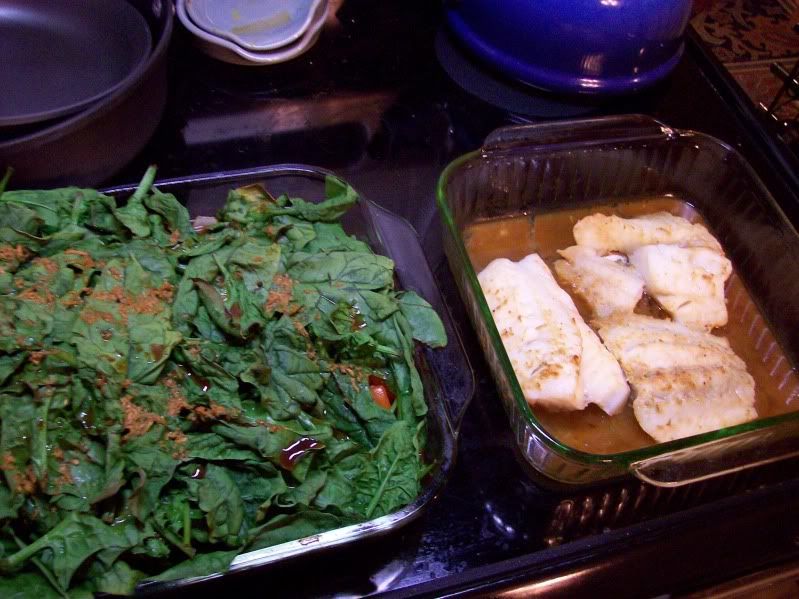
Anyway, after cooking the veggies for the second 10 minute interval, remove from the oven, and lay the spinach on top of the leeks/tomatoes/onions. Brush with the remaining marinade, and return to the oven for about 5-8 minutes, until the spinach is wilted.
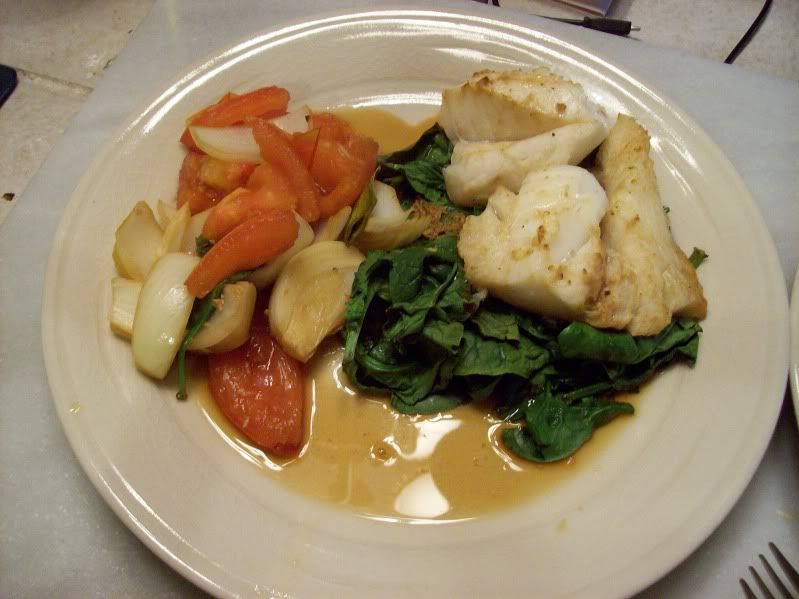
To plate, arrange some spinach on the plate, place one cod fillet over it, and place the veggies on the side. The veggies are pretty soup from their own liquid and the marinade, so a shallow bowl might be a better way to go.
I calculated some of the nutritional info from thedailyplate.com (handy website):
per serving: 250 calories, 6g fat, 24g protein, 20g carbs. Supposedly the fish also has 40mg cholesterol, which is about 16% of your cholesterol on a normal diet.

Additionally, having this dinner makes you feel a little less guilty about having real ice cream for dessert. ;)

Sunday, March 7, 2010

The seventh weekend of bread

Lately I've had that trend of making bread on weekends. Technically I missed last weekend (I made naan on Monday, but I rushed it along and didn't take the same joy that I took with the more traditional American/European bread recipes. And I made the naan on a Monday evening after work, when I was tired and hungry), and I really missed it. Making bread is such a calm thing to do that makes me think of sunny winter afternoons, mugs of hot chocolate and fuzzy slippers. All recipes have the same basic steps and ingredients, enough for each new recipe to feel familiar, and slicing into a loaf of homemade bread has a homey feeling that cupcakes and cookies never give. It's simple, it quiets down the chaos of normal life. And it makes you think you're stepping back 200 years to a simpler life, without all the unpleasant things like icy bathing water and no vacuums. Yes, you could say I'm addicted to baking bread.

Weekend 1: raisin oatmeal bread.

Weekend 2: Sesame cheese bread.

Weekend 3: Rye bread.

Weekends 4 and 5: Cardamom bread (yes, it was so good I had to make it twice- and technically, the second try was on a Wednesday, since we were away that weekend)

Weekend 6: Naan.

Weekend 7: Monkey bread and whole wheat bread.

When I made the cardamom bread, I discovered that I could let the first rising go a long time, while I was at work, and then do the normal 1hr (-ish) for the 2nd rising, and yield a good bread. I did that with the whole wheat bread.

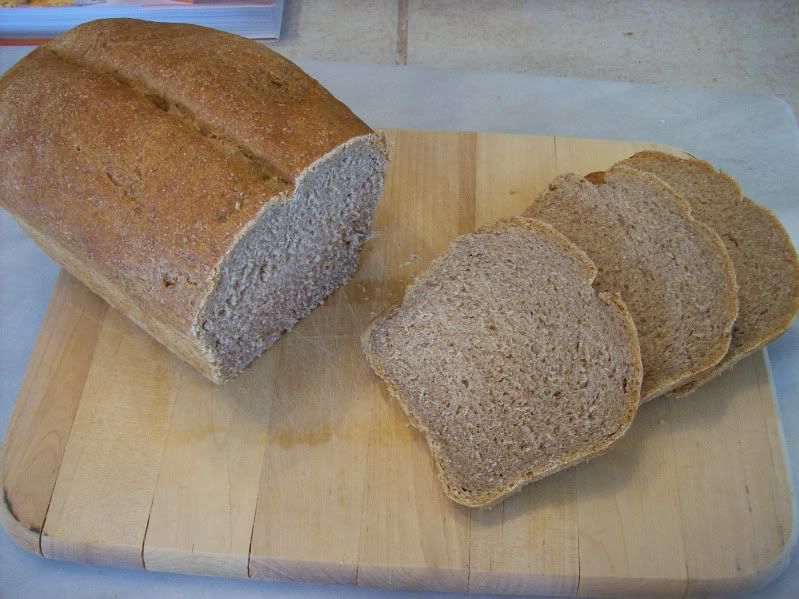
I used Martha's recipe for Honey Whole Wheat (link is slightly different than what's in the book) from her Baking Handbook.

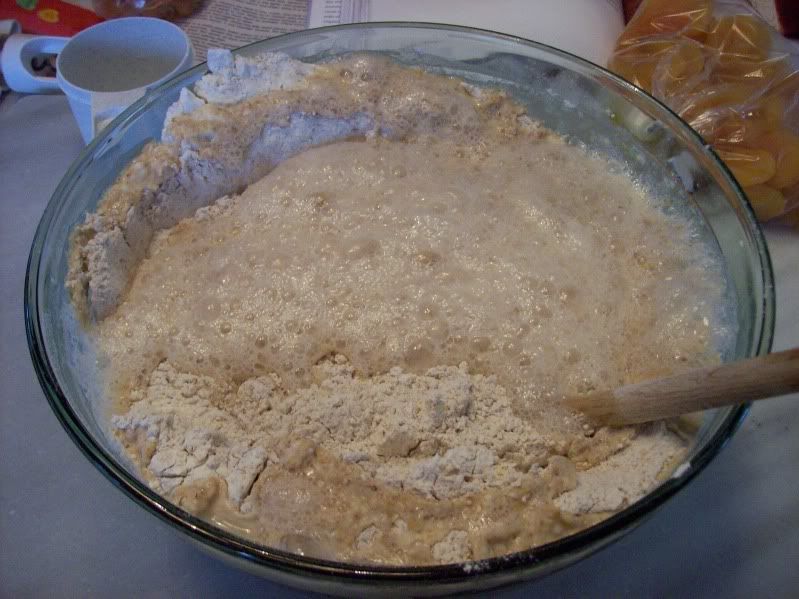
combine 2T active dry yeast with 3T honey and 3.5cups warm water, leave for 10 (or 30) minutes to let yeast wake up.

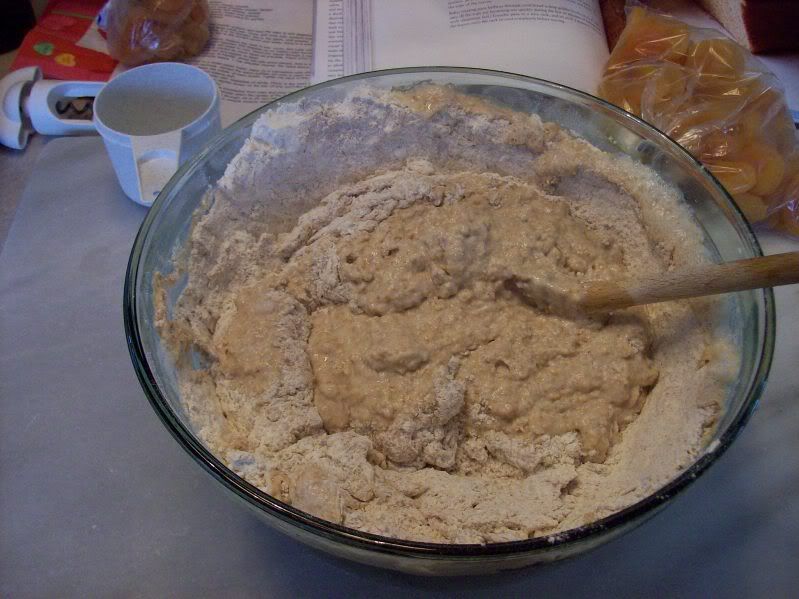
In a large bowl, combine 1lb 5oz (about 4.5 cups, but I weighed) whole wheat flour, 5oz wheat germ (about 1.5cups), 2t salt, and 1lb 2oz bread flour. Stir to combine, and make a well in the middle, then pour in the yeast/water mixture, and slowly stir that, including more of the flour in each turn, until all flour is combined.

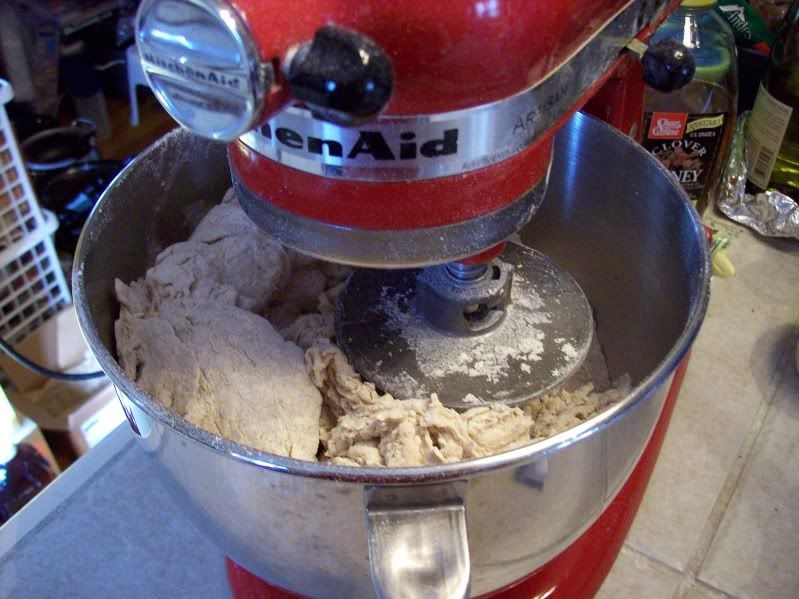
I ran into some trouble here. Maybe I'm lazy, or maybe my bowl was just too small, but I could not stir this dough. I put it in the stand mixer, and let that mix it.

Add 5oz more bread flour (about 4.5 cups in total for the whole recipe) and knead for 10-15 minutes, until dough is smooth and elastic.

More trouble- I could not knead this dough! It was hard as a rock. The stand mixer couldn't do it, I couldn't do it, it was a mess. There are a few differences in this dough: I've never used bread flour before, I never used wheat germ (but I doubt that did much to the dough), and I'd never used this high a wheat flour:total flour ratio, although I've come close. I kind of think the high gluten content of the bread flour might have been the problem, but I'll make a bread flour-only recipe soon to see. Anyway, eventually I kneaded it. I had to stand on a step stool so I could get gravity to help me, by pushing straight down to knead. It wasn't pretty, but I did it.

I let the dough rise while I was at work- hubby took it off the radiator after 5 hours, and I got back to it 3 hours after that- 8 hours rising, total.

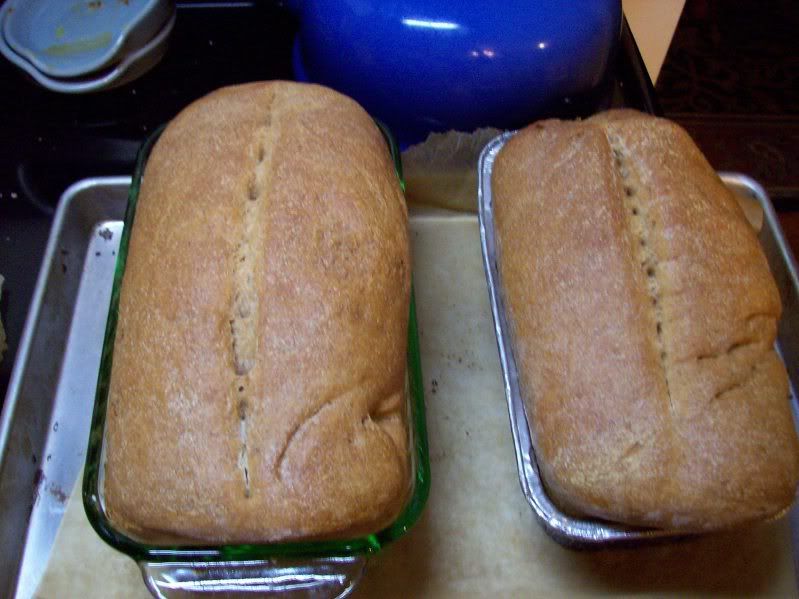
I punched down the dough (no longer quite as hard, but still pretty solid), divided it in 2, and flatted each half into an oval, approximately the length of my loaf pans. I then rolled up each oval to a tight log, and placed in the loaf pan to rise- another 2 hours.

I sliced each down the middle (the long way) with a knife, and brushed with cream. I baked at 400oF for 55 minutes.

And even though this was a tough recipe, the end result is delicious. Is it worth the effort? I'll have to let you know once we finish the loaf.


Aaaand... Monkey Bread!!

I don't know when I last had monkey bread. It was really a rare treat growing up, no one in my family makes it, so we'd have to wait until someone else brought it. My poor husband had never heard of it. So when I was trying to decide on what goodies to bring to a weekend renting a house with a bunch of other people, someone suggested monkey bread as a definite crowd-pleaser.

I used King Arthur Flour's recipe, doubled, modifying for my active dry instead of instant yeast. This was made to serve with breakfast for about 14 people.

In a small bowl, combine 1 cup warm water, 2T sugar and 4t yeast (1T plus some). Let that sit for a while to get foamy.

Add 2T softened butter, 2t salt, 1t cinnamon, 2 eggs, (stir), then 4 cups flour, one cup at a time. Let the dough rest for a few minutes, then knead for 6-8 minutes (my stand mixer worked for this recipe just fine). The dough is fairly soft and sticky, a nice contrast to the rock-hard whole wheat dough. Place in an oiled bowl and cover, place in a warm spot and let rise for an hour.

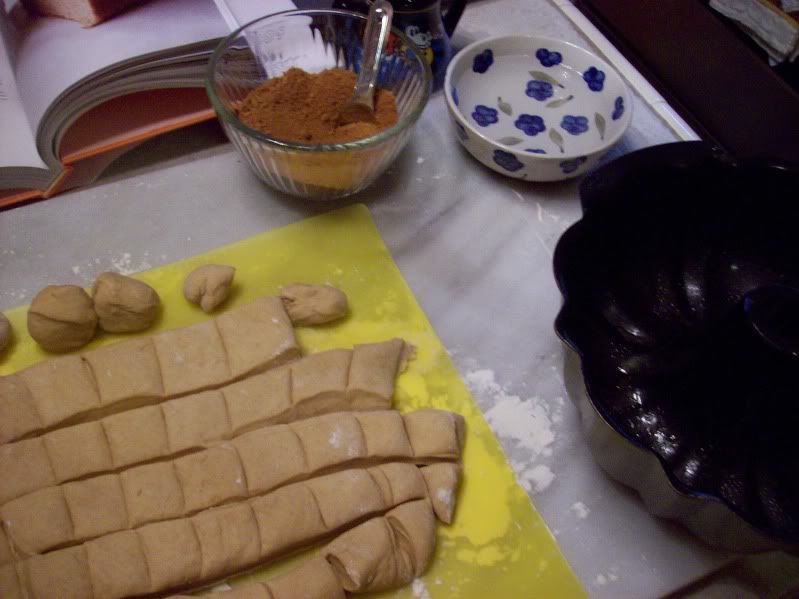
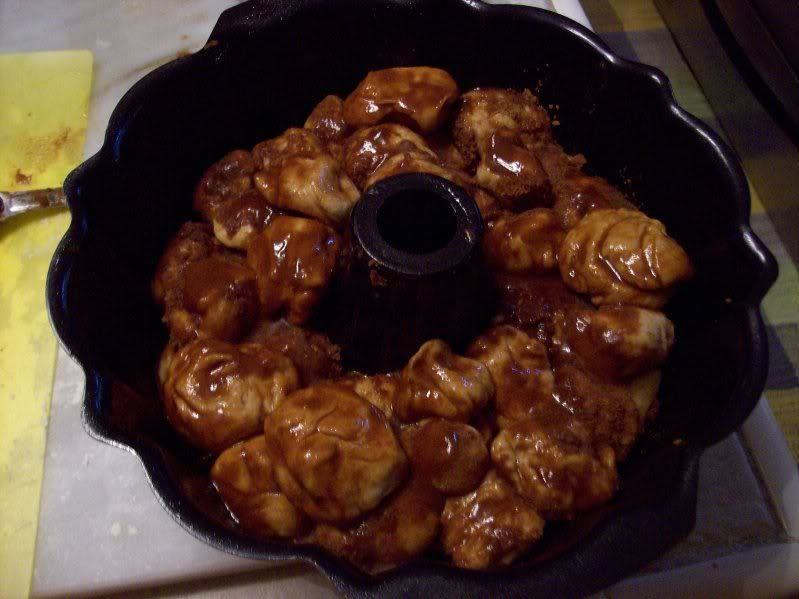
Pull the dough out (it's super stretchy and soft, so much fun), pat into an 8x8 (approx) square, and cut into small chunks- mine were generally walnut-sized, but I had some variation. Roll each square into a ball, then dunk in water and in a brown sugar/cinnamon (2cups brown sugar, 3-4t cinnamon) mix, and toss into a greased bundt pan.

Cover and let rise in a warm place for anohter 45 min or so,
then bake at 350oF for 30 min.

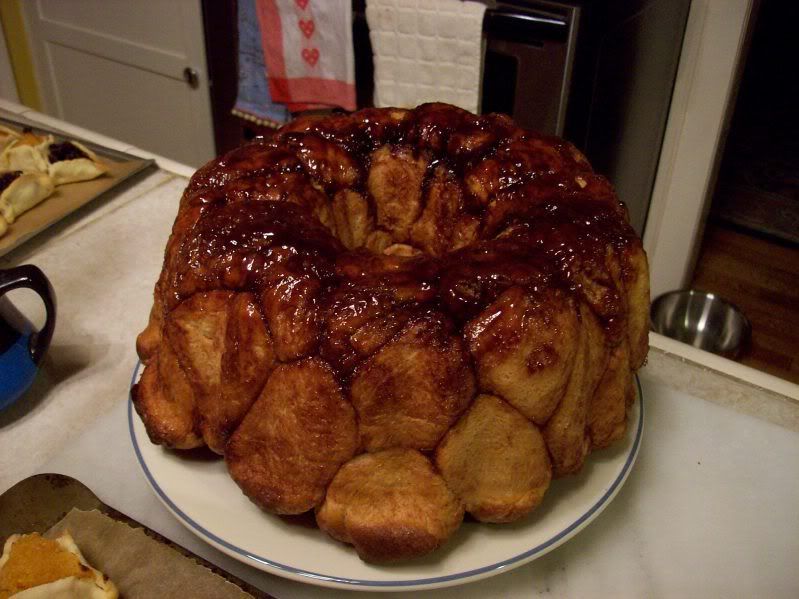
Let it sit for a bit (10-15 min), and then invert onto a plate. See how long you can go without eating it, it's very difficult not to pull one dough ball off...

It's so easy, and so beautiful and delicious. Thanks to Bird for suggesting this over cinnamon rolls! I'll do the cinnamon rolls another time.

Friday, March 5, 2010

Hamantaschen

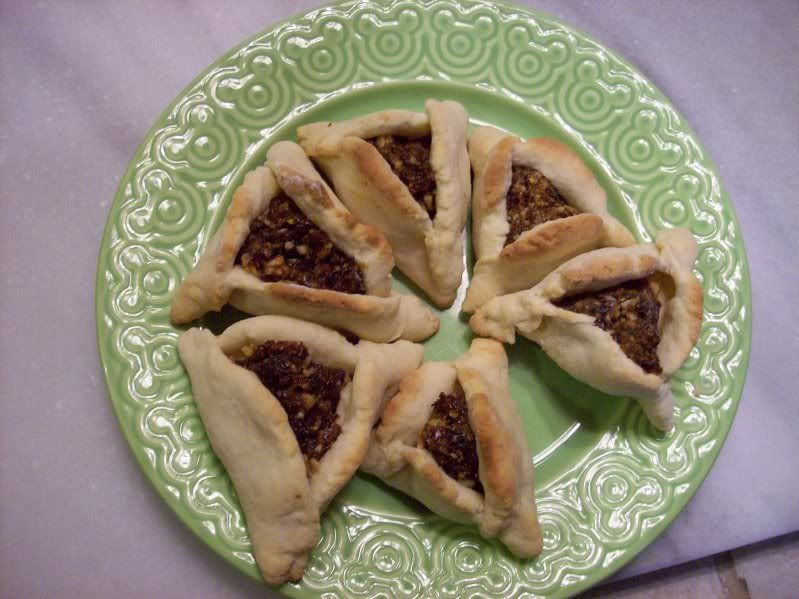
There's a bakery in White River Junction, VT, that say they specialize in bagels (and a good bagel is hard to find in the great white north), but really, their specialty is cookies. They make some of the best hermits I've ever had, and they sell them, so conveniently, at the Norwich farmer's market, every Saturday between May and November. They also sell delicious danishes, pies, mini pies, muffins, and hamantaschen. I never really knew what hamantaschen were, I just knew this bakery sold these great triangular cookie/danish things filled with gobs of pureed prunes.
And then a blog I recently discovered, Honey Never Spoils (who's going through her grandmother's recipe box, such a sweet idea) had a post all about grandmother's hamantaschen, and I learned that hamantaschen are traditionally eaten at Purim. I've always had them whenever the farmer's market is in session, which is definitely not around Purim- the field's still covered in snow right now! But anyway, long story short, I found a recipe for hamantaschen and I made them. And we ate them, and we're happy.

Recipe, taken from Honey Never Spoils, with some minor adaptations.

Dough
Cream together 2 sticks of softened unsalted butter and 6oz (3/4 a package) of cream cheese. Add 1.5cups of sugar, and 4 eggs, 3t vanilla, and 1/2cup of milk. This is a pretty runny batter.

Then slowly add 5 cups of flour (recipe calls for cake, I used all-purpose), 6t baking powder and 1/2t salt. Add an additional cup as needed, so that the dough isn't too sticky to handle.

Then refrigerate the dough- I baked half after 3 hours in the fridge, and the rest the next evening.

Meanwhile, make the filling. I took some liberty with my fillings. The prune is just as the recipe said.

Prune filling:
In a food processor, combine 1.5 cups of walnuts, 18oz prunes and the zest of one orange. Pulse until pureed- this will be sticky.

Apricot filling:
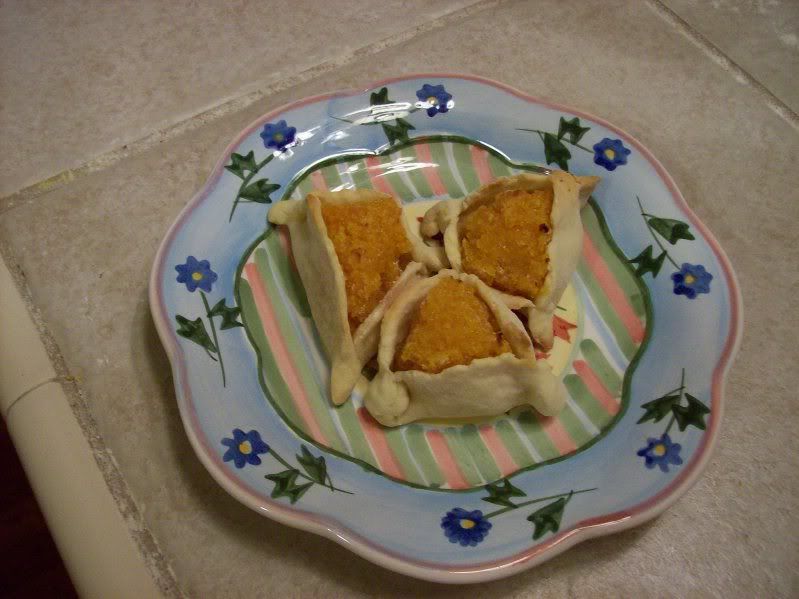
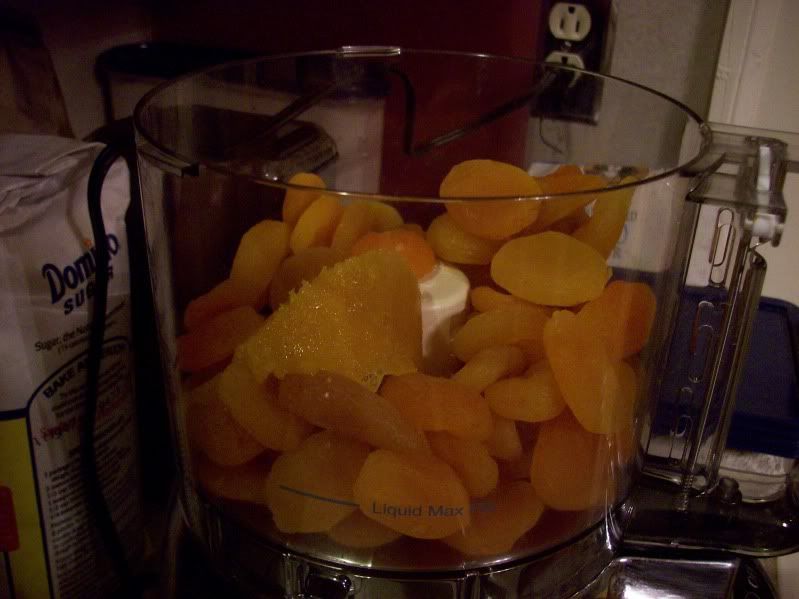
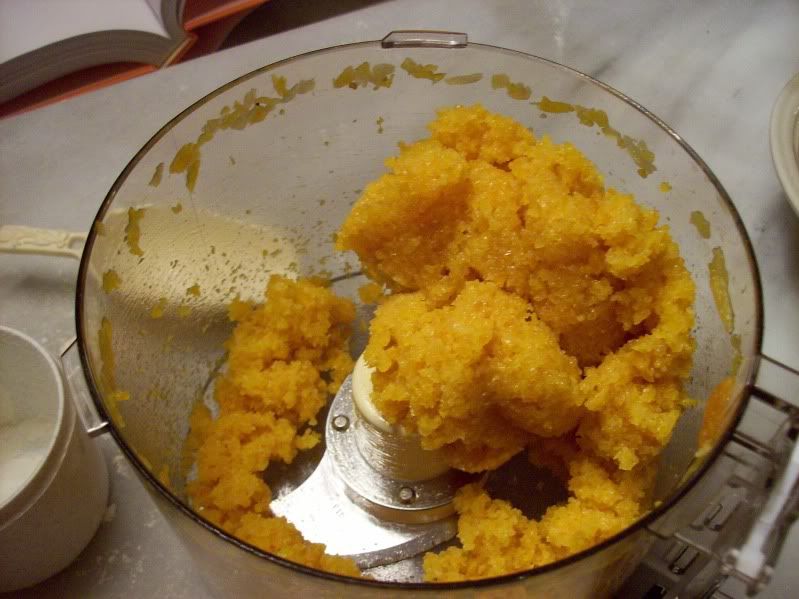
Same process, with 18oz apricots and 3T orange juice concentrate (Sandra Lee's trick, for those that don't always have orange juice on hand)

Cranberry filling:
1.5cups of dried cranberries, 1T orange juice concentrate. These didn't puree as well, the cranberries came out more finely chopped than pureed.

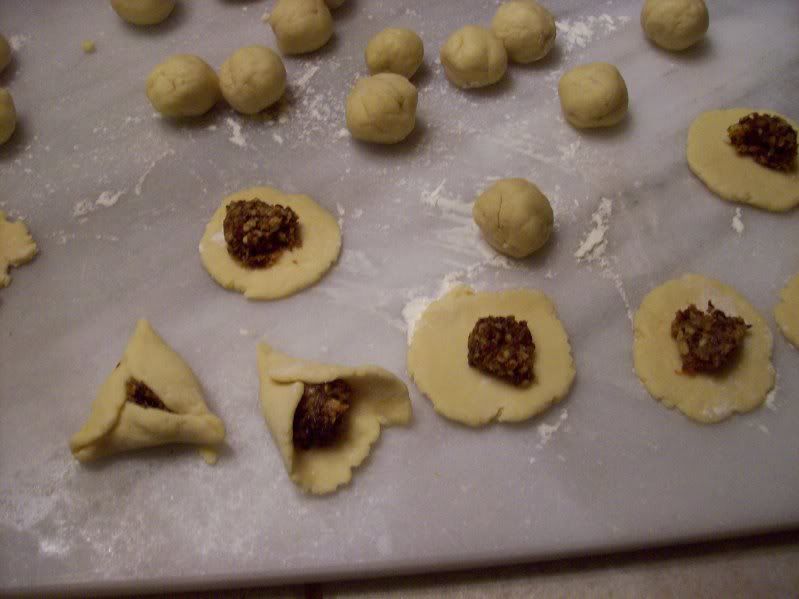
Back to the dough: With your hands, roll out walnut-sized balls of dough. Roll each out with a rolling pin, to make a circle (this is so much easier than rolling out the dough and cutting with a circular cookie cutter!). Fill each dough round with about 1T filling of your choice. Then fold up the sides of the circle to form a triangle. Pinch each of the corners well (I folded over twice) so they don't come open while baking.

Bake the ocokies for about 15 min at 375oF.

I think one reason I really like these is that the dough really has very little sugar in it, compared to other cookies, so most of the sweetness comes from the fruit filling. It's a lot easier to convince yourself you're eating something healthy than with a chocolate chip cookie. ;)

Wednesday, March 3, 2010

Spicy!

This weekend, I was visiting my parents, and my mom and I visited the Penzey's spice store in town. It's been there maybe 3 years, and my mom was elated when she heard it was coming. I, on the other hand, was very snobbish about it, and insisted that, while they might have nice blends, their prices and selection could never even come close to the spices I could get at my wonderful grocery store's bulk section. I went in a few times, and I admitted they had a really nice store- attactive, good layout, easy to find everything (and it's all organized by spice type, which is nice- curries there, sweeter spices here, herbs in the back, peppers in the corner), but I refused to buy anything.

So on Saturday, we ran our 3 important errands, and then mom suggested we go to the spice store- mostly because she had a coupon for a free 1/2oz (or so) jar of Cajun Seasoning. We had time, so we went in the store, and examined every single spice. If you're a foodie (or even if you just love to smell delicious things), you need to do this. I finally shed my spice-snob attitude and had a splendid time.
In the store (which, like I said, is conveniently organized), each spice has its own little cubby/shelf. On the shelves are generally 2 sizes of jars, 1-3 sizes of ziploc plastic pouches, and a large, wide mouth jar of the spice, meant to be opened and sniffed, with a description of the spice on the label: where it's from, what cuisine uses it, what it tastes like. I think this is part of what sold me on this store- to have everything so organized, and clearly explained is golden.
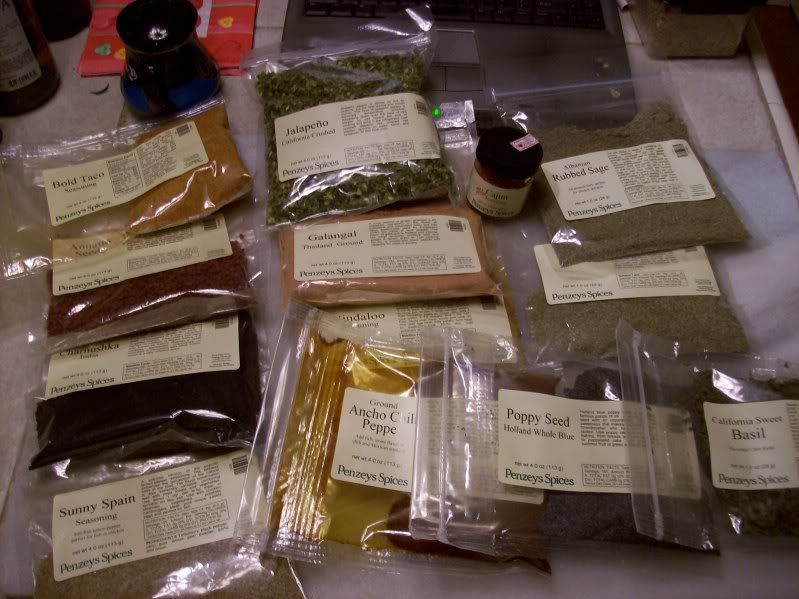
Oh, and they sell their spices in bulk ziploc bags. Ah.

In case you never really thought about it, when you buy spices at the run-of-the-mill chain grocery store, they're expensive, right? Something like $6 for a little jar of allspice. What are you really paying for here? Is allspice that expensive? No. The glass jar is that expensive. You're probably paying $1 for the contents of the jar. And then what do you do with an empty spice jar? Why, you throw it out. The replacement jar of spice already has its own jar.

This is why I'm such a spice snob, I refuse to pay for little glass jars all the time.

So anyway, Penzey's case in point: At my NH grocery store, I can buy 1lb (yes, that's 16oz) of cinnamon for $5.99 (ok, that's the special price, but the normal price is $10.99). The second-last time I went in Penzey's, I looked at the jar of cinnamon that my mom said she needed, and it was $4.39 for a 2.2oz jar- that's $32 per lb. (I simply gave her some of my pound of cinnamon). This weekend, when I gave the store a chance and took the time to figure it all out, I saw that 1lb of cinnamon was $13.60. Ok, that's more than I paid, but it's not a ridiculous price. Cardamom, for example, was about $44/lb, I used to pay $35/lb. This is ok. And Penzey's is closer than my old grocery store now. So now my opinion is, "this store's acceptable."

And as we continued on our way to all the spice cubbies, looking at every single spice in the entire store, I saw things I'd never heard of. Galangal (related to ginger, a flowery and more intense flavor than ginger), charnushka (tiny black seeds often found in Jewish rye bread), aleppe peppers (a Turkish chili pepper, similar to ancho chilis), annato seeds (common ingredient of latin american food, generally sauteed in oil, and the oil is used in the food). It's been a long time since I encountered spices/flavorings I'd never even heard of.

So then started the frenzy. I bought peppers, spices, spice blends, dried herbs, and collected recipes from all the "take one" recipe posters. I spent $42 on 12 different packets (I bought everything in bulk), then took the catologue, read it over lunch, and had to go back for more.

With my bounty, I plan to make galangal cookies (the ginger-like spice), and pork vindaloo (with a vindaloo blend- hopefully it's not too hot, I generally can't eat more than a bite of vindaloo). I'm going to figure out what all the other things I bought are, and how in the world to use them.

Oh, and did I mention they carry 4 different types of cinnamon, as well as their blend of the different kinds? And (news to me), the type of cinnamon you can generally buy in US grocery stores is a lower grade of kortinje Indonesian cinnamon. Mom thinks we should buy all 4 types and have a cinnamon-tasting.

So, in conclusion:
1. Go to Penzey's
2. Buy all your spices in bulk.

Of course, after purchasing all these spices, I had to get right to work using them.

I made pork vindaloo.
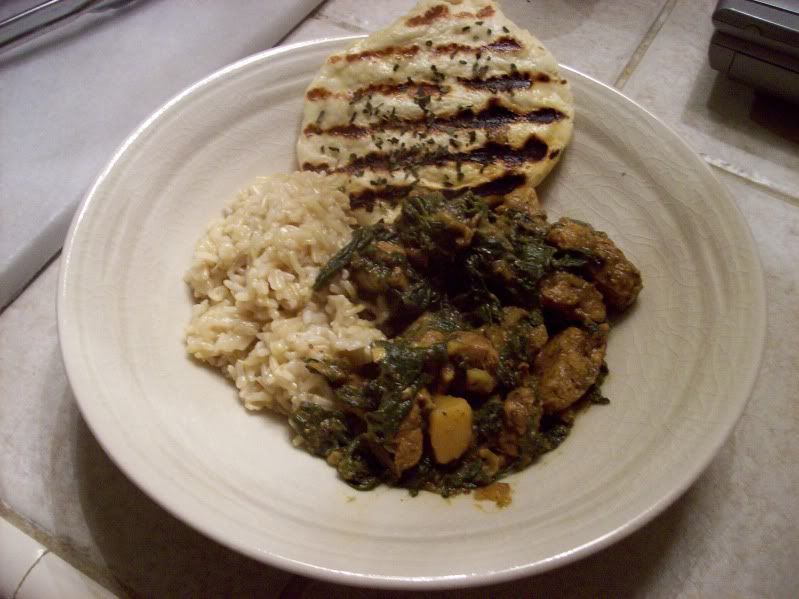
I started out adapting a recipe in the current Penzey's catologue, until Clint pointed out that it's just some woman from Virginia making up a dinner recipe to use the vindaloo spices, and is definitely not a proper vindaloo.

So I made up my own improper vindaloo.

In a pan, heat some oil (about 1T), and add 1 chopped onion and 3 cloves of minced garlic. Saute over medium-high heat for about 4 min. Meanwhile, make a paste of 2-3T Penzey's vindaloo spices (I used 2 level tablespoons, which was spicy but not overpowering, definitely no where near authentic vindaloo), 1t salt and 1/4 cup of apple cider vinegar. Add the paste to the onions, stir to coat, and saute for another 2 min. Then add about 1lb of pork tenderloin, chopped into bite-sized chunks. Sear over medium-high heat for 2 min, then add in 2 potatoes (peeled and chopped into bite-sized chunks), cook for about 5 min. Finally, add 1/3 cup of yogurt and 1/3cup of milk (the Penzey's recipe called for coconut milk, but since coconut milk is very high in saturated fat, and I don't want to kill high cholestoric husband, I used low fat dairy instead- also, Indian curries generally don't use coconut milk, so I have no idea what the VA woman was thinking- although I'm sure it's tasty), stir, and cook for about 30 minutes, until the potatoes are soft and the pork is cooked through.

I had some issues- I stepped away from the stove for a few minutes, and the liquid all cooked down and burned. So I quickly dumped the contents of the tea kettle in the vindaloo, which made kind of a stew. In the next 20 minutes, all the water cooked off, leaving a thick sauce coating the vindaloo. I'd like to tweak this, but our end result was still very good.

The last step of the vindaloo is to add 1lb of washed fresh spinach, let it wilt down (you may have to do this in 2-3 batches, depending on the size of your pot) and stir to coat with the vindaloo sauce.

Our accompaniments were basmati rice:
Soak 1.5cups of basmati rice in enough water to cover for 20-30 min. Heat 1T oil (or ghee) in a pan, add 1 2in cinnamon stick, 2 green cardamom pods, 2 cloves and 1T cumin seeds. Stir and cook for 2 min, until toasted. Drain the rice and add, stir for 2 min to coat with oil and spices adn to toast the grains. Then add 2.5 cups of water and 1/2t salt. Bring to a boil, then reduce to a simmer and cook (covered) until the liquid has all been absorbed, about 15-20 min.

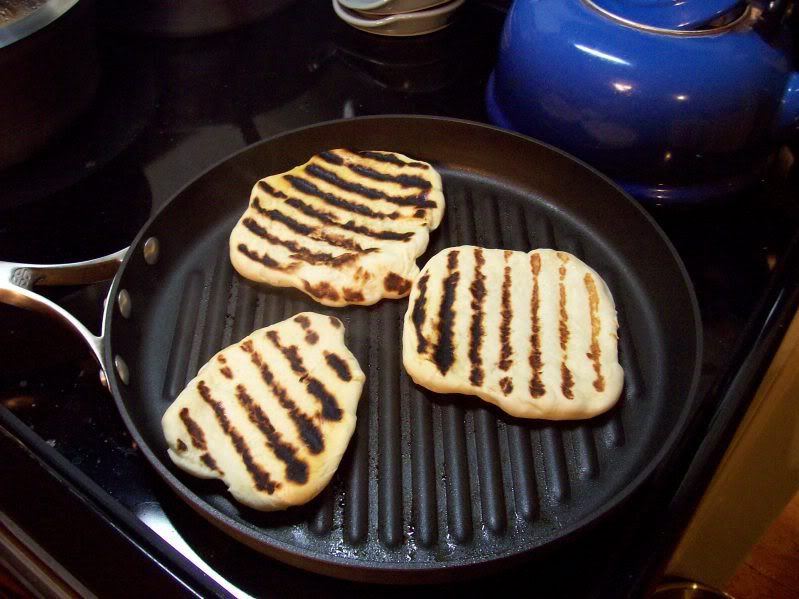
and naan. I've made naan before, but it's never been any good- until now! I found this recipe on allrecipes.com, and kind of modified it.

Wake up 2t yeast in 1/2cup warm water and 2t sugar. Leave for 10 min, then add 2T milk, 2T yogurt, 1T sugar, 1t salt and 2-2.25cups flour, combine to form a soft dough. Knead 6-8 minutes, then let rise for an hour. Form golfball-sized balls and leave on a tray/cookie sheet for 30 min, covered, to rise. Roll out each dough ball with a rolling pin (I used my hands, they were too thick) 
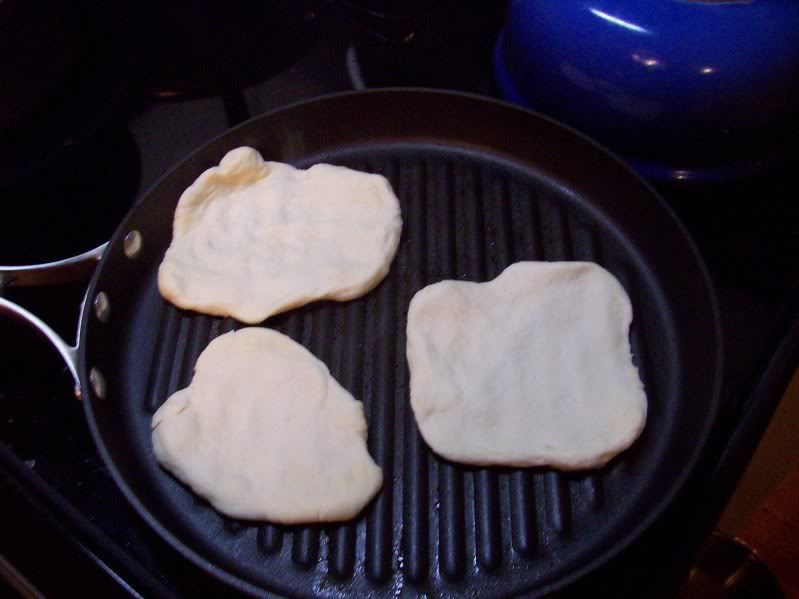
and cook on an oiled grill pan, about 2 minutes per side, over high heat.


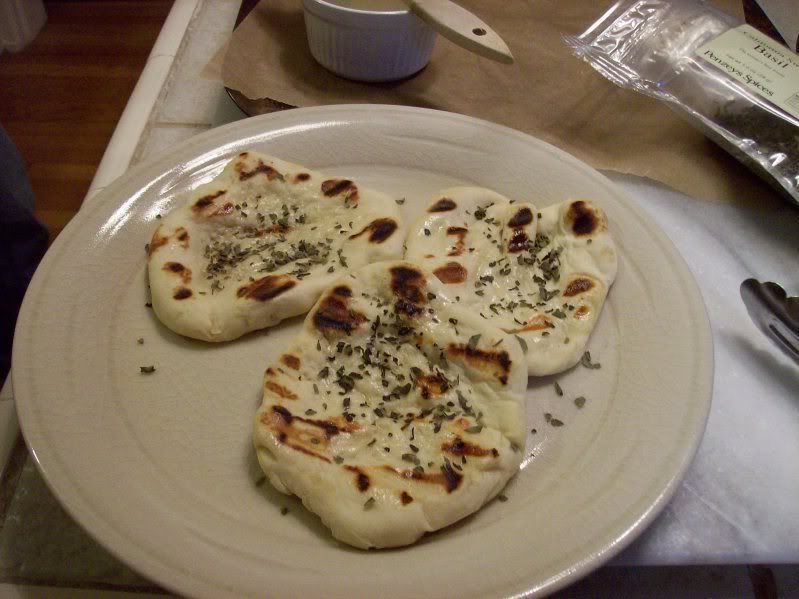
Brush with a little melted butter, and I sprinkled with my new dried basil.

So far, I can tell you that the naan is still delicious the next day, as is the rest of the meal. I was politely informed, however, that naan is an incorrect pairing for vindaloo: vindaloo is a traditional Goan dish (on the western coast of India), and naan is more common in northern India. The person providing me with this information suggested I make sannas if I want a bread to go with the vindaloo, and I'm fascinated- I've never heard of sannas before. They appear to be a rice/coconut yeasted bread. One can use vinegar in place of toddy (since I still don't know what toddy is), but the glitch for me is how to deal with the coconut. I have coconut milk and unsweetened shredded coconut, but I'm not going to go deal with a whole coconut. Any ideas on how to modify that? The original suggester wasn't sure. In either case, I'm thrilled to learn of a new Indian food, and can't wait to somehow taste it.
Monday, March 1, 2010

What's the difference between a muffin and a cupcake?

Frosting.

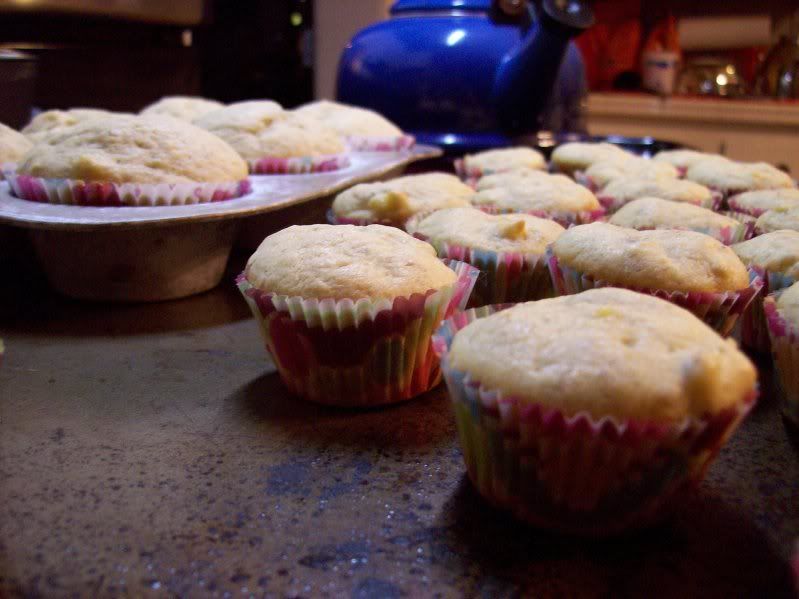
I was given the Martha Stewart Cupcakes book a while ago, and even though I immediately spent a half hour carefully perusing the recipes, I've never actually made anything from it. Until last week, when I remembered last-minute that I needed to bring cookies for a DAR meeting. So I started flipping through Cupcakes again (as well as another book called Cupcakes, that I bought on super clearance at Barnes & Noble over the summer), and a recipe for Roasted Banana Cupcakes caught my eye- mostly because I had 3 spotty bananas in the fruit basket.

When I first baked the cupcakes, I was out of powdered sugar, so they remained unfrosted for a couple days- and I have to say, I really preferred the unfrosted to the frosted. For 6 regular cupcakes and 48 minis, there were 3 bananas, 1/2cup of reduced fat sour cream, and 1 stick of butter. That's really not that much fat. And only 3/4 cup of sugar, which I'll reduce to 1/2 cup next time. All the moistness and sweetness came from the banana. So they were healthy.

That implies a muffin! (and not a cake-by-a-different-name muffin speckled with a freeze-dried blueberry here and there, like you'd find at the grocery store or Dunkin Donuts, but a proper, healthy muffin)

I added the honey cinnamon buttercream frosting later, and voila, cupcake. What a nice, versatile recipe (and is delicious with coffee).

Roasted Banana Muffins
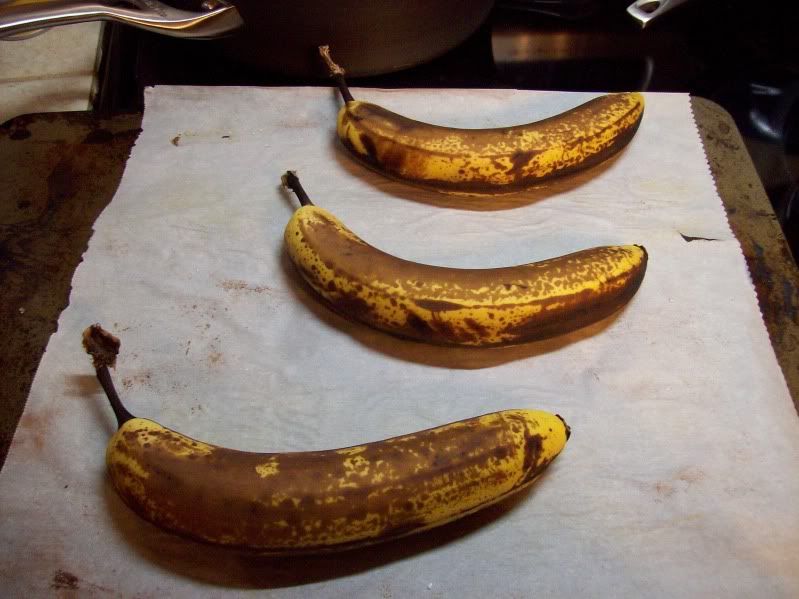
3 ripe bananas, peels on
2 cups flour
1.5t baking powder
1t baking soda
1/2t salt
1 stick (1/2cup) softened butter
3/4cup sugar
1t vanilla
1/2 cup sour cream (regular or reduced fat)

Heat oven to 400oF, and roast 3 bananas (unpeeled) for 15 minutes. They'll puff up and turn brown. Note (which Martha failed to mention): do this on a rimmed (and foil-lined is even better) baking sheet. The banana peels will split and some banana juice will seep out, which I imagine would be quite annoying to clean up- especially in a 400oF oven. I was very glad I happened to have some old parchment still on a cookie sheet.

Then cool the bananas, and peel when you can handle them.


Sift 2 cups of flour, 1.5t baking powder, 1t baking soda, and 1/2t salt, and set aside. Cream 1 stick of softened/room temperature butter with 3/4cup of sugar until fluffy. Beat in 3 egg yolks (one at a time) and 1t vanilla.

Add the flour mixture, alternating with 1/2cup of reduced fat sour cream (may try fat free yogurt next time), beginning and ending with the flour. Then beat 3 egg whites until they form soft peaks, and gently fold in to the batter (first fold in 1/3 of the whites until combined, then the rest. Alton Brown demonstrates the proper way to fold very nicely in his chocolate mousse episode).

Fill cupcake-wrapper-lined muffin/mini-muffin tins. Bake for 15-20 min at 350oF (15 min for minis, 20 for regular cupcakes). I highly recommend the mini muffins, since you can sample them fresh from the oven without much guilt.


Eat like that, or, if you must, add frosting.

Now, this is the frosting recipe included with the cupcake recipe. However, I'm not a fan. I think it has good flavor, but the base is far too buttery for me. I need to tweak this. I'm tempted to do a Swiss meringue buttercream (the kind with egg whites, granulated sugar, and butter) instead, which I think would be an interesting pairing with the healthy-ish banana muffin.

Cream together 2 sticks of room temperature butter, 2T honey, 1/2t cinnamon, 2.5 cups of powdered sugar. Beat until fluffy, and frost cupcakes. Martha suggested placing a thin slice of banana on top of each frosted cupcake, which I just didn't have time for- but I wish I had.

Thursday, February 25, 2010

A productive Ravelympics evening

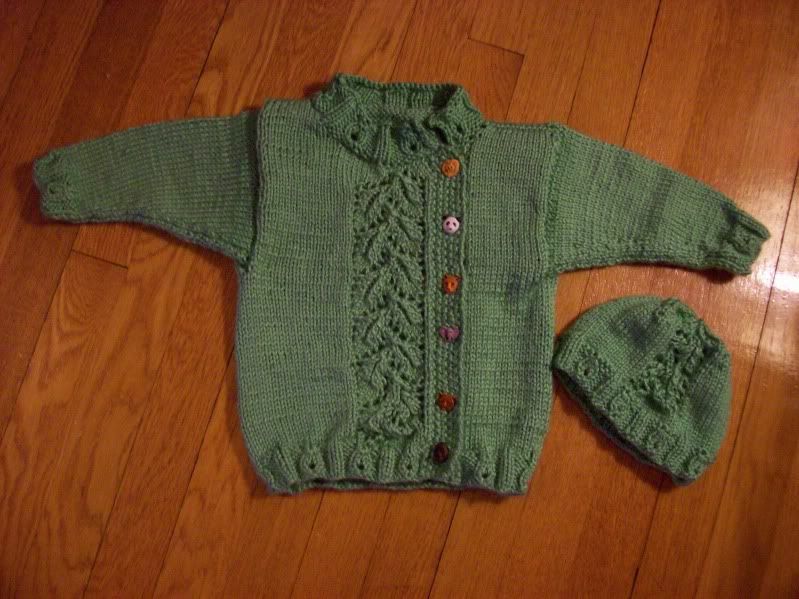
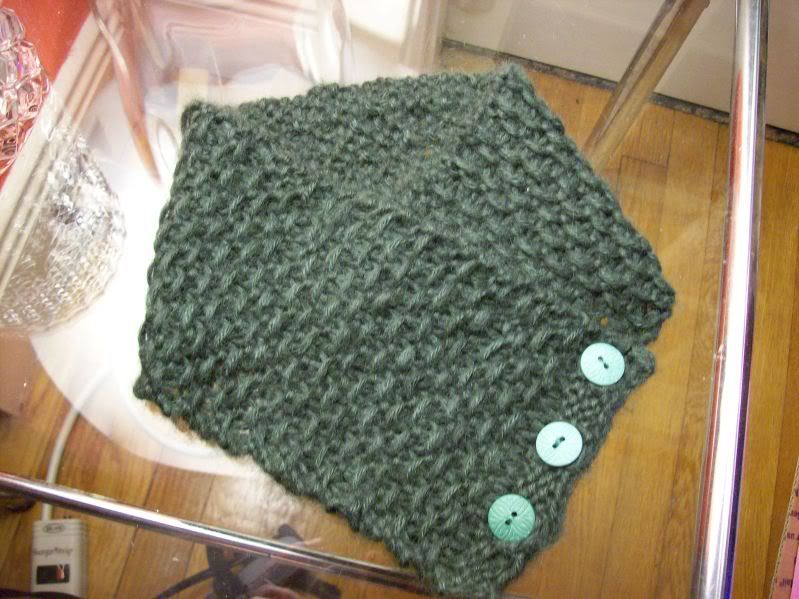
I finished 2 of my Ravelympics projects! Now I have a total of 4 finishes: frogging the pink sweater, reknitting the pink sweater, and these two.

Baby sweater:


And neckwarmer for a swap:

A navy elbow-length sleeved sweater and a pair of socks for Clint still remain. I believe I stand a chance of finishing the sweater- if I knit fast.

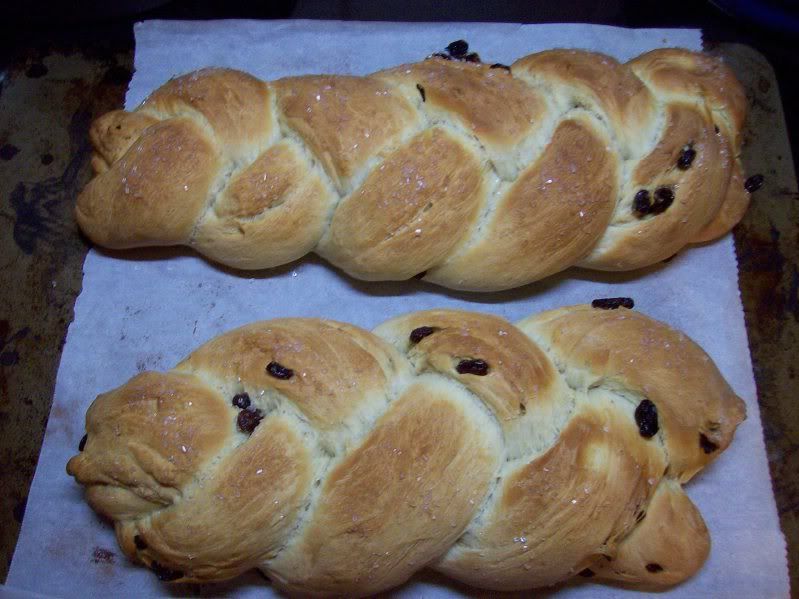
Today I also baked more Swedish cardamom bread. Interesting discovery: if I wake up the yeast during breakfast, let the dough rise 8 hrs while I'm at work, and let the shaped loaves rise during dinner, I can have fresh-from-the-oven bread for dessert. This is extremely convenient- and probably means we'll never purchase bread again.


Now to calculate the cost efficiency of homemade bread- but I'm sure the taste is worth the money.