Monday, May 31, 2010

On growing up...

When I moved into my first very own apartment (after college), I felt very grown up. About a month after I moved in, I decided something to cement my grown up-ness: I threw my first dinner party. This first dinner party was a potluck and involved 6 people. I have no idea what we served, and I only really keep in touch with one of the guests (sadly), but it was kind of a defining moment in my early adult life. I've been thinking a lot about my early grown up life, especially since my 30th birthday is now only 12 days away (I'm sorry, but that's just bizarre and wrong. I don't mind growing older, I'm simply confused as to where my 20s went. Same with, how have I been married nearly 9 months?)

Yesterday I had another defining moment: my first cookout and dinner party for my family. In some discussions and recaps with my mom afterwards, it seems we have some misconceptions. I used this party to try out some recipes for my big 30th birthday bash, the guest list for which currently hovers around 45 people, by far the largest party I'll have hosted. My mother asked for the theme and other ideas I had for my party, and I said, "it's going to be the typical Catherine-style posh cocktail party," she said, "yes, but what's the theme? What will it be like?" "Mom, it'll be the same as all the other parties I've thrown. You haven't been to a Catherine posh cocktail party yet, but don't worry, it's already thought about and settled on." Mom: " of course I've been to one of your cocktail parties!" "no... you haven't." This isn't to say I throw raucous parties with lots of booze and loud music, dear me, no. My parties are the kind of evening where you dress up a bit and walk around with a fruity drink in a martini glass and spill not a drop, and eat delicious finger food that you can't 1. exactly identify, and 2. believe wasn't catered. That is a Catherine-style posh cocktail party.

Anyway, back to the point. Yesterday's party was about family. It was not a posh cocktail party, it was a casual affair with burgers and dogs instead of prosciutto-wrapped fennel and mini quiches, but it still had dishes (yes, plural) that people couldn't identify. And isn't that the goal, to confuse people culinarily? (side note: I'm making name cards for all the dishes at my birthday party).

Because I fed 10 people yesterday (and had another adventure that I'll share after the food), and my extended family doesn't realize the primary use for my camera, aside from taking snapshots of my cat, is for photographing food and I didn't want to endure any teasing, I took very few photos, and those that I took are probably of worse quality than usual. However! I'm going to give you all the recipes, and trust me, that's the prize.

The Family Cookout Menu.
Appetizers:
tomato tart (recipe shared previously, this time I used 2 pints of small heirloom tomatoes from BJ's, and a reduced fat Italian cheese blend)
low fat healthy onion dip (from June 2010 Martha Stewart Living, recipe at end)
olive tapenade (Hannah's brand)
hummus (Sabra brand)
fresh veggies to dip
Cabot sharp cheddar and crackers
Classic shrimp cocktail (Big Y brand cocktail sauce with extra horseradish)
Sweet n' spicy shrimp cocktail (Sarah's recipe, and boy, every recipe I've gotten from her blog has been great). I chilled this overnight instead of for a few hours, and it was a huge hit, second only to the tomato tart.
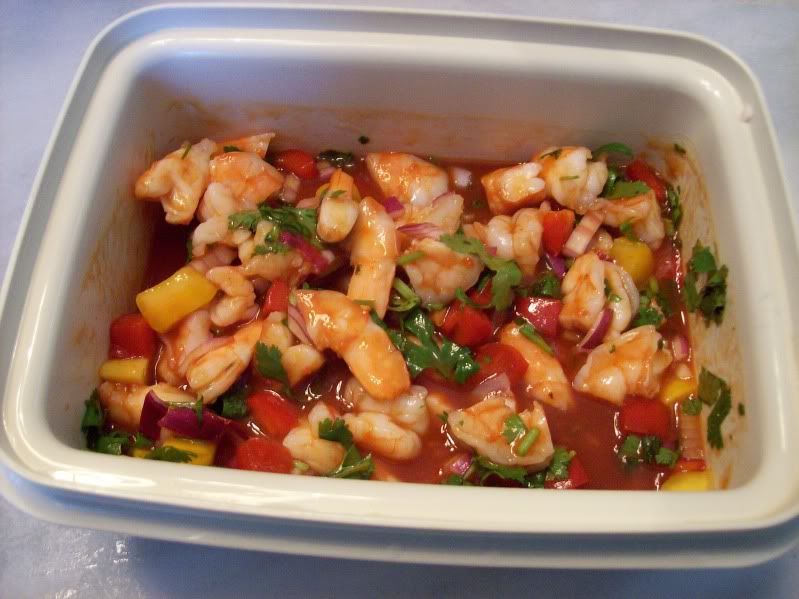
(photographed before I added the avocado- oops)
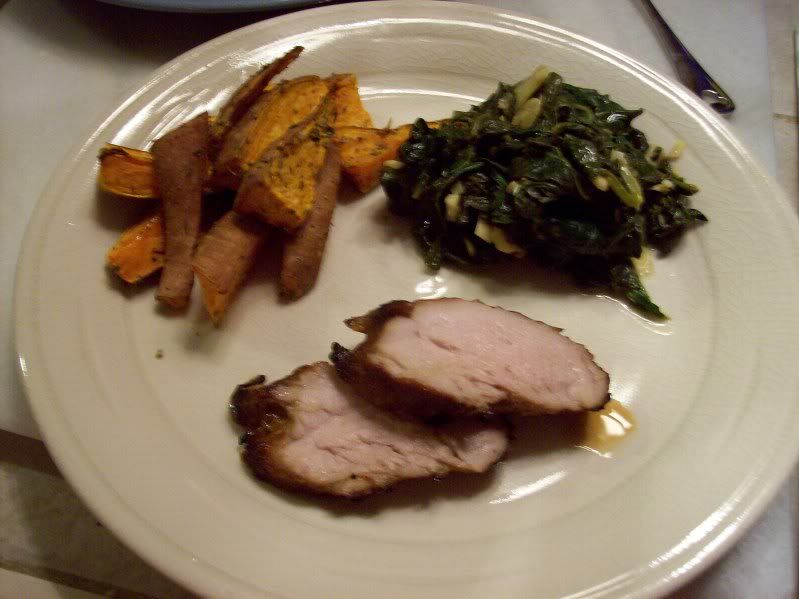
Dinner:
hamburgers (plain ground meat, but I should learn to make better burgers- the ones I made should have been called sliders, they were so small!)
Nathan's hot dogs (I'm not usually a hot dog fan, but yummmm...)
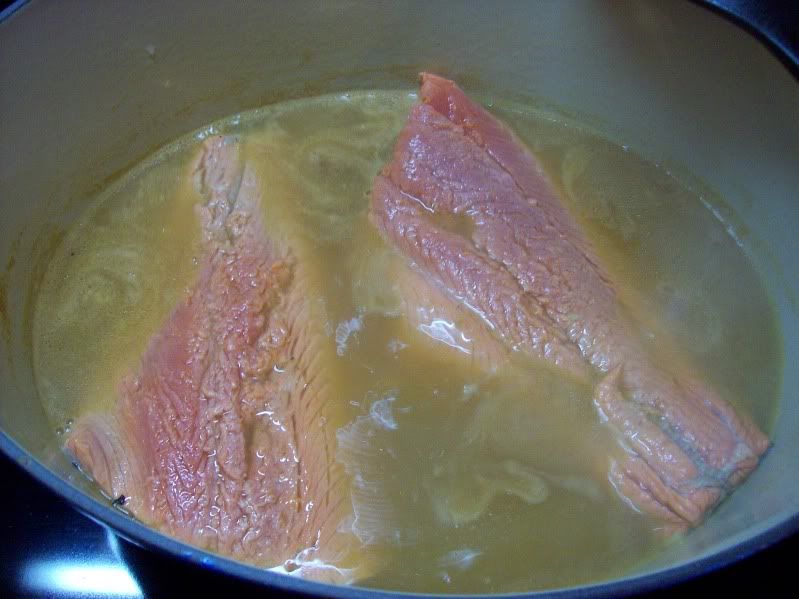
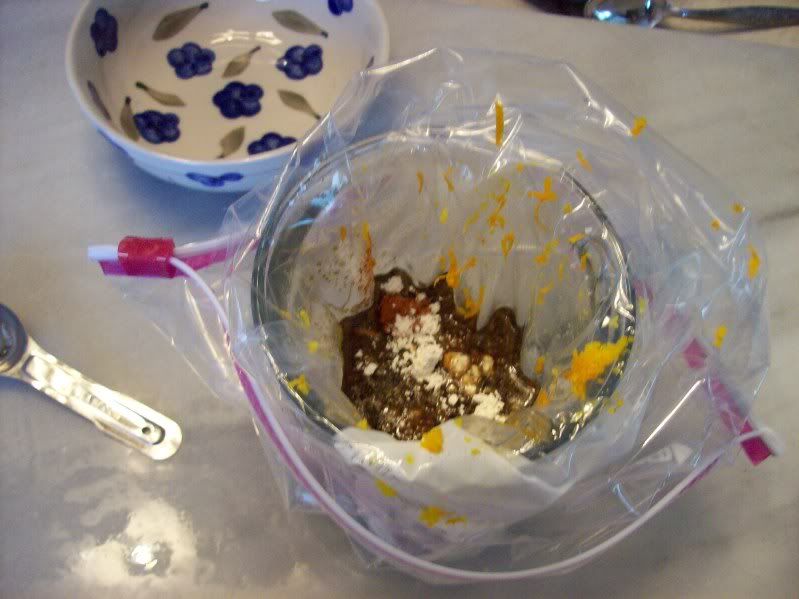
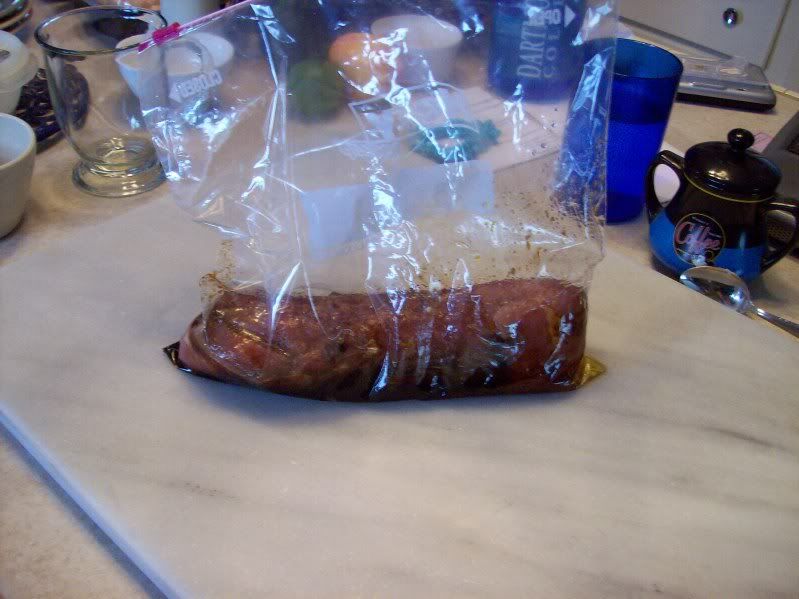
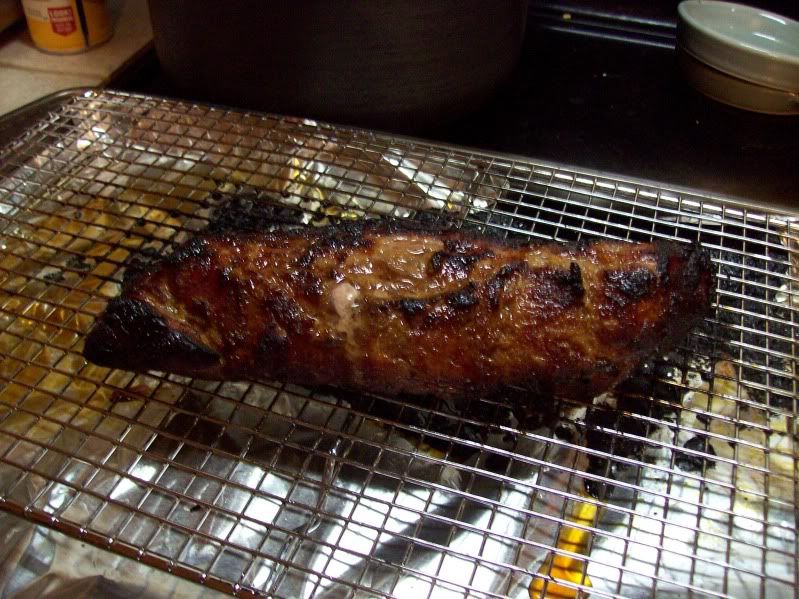
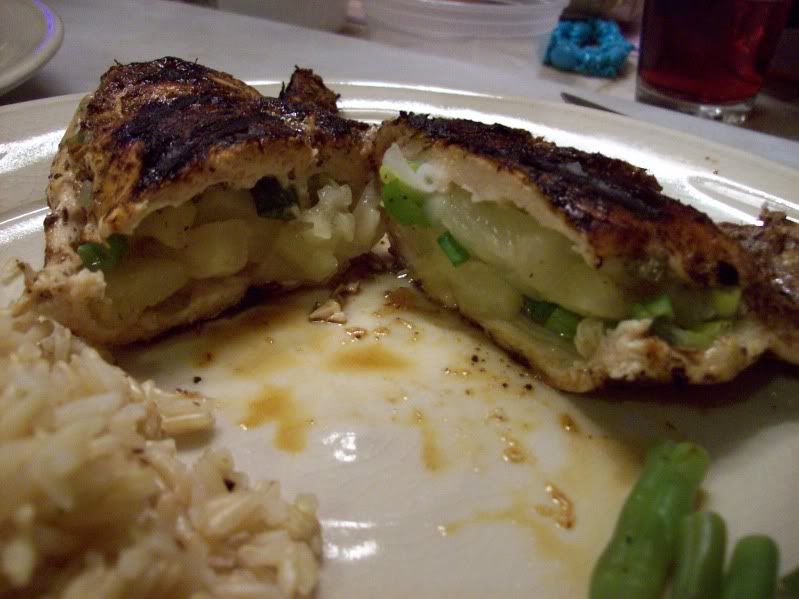
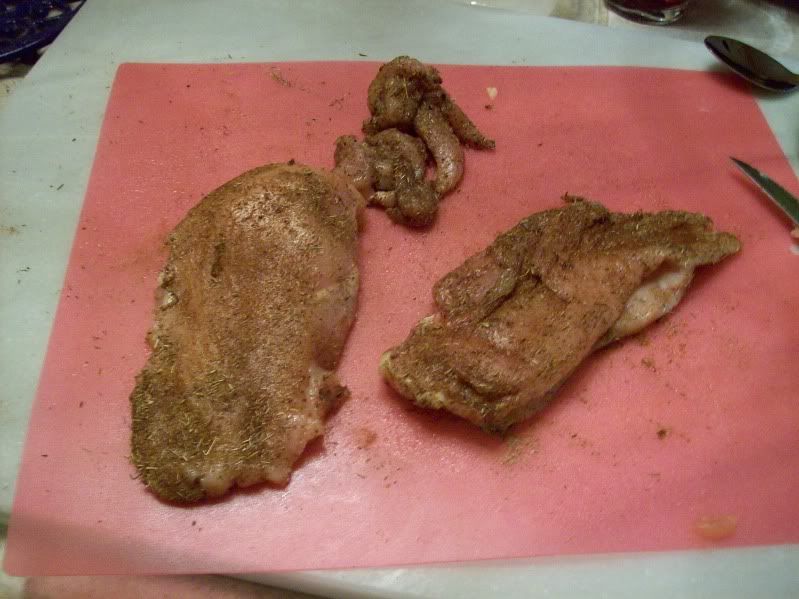
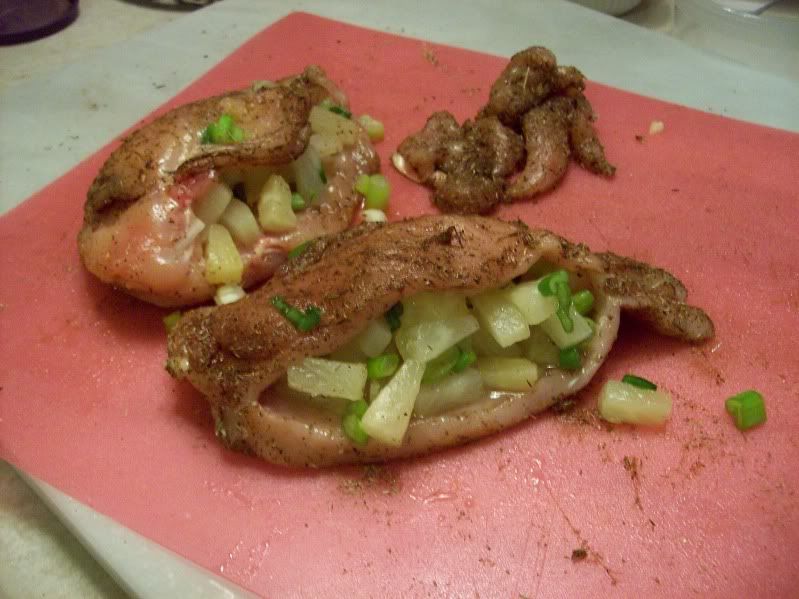
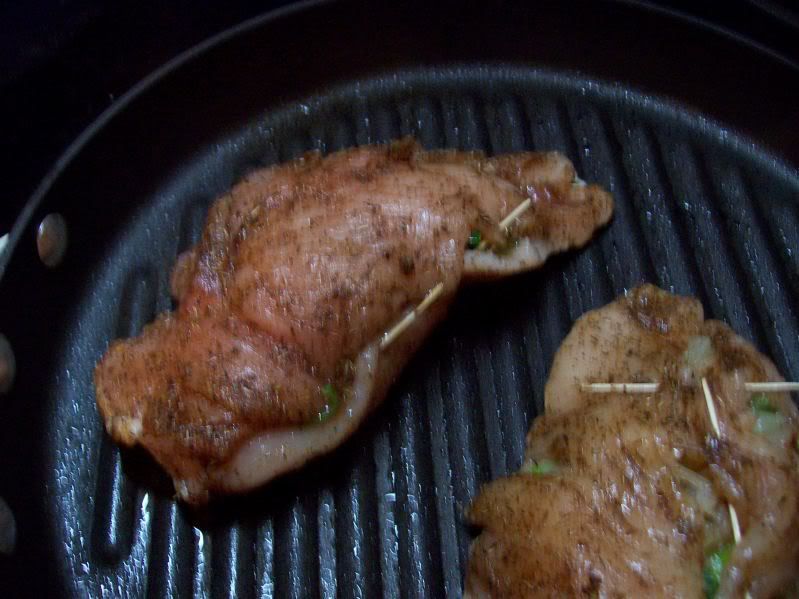
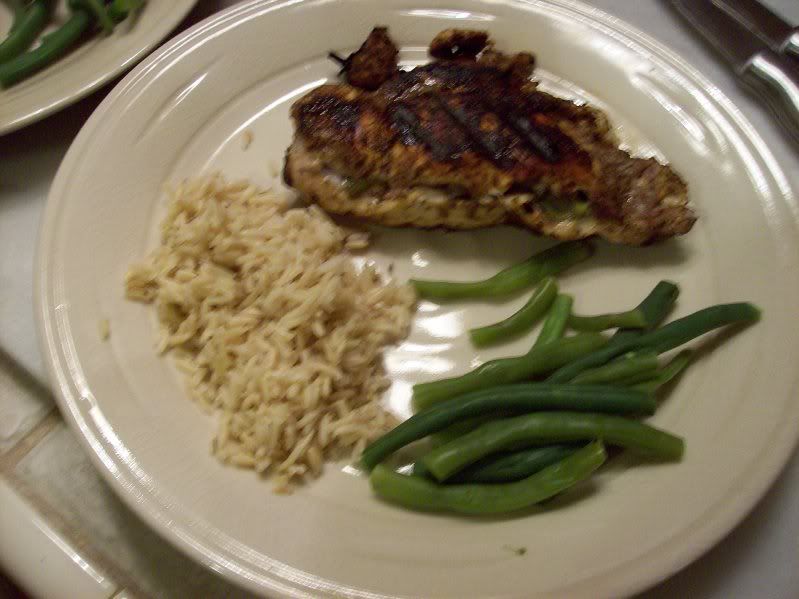
chicken tequila burgers (gasp... I never blogged about these! I made them at least a month ago and we loved them)
Arugula salad, inspired by an arugula and chocolate salad from Orangette's book. Mine was half arugula, half green leaf lettuce, a handful of baby heirloom tomatoes, a handful of dried cranberries, and some grated bittersweet chocolate on top
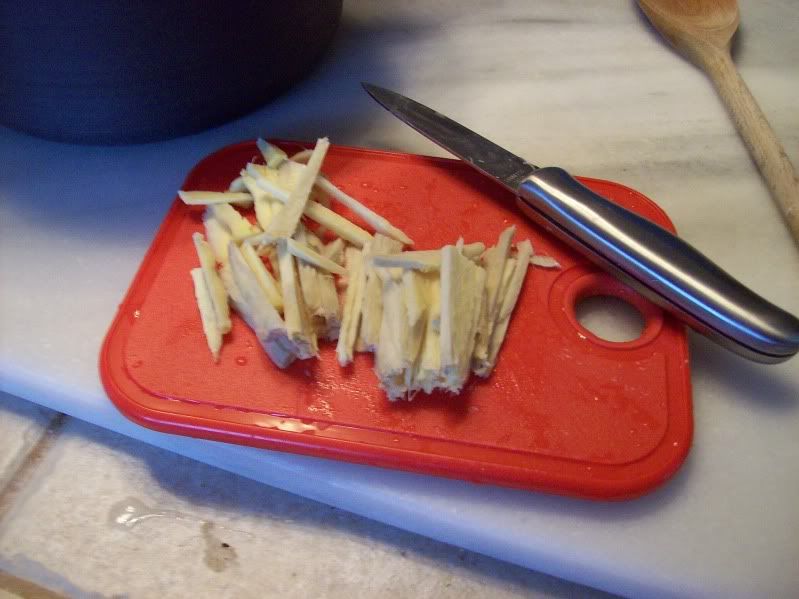
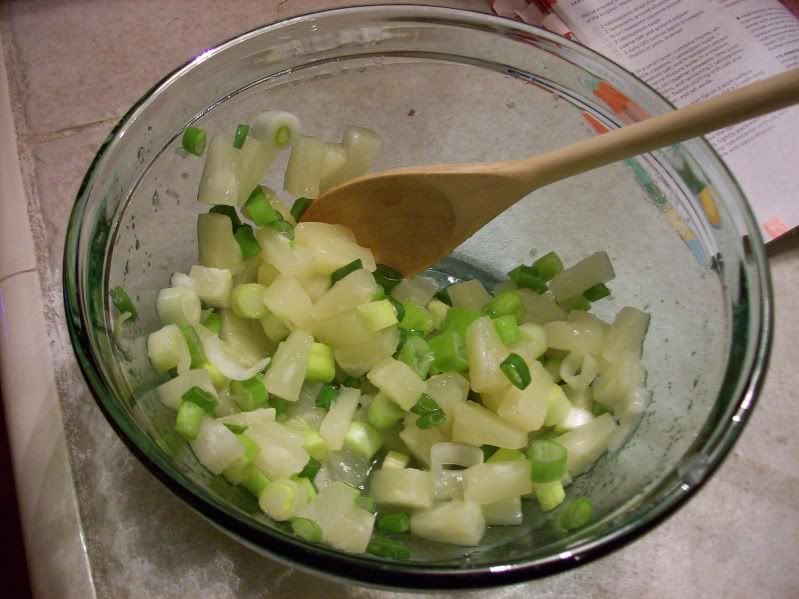
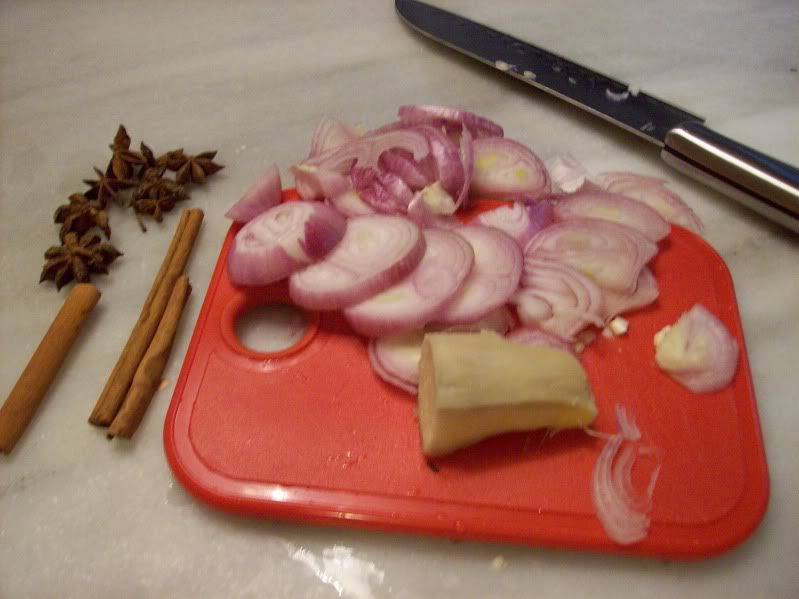
Fennel and apple salad, also inrpised by Orangette's book. 1 fennel bulb and 2 peeled and cored apples, both sliced on a mandoline, and tossed in 1/4cup fresh lemon juice.
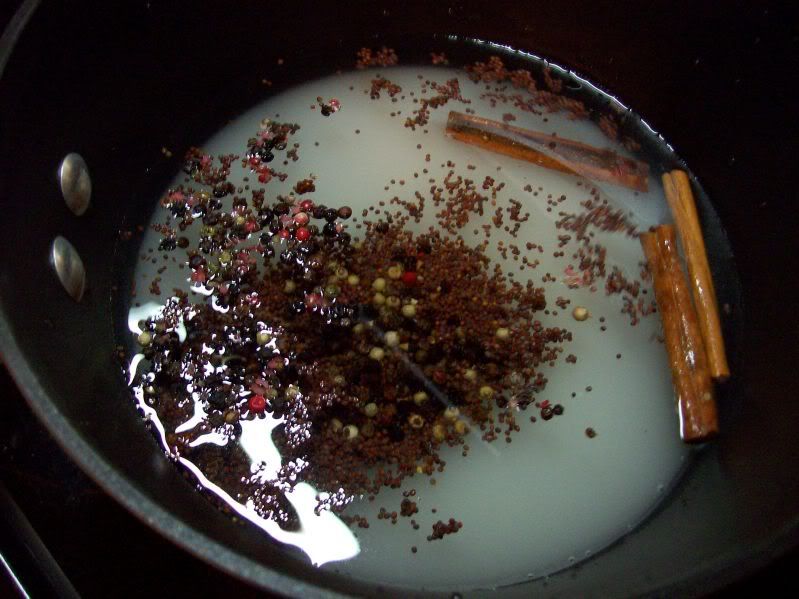
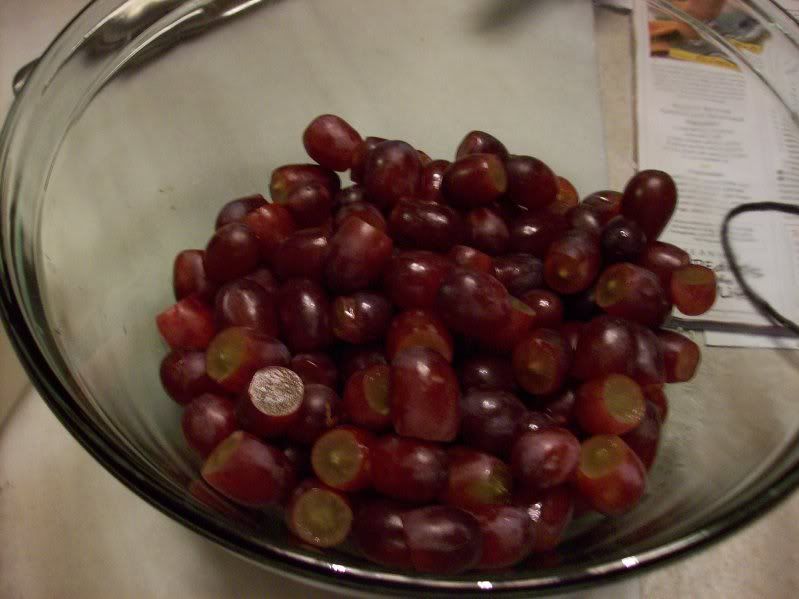
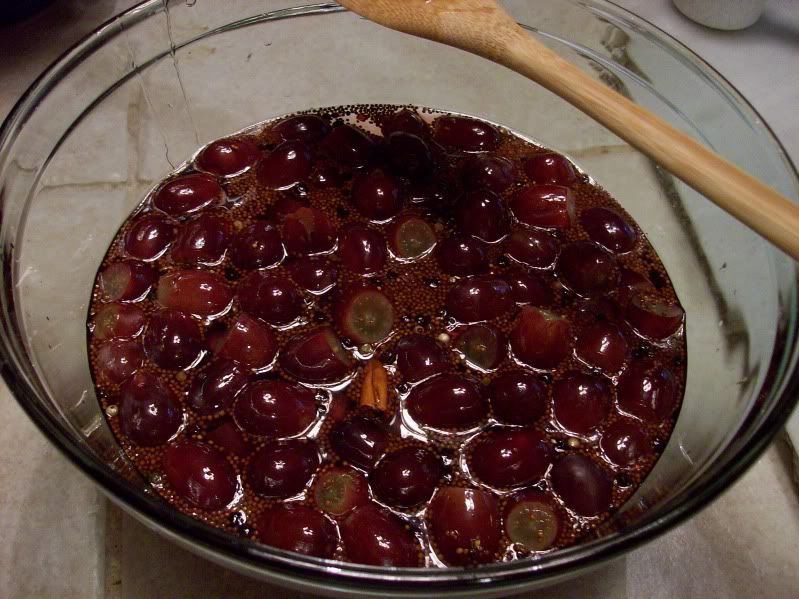
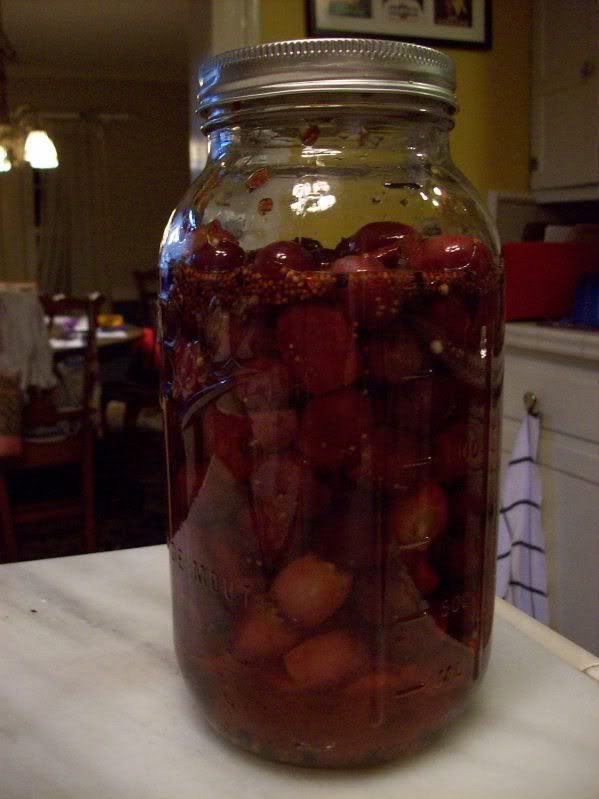
Pickled grapes
Mom's bread and butter pickles (next year, will be mom's and my bread and butter pickles, I'm returning to pickle-making after a long hiatus, caused by grad school and a honeymoon)
Caramelized onions (leftover from the onion dip)
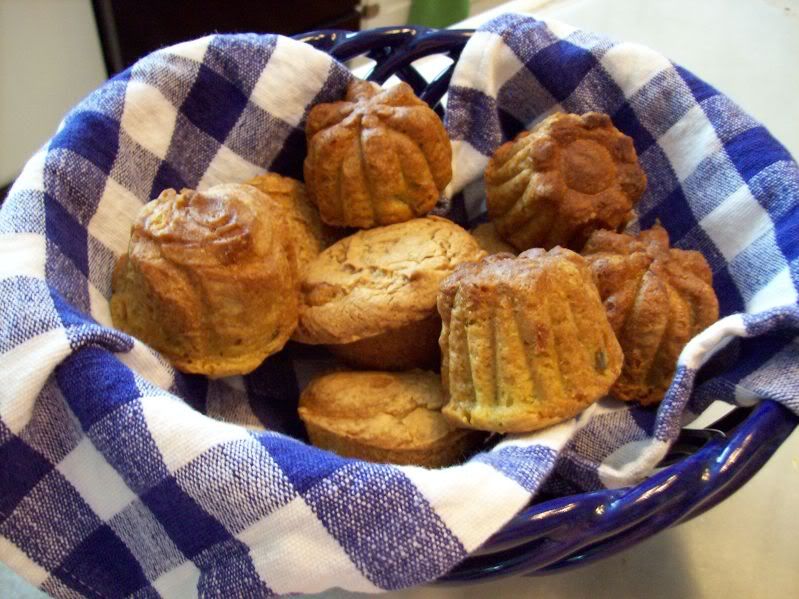
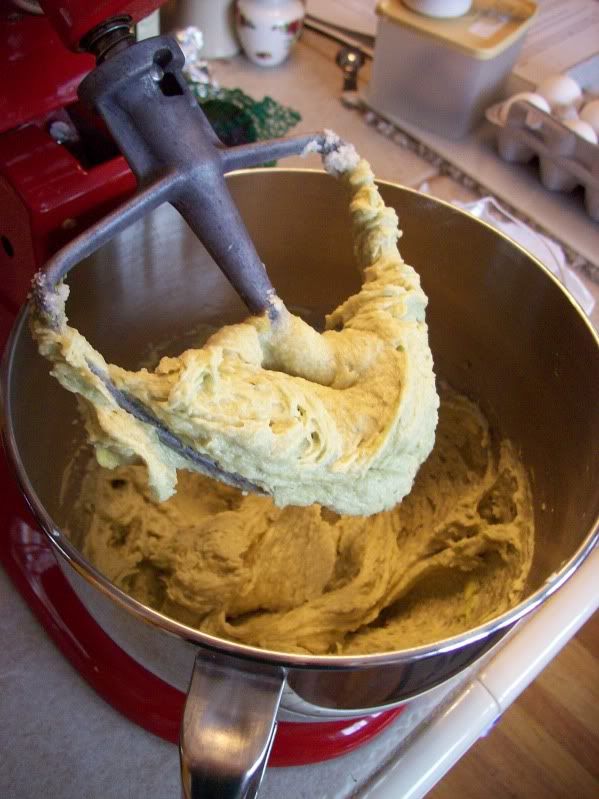
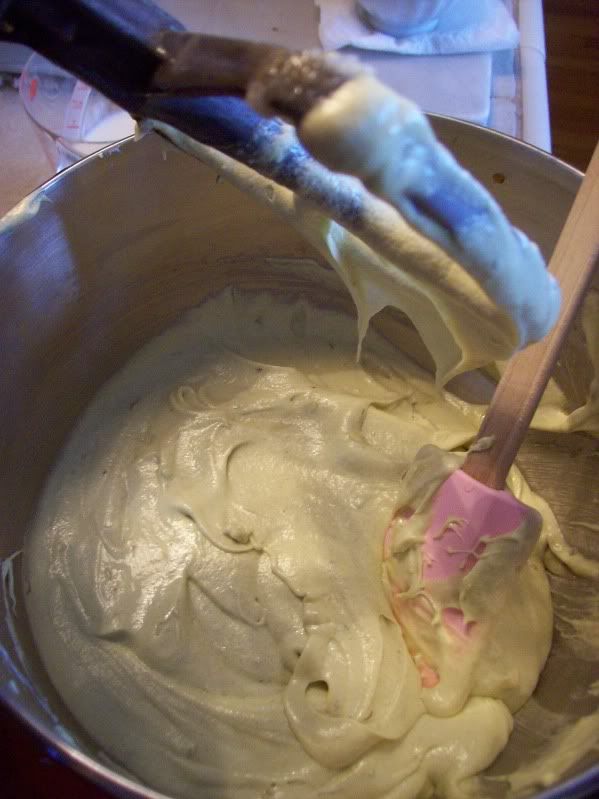
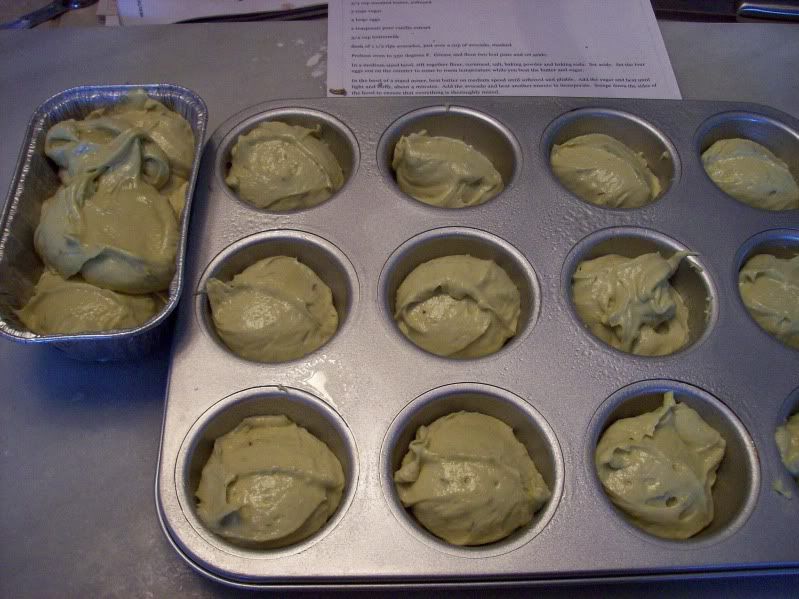
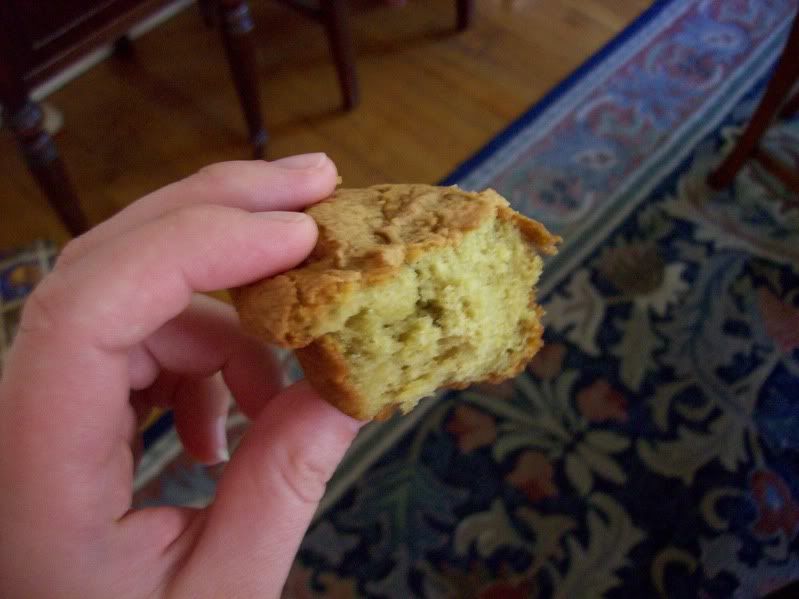
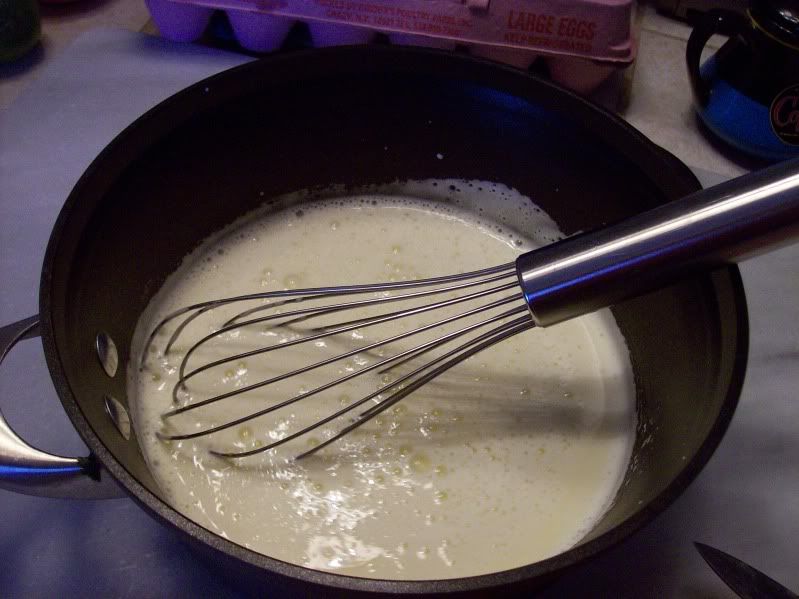
Avocado pound cake muffins
Grapenut bread and banana bread, contributed by my kind aunts.

Dessert:
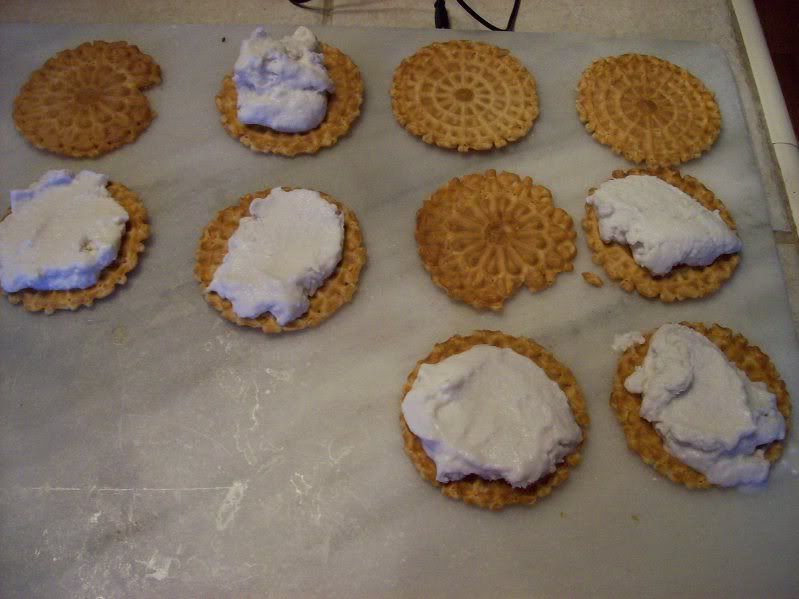
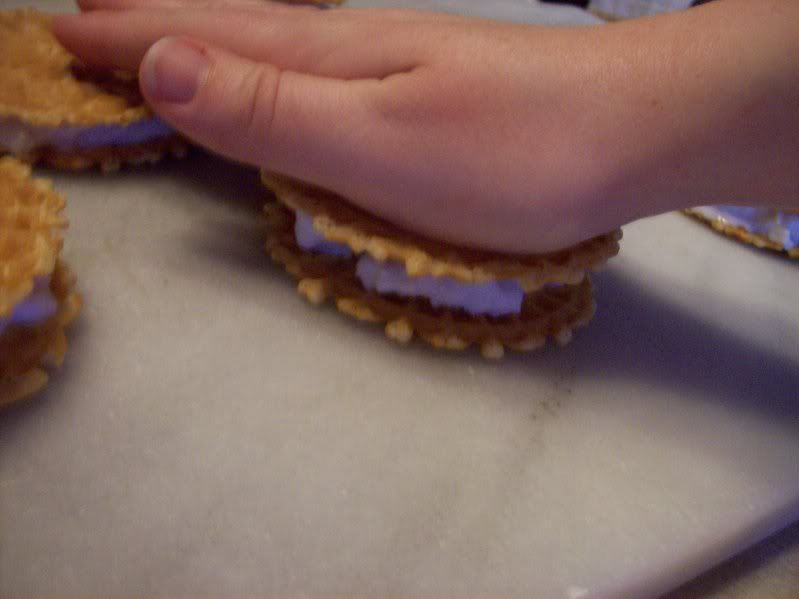
Ice cream sandwiches
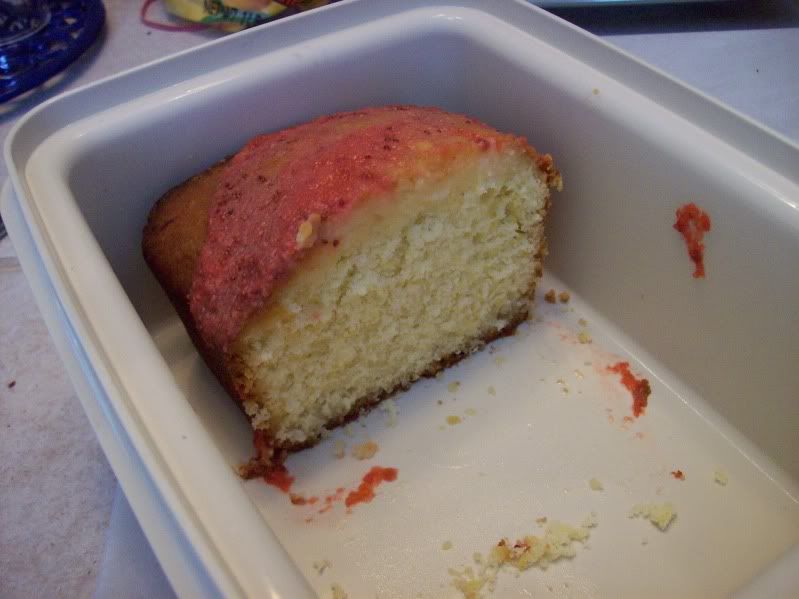
Simon Pearce Restaurant's Lemon Cake with Strawberry Sauce (conveniently included in last week's enewsletter)

Healthy Onion Dip recipe
3lbs (4 medium-large) vidalia onions, chopped
1T olive oil

In a large skillet, heat oil over medium heat and add onions. Stir often, cooking onions until caramelized- 45 min to an hour.

Add
3T water

to deglaze the pan, continue cooking for 2-3 minutes.

Transfer onions to a bowl to cool (if desired, pull out some to use as a hot dog/hamburger topping)

To onions, add
1 16oz package nonfat plain Greek yogurt
1/2 cup reduced fat sour cream
2T lemon juice
a dash to 1t salt, as desired
dash of chipotle powder (Martha said cayenne pepper, either way)

Stir to combine. Refrigerate at least one hour, or overnight, before serving. Serve with fresh veggies (healthy!)

My Other Adventure.

My husband, parents and I were all in the screen porch at the back of our house, breakfasting. I went into the kitchen for more coffee, and I could see through the dining room windows that 2 men I didn't know were standing near some furniture that had been mysteriously set at the curb. I alerted the fam, and they all got up to peer out the windows. Mom noticed that there were 2 cardboard signs, which none of us could read, so she got out her binoculars (we have good birds in our backyard, she was using them during breakfast) and announced the signs said "FREE". oooh.

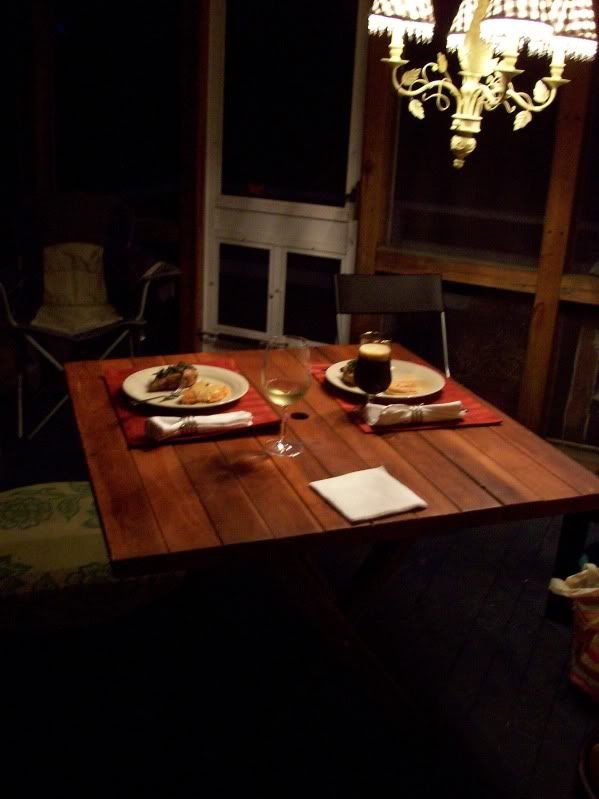
We're now the proud owners of this somewhat scratched (but entirely fixable!) buffet
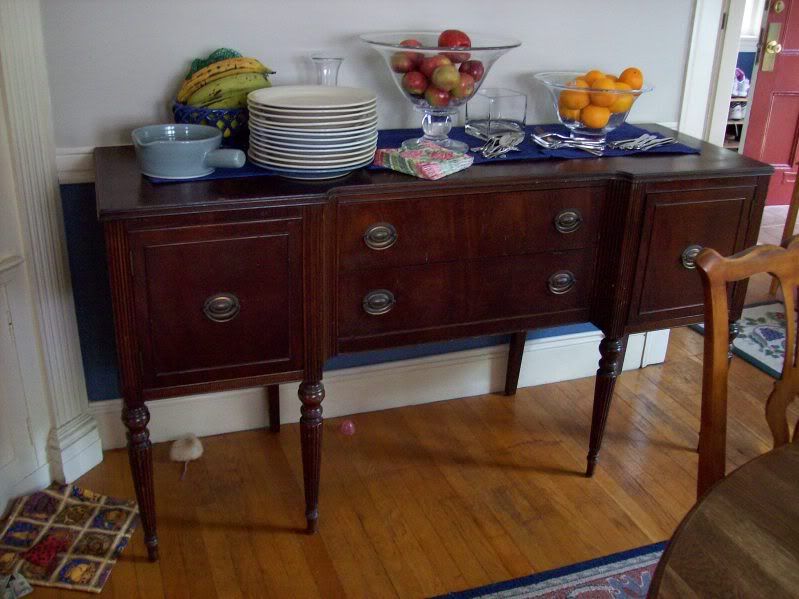
(see, we put it to use immediately!)
4 somewhat beat-up dining room chairs, now screen porch chairs (we bring them in at night) and a very large fancy bureau with enormous mirror, in good condition. For free. So many minutes of cooking time was taken up by moving our new furniture. And I think our dining room looks pretty fancy now, and I'm thrilled for more storage space for our dishes, which we sorely needed. Plus, getting this furniture was pretty exciting and serendipitous: since we're across the street, we got out there immediately, and by the time other people starting popping up to look, we'd already staked a claim. We left 2 non-matching dining chairs for another neighbor to snatch up.

More foods that make you go, huh?

Pound cake.... with avocado?

This is from my new favorite blog that Bird told me about last week. She thought I'd love it, and she was right. Joy the Baker writes in a fun way, and has a good variety of recipes. But the best part is, she's full of recipes that make you go, huh? I love that!

Here's the first one I've tried from her blog, Avocado Pound Cake. (I know, you're making a face, I don't blame you. I was more in open-mouthed awe when I first read the recipe title)

Whisk/sift together, then set aside:
3 cups flour 1/2 cup cornmeal 1/2 t salt 1t baking powder 1t baking soda
Cream together
1 and 1/2 sticks unsalted butter, softened 3 cups sugar
Beat until fluffy, about 4 minutes.

Beat in 1 cup + 1T mashed avocado (Joy says she used 1.5 avocados, but mine must be small because I needed 3 avocados). The batter turns a lovely green color.
The batter's green. It's awesome.

Beat in 4 eggs, one at a time.

Add 2t vanilla.still green!

Add in half the flour mixture, 3/4 cup buttermilk, and the rest of the flour. Mix until just combined.

Transfer to muffin tins (makes about 30 muffins) or 2 9x5 loaf pans, all greased/sprayed with nonstick spray. green!!
Bake at 350F for 40 min (muffins) for 55-60 min (loaf pans), until bread is set.

Enjoy for breakfast, a snack, part of your dinner, or dessert. The muffins are a lovely soft green color, and you can just barely taste the avocado. My avocado-hating husband has been devouring these since I made him try a bite (skeptic-turned-believer).

Summertime

What's more summery than ice cream? And what's more fun than ice cream you can eat with your hands?

In light of these truths, I made ice cream sandwiches, following an idea from the most recent issue of Everyday Food: ice cream sandwiches using storebought pizzelles.

I made coconut ice cream:
4 cups unsweetened coconut milk (I used 1.5 cans lite and 1 can regular)
1/3 cup sugar (this wasn't very sweet, 1/2-2/3 cup might be better if you want it sweet)
1/2t vanilla extract
1 1/4 cup unsweetened shredded coconut

Combine milk, sugar and extract and chill. Stir in coconut and mix in an ice cream maker. Or transfer directly to freezer and stir every 15-30 minutes until frozen (which is what I did, it was too hot for my ice cream maker to work when I made this)
(Note: this ice cream was rock-hard when I took it out the freezer. I recommend letting it sit for about half an hour on the counter before serving)

Blueberry sorbet (somewhat adapted from a Ben & Jerry's recipe for strawberry sorbet)
3/4lb thawed frozen blueberries (or fresh, if you have them)
1 cup sugar
1/4 cup lemon juice

Combine and let sit in the fridge for a couple hours. Mash the blueberries with a potato masher (I do wonder if I should have cooked them to start, they stayed whole, which was still good, but not really what I was looking for)

Then combine:
2 cups of water
1/4 cup light corn syrup
and add to blueberries.

Transfer to ice cream maker to freeze. This is a really nice, light dessert, good for a hot summer evening, whether or not you're on a diet.
(Like the coconut ice cream, this stuff's pretty hard straight from the freezer, so pull it out a bit before serving)

And I made strawberry ice cream.
1 3/4 cups 2% milk
3 long strips lemon peel
1/2 t vanilla
dash of salt

Combine in a medium saucepan and cook until just barely boiling.

Meanwhile, whisk together
1 egg
2 egg yolks
3/4 cup sugar

And whisk in milk mixture, one ladle full at a time, stirring constantly. Transfer milk/egg mixture back to saucepan and cook, until custard is thickened and reaches about 175F (a meat thermometer is handy for this).

Strain custard and chill in an ice bath for a few hours, or in the fridge overnight.

Puree
3 cups strawberries
1/4 cup sugar

And add strawberry puree to custard. Transfer to an ice cream maker, and just before completely frozen,
Add
1/2 cup quartered strawberries.

Done! (Note, like the coconut ice cream, this was really hard ice cream, I recommend letting it sit on the counter at least half an hour before attempting to serve)

When all of these ice creams were at a soft serve consistency (ideally, fresh from the ice cream maker, before freezing thoroughly in the freezer), I assembled the ice cream sandwiches.

Coconut ice cream and pizzelles (from BJ's, this entire package was $7.99)

Lay out pizzelles on a clean counter. Spoon about 1/4 cup softened ice cream over each pizzelle.
Top with another pizzelle and smoosh gently.

Freeze until dessert. I made these several days ahead and stored them in the basement freezer in tupperware/fake tupperware. The pizzelles softened, but were a nice match for the ice cream, and the sandwiches were very refreshing.

And speaking of sorbet, here's a recipe I haven't tried yet, but want to.
Beer sorbet
18 oz (1 and 1/2 cans) flat dark beer, perhaps Guinness
5T (1/4 cup plus 1T) sugar

Mix, freeze in the ice cream maker.

I love the story that goes with it: Ben & Jerry say that at trade shows, they always ended up next to the beer booth, and no one wants ice cream while drinking a beer (to which my husband says, seriously?), so they decided to just go with it, and have a beer-friendly frozen dessert, beer sorbet. Having really enjoyed a stout ice cream, and loving the beer/honey syrup I make for beer cookies, I'm eager to try beer sorbet. I may play around with substituting honey for sugar.

Pickled what?

Pickled grapes!

Now here's a dish that makes you go, huh? I love those foods.

This is yet another recipe from Orangette's book, A Homemade Life. I'm in awe of this book.

Recipe:
2lbs red (or black) seedless grapes, washed and the end attached to the stem trimmed off
2 cups white wine vinegar (I had to use 1.5 cups white wine vinegar and 1/2 cup plain white vinegar)
2 cups sugar
2t whole peppercorns
3t dark mustard seed
3 2inch cinnamon sticks

Combine vinegar, sugar and spices in a sauce pan, bring to a boil over medium heat, stirring often to dissolve the sugar.
Place grapes in a large heat-proof boil,
and pour the vinegar/sugar/spices mixture over. Let sit until cool. Wash an 8 cup mason jar (or 4 pint jars, whatever you have on hand) in hot, soapy water and rinse thoroughly. Transfer the grapes and liquid to jar(s), refrigerate. These should chill at least overnight, some people prefer them at different times. Mine went for 3 days in the fridge before serving, and were delicious. The grapes will wrinkle a bit over time, and the liquid turns a lovely fuschia color (and is quite sticky). Keep refrigerated, these aren't properly canned for sitting on a shelf somewhere.
If you like pickled things, you will adore these. If you don't like pickled things (like my husband), it's likely you'll still like these. And what's even better: they're very easy to make, and look really fancy. Christmas gifts, anyone?

Wednesday, May 26, 2010

Practice for the CSA

Our first CSA starts in 3 weeks, and I'm pretty excited about it :-D  

Many people online have been discussing CSAs, and I saw a blog post (which I unfortunately can no longer find) on pointers if you're considering a CSA. I suppose for the average person, who cooks because they have to, not because they spend all their spare time looking for new and exciting recipes to try, this list would be useful. It had points such as "you're going to get a lot of veggies. Will you be able to eat them all, or give the
m away?" and "You need to pick up your share every week- if you're on vacation, you need to find someone to get your share for you." (and ok, the first one is a good point- I think I'll even be surprised at the volume we'll get. But I'm preparing for it)

The last note was a plus for me, yet it was presented as a negative point: "you will get vegetables you don't normally eat. Are you willing to try new foods and recipes?" Well, DUH, why else would you get a CSA? (aside from supporting a local farm, of course). I think this is the best part. We're going to get things I've never cooked before, maybe even things I've never eaten! Awesome!

While we twiddle our thumbs, collecting recipe ideas and just waiting, Clint gave me a practice round (probably by accident). He was in NH for work, and I a
sked him to stop at my favorite grocery store and pick up some (many) things. I included "some veggies, whatever's on sale, all we have are parsnips and leeks". So what did he bring home? Kale.

Kale?

When I asked what he wanted me to do with the kale, he shrugged and said I'd figure something out. It took me until the kale needed to be eaten to do something, but I did it!

for 2 servings
2 sweet potatoes
olive oil
2 cloves garlic, sliced thinly
1 bunch kale, washed, thick stems removed, and cut/ripped into bite-sized pieces
salt and pepper to taste
1T balsamic vinegar
ricotta cheese 

Wash potatoes and rub with olive oil. Poke holes with a fork all over, and place on a baking sheet in a 450F oven for 1 hr.

In a medium saucepan, heat 1T olive oil over medium-high heat. Add the garlic and cook for 1-2min, stirring constantly, to kind of fry the garlic. Reduce heat to medium/medium-low and add kale. Season with salt and pepper. Cook for 5 min, stirring occasionally, until kale is wilted. Add 1T balsamic vinegar. Set aside.

Once sweet potatoes are done, slice into them lengthwise, stuff with 2-3T ricotta cheese and kale.

A few notes:
1. these are delicious. I'd never thought to pair ricotta with baked sweet potato, but they're great together.
2. these are super easy- baking the sweet potato is time-consuming, but you really just pop it in and walk away.
3. they're healthy!
4. I'm really hoping for some kale from the CSA. :)


Tuesday, May 25, 2010

Simple Gifts

I know many people who hate buying gifts. So much, in fact, that they won't do it. They say they don't want a birthday gift, or exclusively buy gift cards and hand them out (my husband and I have lately been laughing over some particularly absurd Heloise's Helpful Hints columns in the paper, one of which is pertinent to my thought: 

the writer explained how buying gifts is so hard, and she's just far too busy at Christmastime so what she does is she buys a bunch of gift cards and sticks them on the Christmas tree. At gift exchanging time, everyone approaches the tree and takes one envelope. If they don't like the gift card inside, they can trade. She concluded by exclaiming how well it worked, that everyone went away pleased with her gift.

Come on, how lazy can you be?! (plus, one of my big pet peeves: you know Christmas is coming. It comes every year on the same day, it's not like, oh surprise! It's Christmas! There's nothing stopping anyone from Christmas shopping in March- and please note: if you start shopping early, your huge Christmas shopping bills that come due in January aren't so huge. Take that, Heloise.)

In my mind, the perfect gift is something you buy for a dear friend because of something you have in common. "This is my absolute lip gloss, I just know Anneliese will love it, too", or "This serving bowl was the best purchase I made in 2004, Brian and Hannah must have it." Personally, I have a handful of friends, one in particular, for whom I shop as if I were buying things for myself. Therefore, buying gifts is rather fun, and causes far less guilt than buying unnecessary item for oneself.

One such gift was a book my friend K gave me for my birthday last year. It is A Homemade Life, by Molly Wizenberg, the author of Orangette. In K's birthday card, she explains that Orangette is one of her favorite blogs, she's not sure if I read it too, but she thought I'd enjoy the book. It's taken me a long time to read it (I blame it on moving), but K was completely right. It's a great book: 1. it has great recipes (ones that are simple and inspired, and either go right along with what I like to eat, or make me want to branch out and do things, like make interesting salads) and 2. Molly's stories backing up the recipes are what I'd like my blog to be.

The only issue with that is I'm not a best selling author, nor will I ever be- I am far too lazy to edit any of my posts, and not dedicated to this blog nearly enough. But that's ok, because for me, this is just a blog. And sometimes, it's just a place for me to gather my favorite recipes so that I can find them easily in time to start dinner.

When K first sent me that book, I went and checked out Orangette (and to my surprise, I found that even though I hadn't ever read it (I really have no clue how I missed out on Orangette), I had used one of her recipes, her peppermint bark someone posted on Ravelry, insisting that we all try it, because it was the best. (yes, it is the best, I make that bark every Christmas now, sometimes I have to make multiple batches). Unfortunately, when I first went to Orangette, she was in the process of opening a restaurant, so wasn't posting much. Now she seems to be back, for the most part- aside from touring around, doing book readings.

Anyway, my point: last night I made a recipe from her book. I read the chapter that included this recipe in the morning, and decided we needed to have it for dinner. Mostly because it calls for 2cups of apple cider, and in a rare springtime coincidence (in the fall we always have cider on hand), I had about 2/3 of a half gallon of Big Y brand (i.e. mediocre, not worth drinking but fine or cooking- yes, we're cider snobs) apple cider in my fridge.

Saumon gelee, a la Louis XIV (or cider glazed salmon- Molly explains in her book the fancy French name)

3 cups apple cider (Molly said 2, I needed 3)
1 medium shallot, papery skin peeled off an quartered, lengthwise
1T butter

4 6oz salmon fillets
1/2cup fat free 1/2&1/2 (Molly said cream, Molly obviously doesn't need to worry about fitting into her jeans like I do)

Combine the butter, cider and shallot in a large skillet/wide pot (I used my 7 3/4 qt oval Le Creuset- it's new, I like to use it as much as I can) and bring to a boil over medium heat. Simmer 5 minutes, then discard the shallot.

Place the salmon fillets, skin side down, in the cider, and spoon the simmering cider over the salmon periodically, to cook the top part. Simmer over medium-low heat until the salmon is almost (but not completely- they'll cook after you remove them) cooked through. The salmon should take about 10 minutes per inch thickness to cook, I cooked our approx. 1.5in thick salmon about 20 minutes.
Once the salmon is done enough, remove from the cider and place on a platter and cover with foil. Turn up the heat slightly to reduce the cider. Once it's about 2/3 reduced, add 1/2 cup 1/2&1/2 (or cream) and cook until it's the color of caramel.

To serve, spoon the cider/cream glaze over each salmon fillet.

Results: this is absolutely delicious. I ended up buying wild sockeye salmon (it was on sale for cheaper than farmed regular salmon at Shaw's), which is much deeper in color than regular salmon. The salmon itself is tender and flavorful (but doesn't taste like salmon soaked in cider, it just tastes like really good salmon), and the sauce is sweet and appley. If you like cider, you'll like the dish. (plus, it's so easy)

I served it with kale and ricotta stuffed baked sweet potatoes that I'll tell you about tomorrow. We had a lovely dinner in the screen porch, to celebrate both our great new recipes, and the warm weather.


Friday, May 7, 2010

Ginger ice cream

One day, I had milk in my fridge. Lots and lots and lots of milk. I had to use it up, lest it expire and die a very smelly, dreadful death.

So I made ice cream, of course.

All of my previous ice creams have been variations of an orange coffee gelato from the Kitchenaid Ice Cream Maker cookbook (included with the ice cream maker), but this time, I decided to venture elsewhere for a base recipe. I found a Martha Stewart ginger ice cream that looked good, so I adapted it for my half gallon of whole milk.

Not-so-fatty ginger ice cream (not quite low-fat, either)
Ingredients:
4 large egg yolks
1/2 cup sugar
dash of coarse salt
2 cups whole milk (2% would also be good, for a lower-fat/calorie version)
2-inch piece peeled fresh ginger, cut into matchsticks

In a medium saucepan on a countertop (not over a burner- yet), combine egg yolks (make sure you use those whites for something else! such as meringue buttercream or a double batch of coconut macaroons) and sugar. Whisk vigorously for a few minutes, until mixture turns a lemony yellow. Whisk in milk and salt. Heat over medium heat, stirring constantly with a wooden spoon (note my "stirring constantly" kitchen set up- one hand on the laptop, the other stirring). Once mixture has thickened (but make sure eggs don't scramble/curdle- even if they do a little, it's ok, just not ideal), remove from heat and add in sliced ginger. Let sit 30-45 minutes, then cool (in a refrigerator is fine and easy, but takes longer, over an ice water bath is quickest). Freeze in an ice cream maker according to the ice cream maker's instructions.

Wednesday, May 5, 2010

"The best meal you've ever made"

quoth my husband.

Honestly, this is a really good recipe. It's delicious. But... it's easy. The best thing I've ever made should be something impressive and labor intensive, right? Something I slaved away in the kitchen all afternoon (or even all day) to make. Not something tossed in a plastic bag with a handful of other ingredients.

But, he insists, this is the best thing I've ever made. And instead of referring to it as "that honey and cumin pork we broiled", I have to call it "the best meal I've made".

And I need to spread the word.

I found this recipe on from Josie of pinkparsleycatering.blogspot.com, who has a number of really nice recipes (such as).

Ingredients (slightly modified):
1 pork tenderloin, trimmed of fat and membrane
1/4 cup low sodium soy sauce
3 Tbsp honey
zest of 1/2 an orange
1 tsp ground cumin
1/2 tsp chipotle powder
1/2 tsp garlic powder
1/4 tsp kosher salt
1 Tbsp canola oil

Combine all ingredients in a plastic ziploc bag.

(supporting the ziploc bag in a large cup makes it easier to fill)Marinade for a few hours or overnight (we marinaded for approx 32 hours).When getting ready to cook the meat, make a glaze of 2T honey (microwave for 10 seconds to make more liquidy), 1t cumin and 1/2 chipotle. Brush over one side of the tenderloin.

Grill over medium high heat for about 15 min (turning over once halfway through), until meat reaches 160-165F. Remove from heat, tent with foil, and let rest for 10-15 min before slicing and serving.

Or if you have no grill, broil on high for 15-18min, turning over after 10 minutes. Have your fan on, since the honey glaze will drip and burn slightly. As with a regular grill, remove from the broiler, tent with foil and let rest for 10-15 min before slicing.Like I said, this is incredibly easy. It's a bunch of ingredients left in a ziploc bag, then cooked. The pork came out nice and tender, and the combination of citrus, sweet honey, and spicy chipotle is exactly what we like. (of course, adjust the amount of chipotle to make it as spicy or mild as you like).
We had this with roasted chipotle/orange sweet potato wedges, and a lemony garlicky sauteed spinach (Clint's new specialty).


Monday, May 3, 2010

Pineapple-stuffed chicken

One day (just like every other day), I had some down time at work, and decided to use those 10 minutes to put some thought into dinner. In the freezer we had..... chicken.

Chicken is boring. We're definitely an "other white meat" household- I have a zillion delicious pork recipes, but I shy away from chicken, the tasteless meat.

But, chicken was on sale, so we had a lot in the freezer. And I had to do something with it.

Therefore, Jamaican jerk-spiced chicken, stuffed with a lime-pineapple salsa thing. Rather easy!

Jerk spice rub:
2 tablespoons dried thyme
2 teaspoons ground allspice
1/2 to 1 teaspoon cayenne pepper
3 tablespoons sugar
Coarse salt and ground pepper

Combine spice rub ingredients in a small bowl (store in tupperware and save leftovers for later).

Pineapple stuffing:
1 20oz can pineapple chunks in juice, drained
2 tablespoons fresh lime juice
2 scallions, thinly sliced

Combine stuffing in a small bowl.

4 boneless, skinless chicken breast halves (6 to 8 ounces each)

Cut a deep pocket in each chicken breast. Season the outside with jerk spice rub, and stuff with pineapple mixture. Close pocket opening with toothpicks (soak toothpicks in water, 20-30 minutes if grilling).

Grill (on a proper grill or a grill pan) until chicken is cooked through. (Note: the grill pan doesn't work all that well if your chicken is fairly thick- if you don't have a real grill, broiling might be better)
And.... eat!
The jerk spice rub is flavorful but not overpowering, and the pineapple stuffing is fresh and light. This would be a good meal for a summer bbq.

Pho!

We have a butcher. Our butcher sells all sorts of meat things, and I have dreams of going in there and chatting, Alton Brown style, about different cuts of meat and learning what's best for what and how to cook it.

So far I've never been to the butcher, Clint likes to walk over at lunchtime on nice days, so he takes care of all our meat needs.

But one day, Clint mentioned our butcher has "soup bones" (beef shanks).
Do you know what you can do with soup bones? Make broth! This happened during the height of my chicken soup making days this winter, so I got pretty excited. Unfortunately, the soup bones appear to be one of the most popular items our butcher sells and he only gets them on Tuesdays, so it took us a while to actually get some for ourselves. Once we did, I took advantage of a recipe I'd found online recently.

Pho tai (vietname beef noodle soup), adapted from koko cooks.

Beef Stock (best made a day ahead, so the fat can solidify and be easily removed):
2 lbs of beef shinbones (a combination of bones and oxtails would also have been good)
10 cups water
2 shallots, thinly sliced
1 inch chunk of ginger, peeled and sliced
4 star anise
2 cinnamon sticks


Combine all ingredients in a large stockpot, bring to a boil and simmer for 1hr, uncovered. Remove from heat and when cool enough (around 2 hours for me), refrigerate overnight. The next day, remove the thick layer of solidied fat and discard. (it was quite a thick layer of fat)

Strain the beef stock and discard solid parts (i.e. bones, spices, shallots, bits of fat). Because this is simmered uncovered, much of the liquid boils off. I was left with about 6 cups of broth.

Other ingredients:
¼ c fish sauce
Salt and pepper to taste
6 oz thin rice noodles, softened in hot water, cooked according to the package directions, and drained
1 lime, cut into wedges
1 jalepeno pepper, thinly sliced into rings
½ lb boneless beef sirloin, trimmed of fat and gristle, and cut into very thin slices

2 c bean sprouts, rinsed and drained
¼ c minced scallions, green part only
¼ c minced fresh cilantro
1 c Thai basil leaves, or sweet basil leaves

To make the soup, combine the beef broth with 3T fish sauce in a saucepan over medium heat. Meanwhile, cook rice noodles according to the box's directions (generally, boil water, pour over rice noodles and let soften for a few minutes- rice noodles don't need to be cooked, like pasta). Thinly slice the beef, and add to the broth. Cook for 2-3min, until beef is cooked through (which is why slicing thinly is important, it helps it cook faster).
Divide rice noodles among 4 bowls, add about bean sprouts (which I cooked in boiling water for 3 minutes, then drained, because I've heard bad things about bean sprouts), chopped scallions, cilantro and thai or sweet basil (which I omitted, basil's really expensive lately!). Divide beef in broth among the bowls, and serve with lime wedges and jalapeno on the side.

What I like best about this recipe is that even though it's super easy (really- dump some stuff in a pot, cook it for a while, chill it, slice some stuff and put things in a soup bowl), it's rather delicious, and if you're used to American food, it seems pretty exotic. I'm not lucky enough to live in an area where there's $3 bowls of pho on every corner, so I either have to drive a while to find a restaurant (where pho is rather more than $3) or make it myself. And now making it myself is kind of the obvious choice.

And I now have an additional 4 lbs of beef bones in my freezer, waiting.