In January, my husband bought me 2 cases of grapefruit: one white, one red. As I ate grapefruit after grapefruit (one of my very favorite fruits), I was sort of sad that I ended up with all these grapefruit rinds in the garbage. Is there any way to use these? (short of composting, I mean, there are too many wild animals in our neighborhood to make me comfortable with a compost heap in our tiny backyard)
The second thing is to candy the peels. I like this idea. I've wanted to candy a number of things for a long time (citrus peels, violets, basil), but I never had.
Thus started the grand experiment. This is a blog post 2 months in the making.
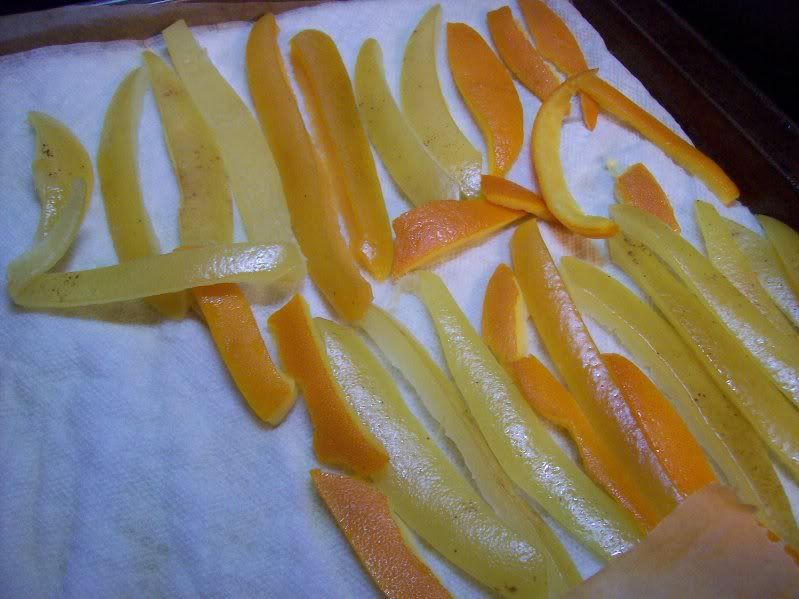
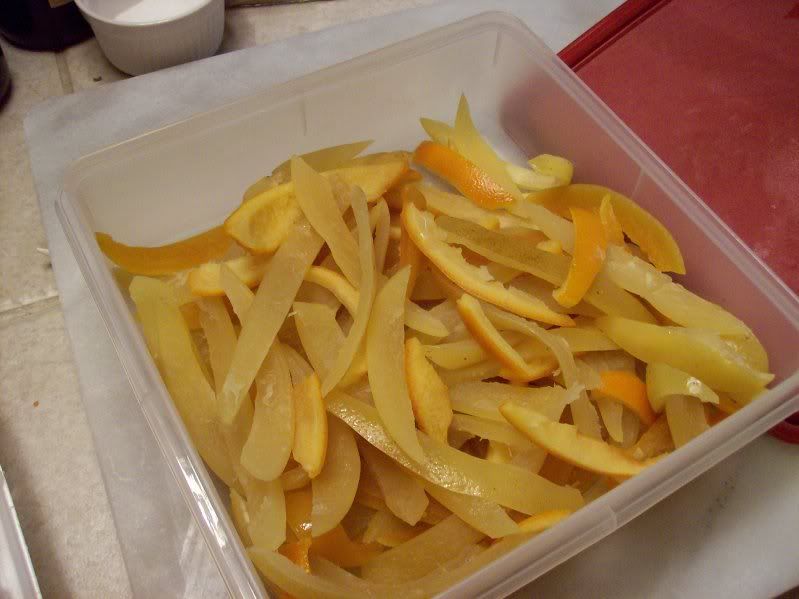
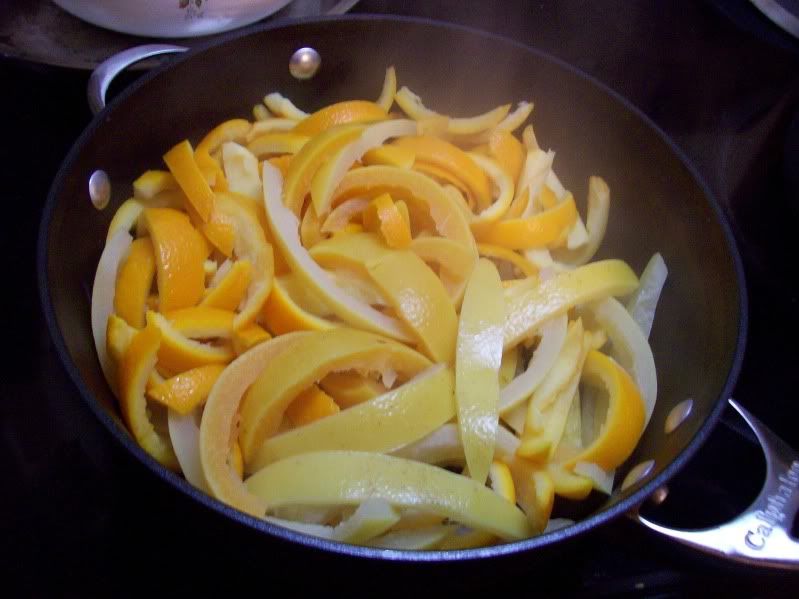
First, I cut up all my grapefruit and orange peels. You don't want to know how many I had, let's just say each individual batch had the rinds of 15-20 fruits, and we're currently (as of March 17) on batch 4, with at least 1 more batch to go. Yes, we eat a lot of citrus. The funny part is I used to have a citrus allergy- either I outgrew it or I fought it and won, because after years of allergic reactions, I get nothing from 4 grapefruits a day. (I simply adore grapefruit.)
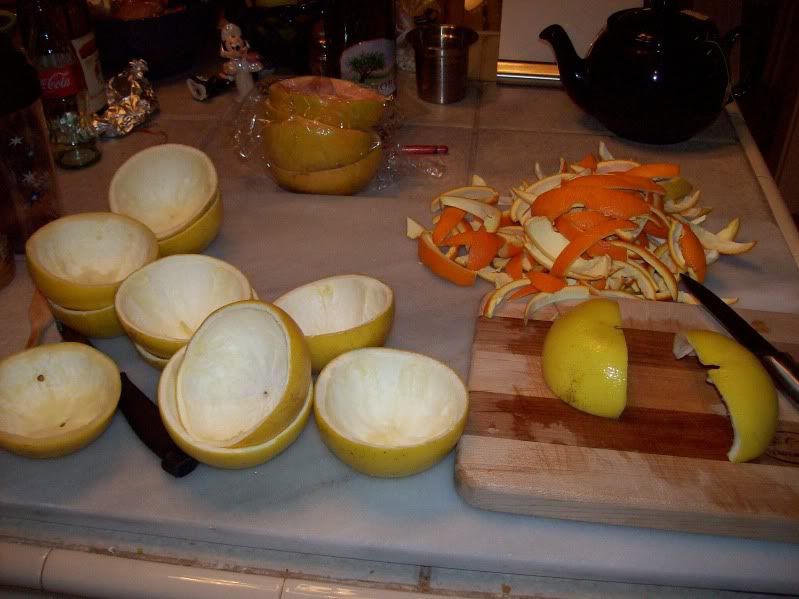
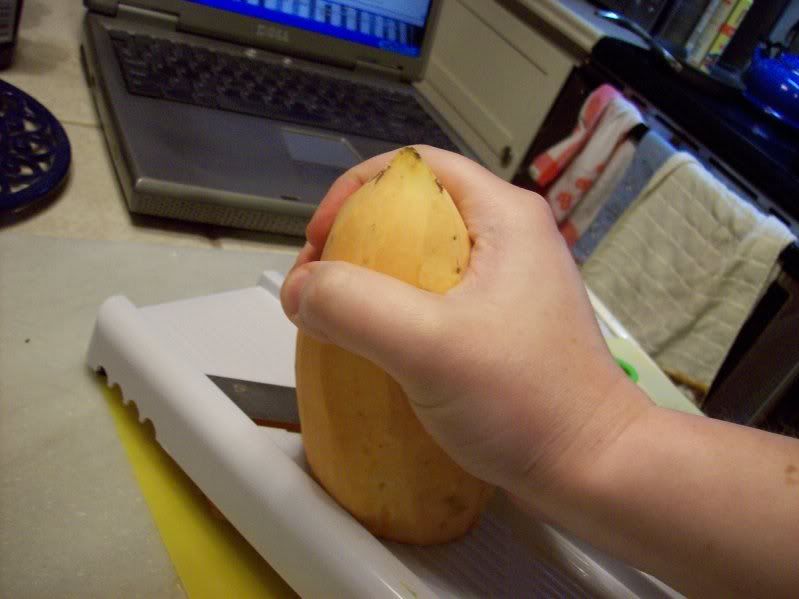
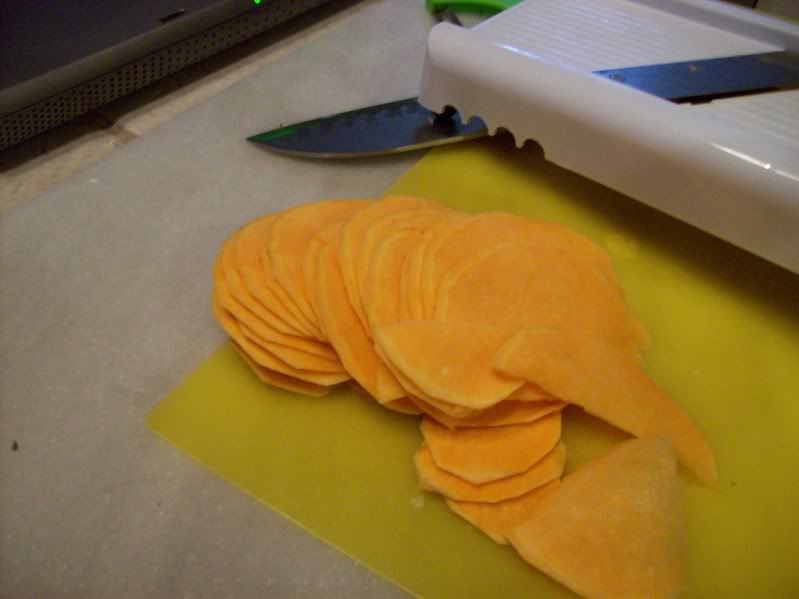
I cut the rinds first into halves, then quarters, then each quarter into 3 or 4 long strips.
Then you boil them.
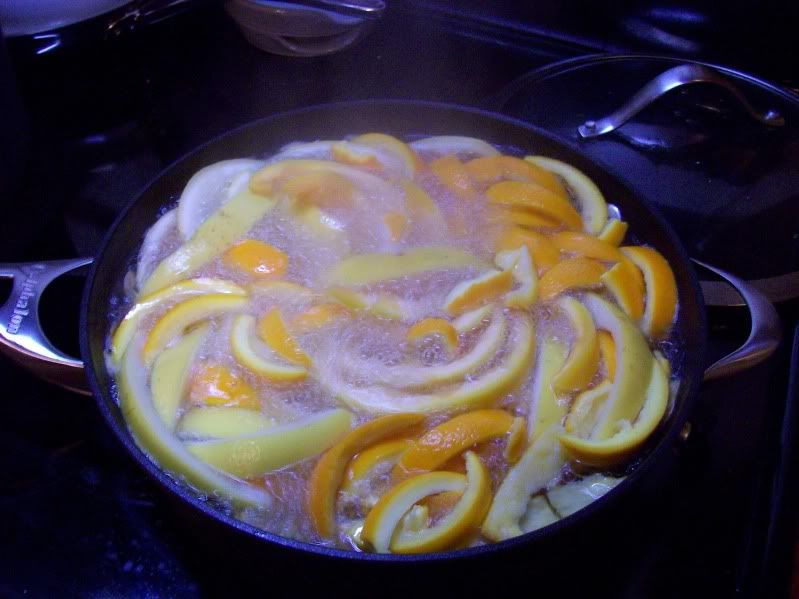
Throw as many strips as will fit into whatever pot you have, cover with cold water, and bring to a boil. Boil for about 5 min, drain, fill with fresh cold water, boil again. Then do this once or twice more- the point of this (while probably getting rid of the residue covering the outside of the peels as well) is to make the peels less bitter.
Boil 1
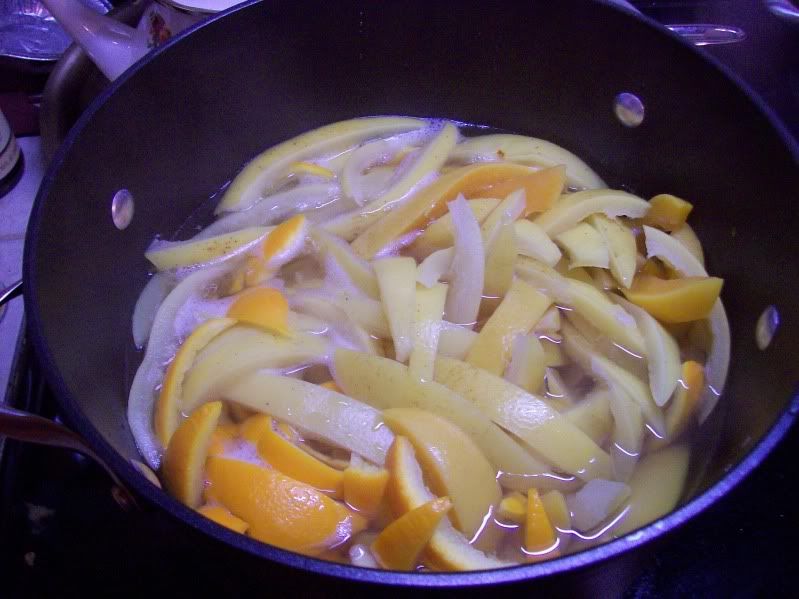
Boil 2
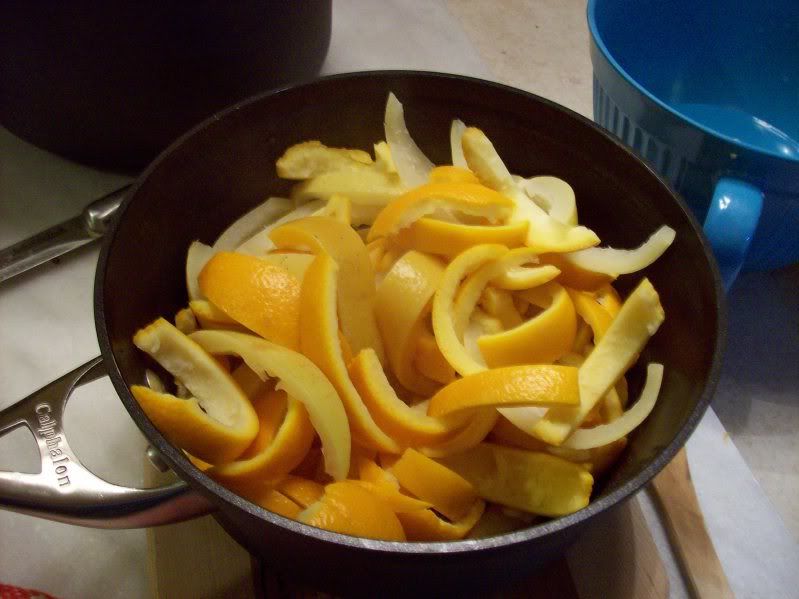
Boil 3.
This next part is where I got into trouble.
Martha says to combine 1.5 cups of sugar with 1 cup of water and bring to a boil over medium heat (no temperature recommended, but they says it takes about 3 min for the sugar to fully dissolve) and throw in the peels. Boil about 12 min, then turn off heat and let the peels sit in the syrup for about an hour. Drain the syrup (save for sweetening iced tea or other drinks- good point, citrus bellini, anyone?) and use the peels.
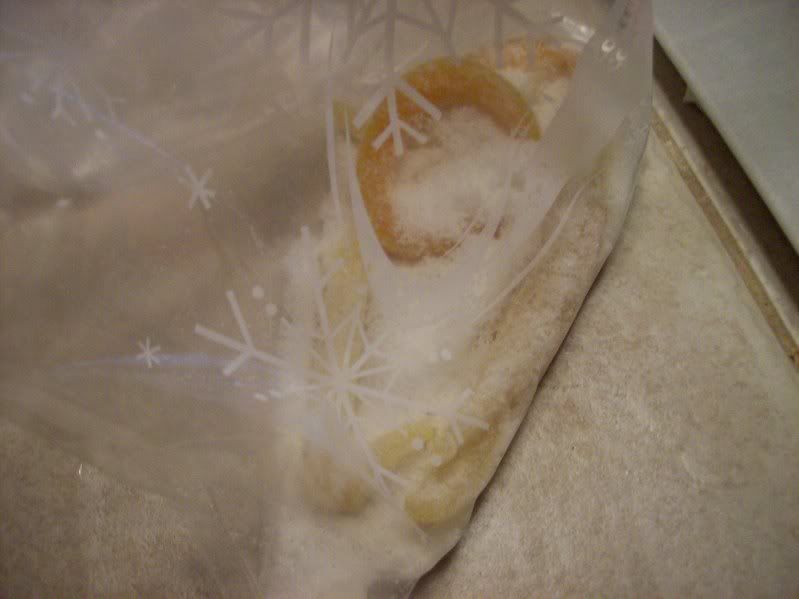
So I consulted another recipe that had essentially the same recipe, but ended with drying the peels spread out on a rack 4-5 hours, then coating them in granulated sugar. I tried this.
I let them sit overnight, I was tired. I coated them in sugar, and let them sit longer.
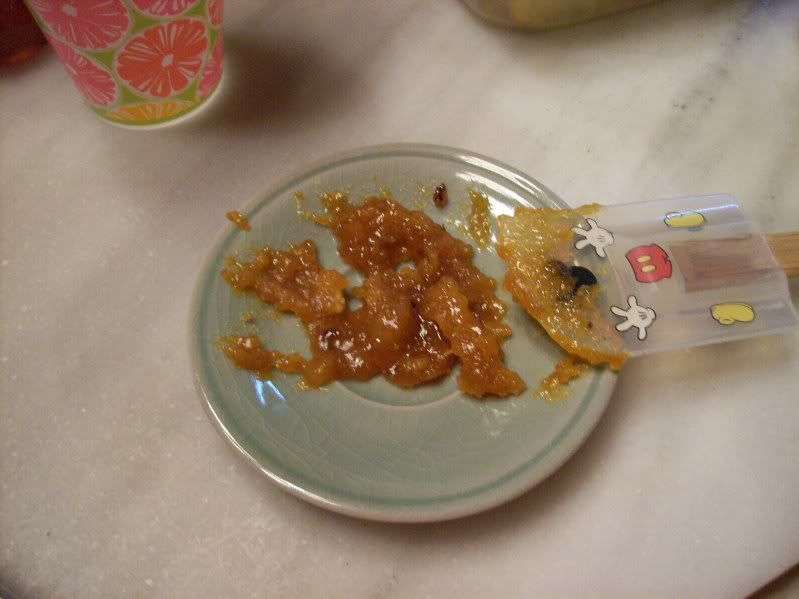
And you know what? After a few hours, they were soaking wet. They were so waterlogged from the candying process that all the sugar coating them basically melted into a sticky goo.
So I tried drying them. In the oven, at 250oF, for an hour. I coated them in sugar, and left them alone (inside the turned-off oven) for 48 hrs.
They were still soaking wet.
And I despaired a bit. I had a ton of grapefruit peels waiting to be candied, and I was failing miserably at it.
So I found
a new recipe. I boiled all those wet, sugary peels in another round of water, and followed the new candying process.
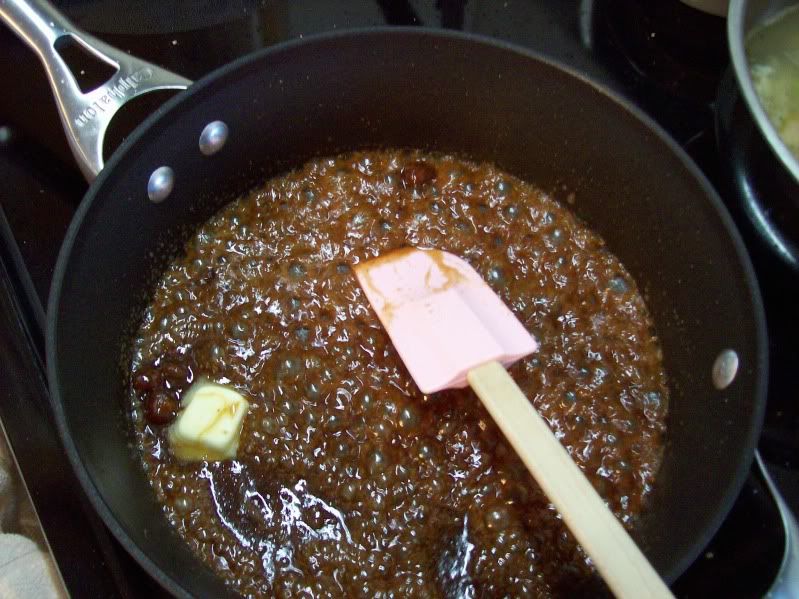
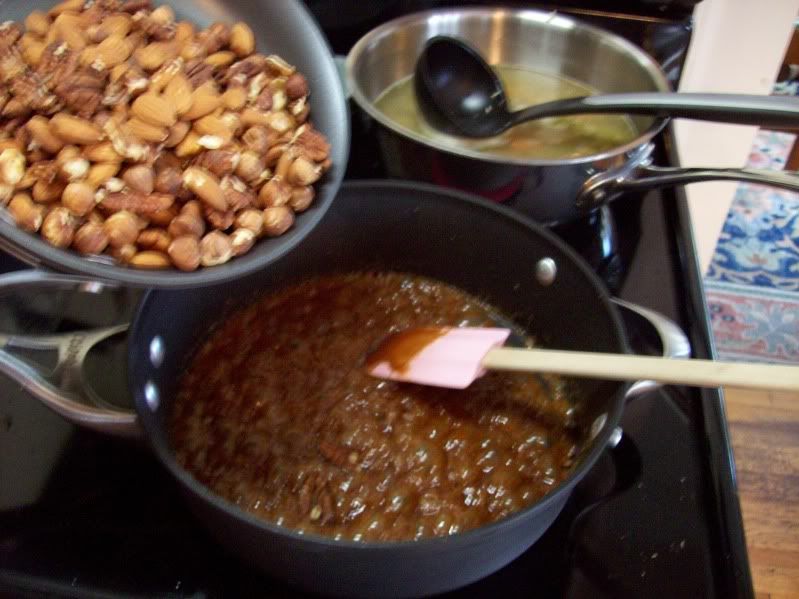
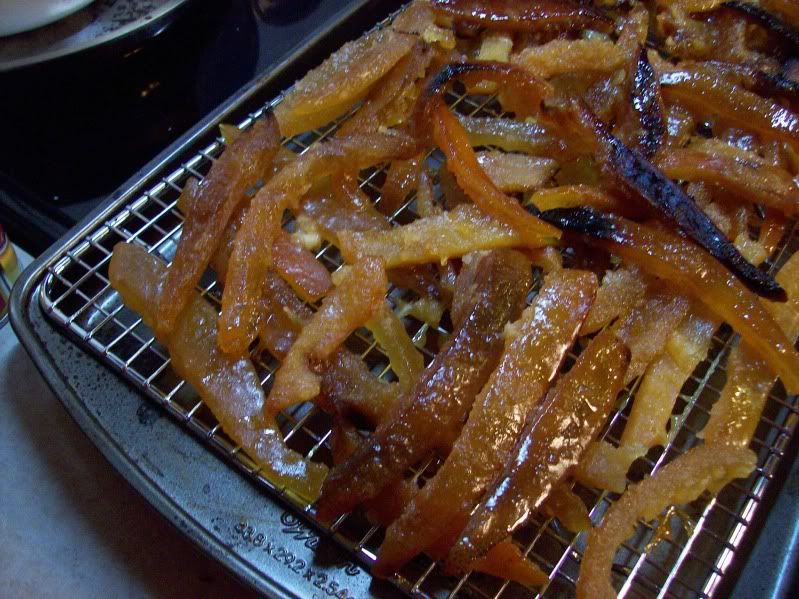
I combined 1.5cups water with 4.5cups sugar in a large pot over high heat, until it reached 230oF (took about 10 min on my electric stove, 15-20 min on my parents' gas stove). I added the peel, stirred a bit to make sure all the peels were coated in the syrup, and ignored it for 45 minutes.
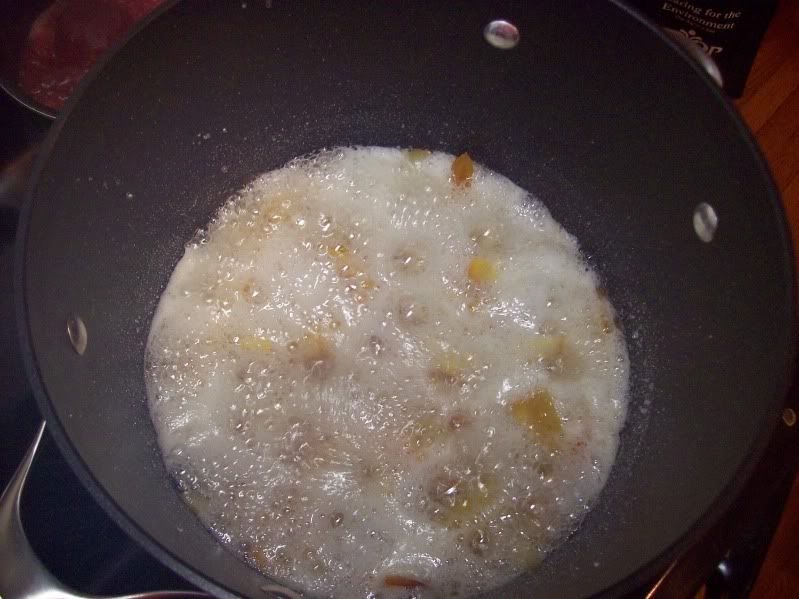
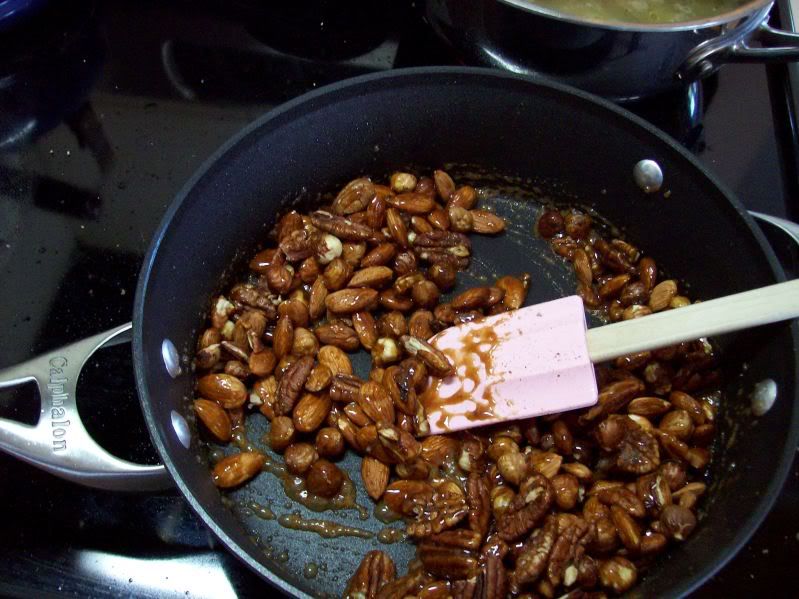
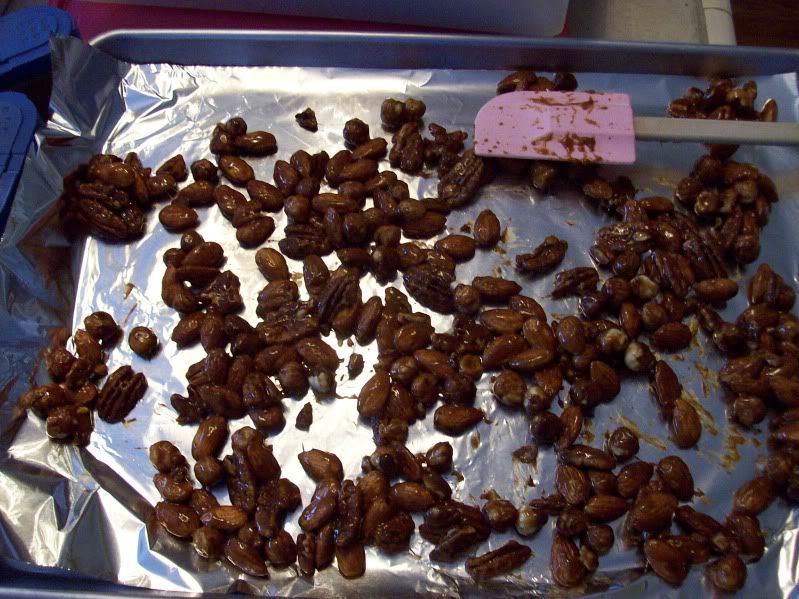
The result was a mass of solid, slightly stuck-together peels, coated in sugar of a maple sugar candy hardness- solid, but not rock-hard.
The leftover syrup, which I was told would make a nice simple syrup for iced tea, was a mass of maple sugar candy-like citrus-flavored substance (actually quite tasty). I also burned the bottom layer of peels, oops.
However, this was more of the consistency I was looking for.
The next batch were boiled in the syrup for only 30 minutes, instead of 45. I did not burn any peels, the leftover syrup was still pretty solid, and the peels had exactly the texture I was looking for- very similar to candied pineapple you can buy.
Phew! I seem to have figured this out.
The third batch I made was at my parents' house, where I actually reread the recipe.... and noticed that you're supposed to turn the burner down to low after adding the peels to the boiling sugar. Oops. So I tried that, and ended up with a much softer peel that's still wet after 3 days.
So, now I can say I've figured out how to do this.
Boil your peels. Use 6-8 fruits' worth of peels for a manageable batch. Boil them 3-4 times as described in the beginning. Combine 1.5cups water with 4.5cups sugar, bring to a boil in a large pot over high heat. Boil until temp reaches 230oF. Add the peels, and bring to a boil, and then reduce heat to medium-high. Boil for 35-40 minutes, stirring gently a couple times during the process, so the peels on the bottom don't stay there the whole time and burn. Remove the peels, spread out on a rack to cool and dry.
And that should work.
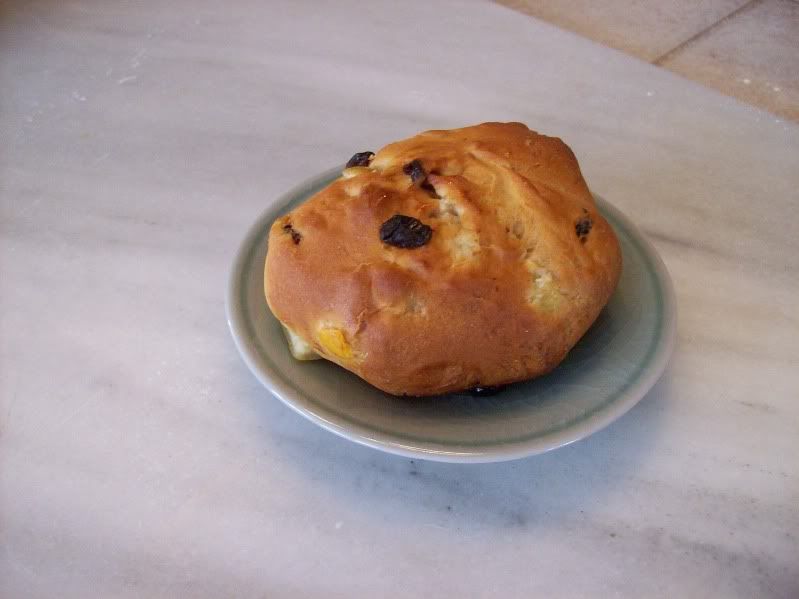
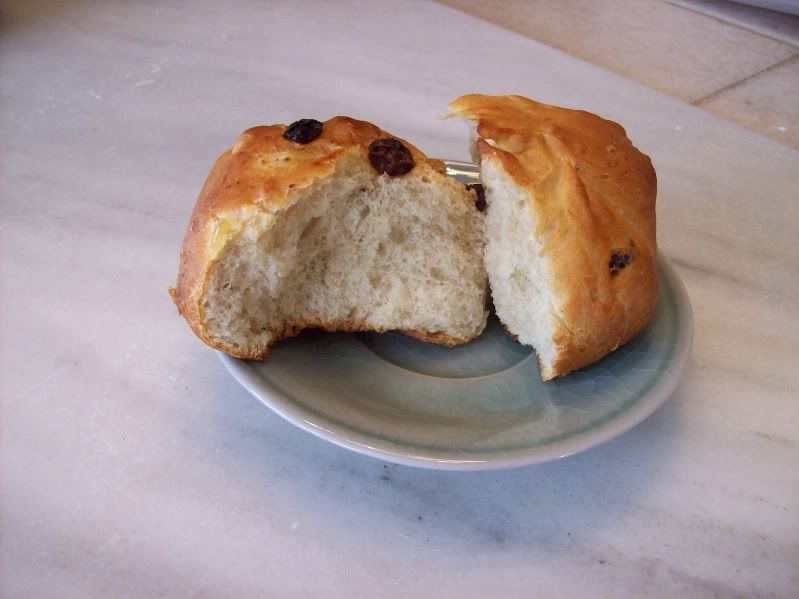
What did I do with the wet peels from the third batch? Why, I incorporated them into Bread Sunday #8.
Normally I would give you a King Arthur Recipe, but honestly (and this is probably the only time I'll ever say this, I'm such a loyal KAF girl), I don't really care for their HCB recipe. They're kind of dense and dry. I've made them for many Easters now, but this time I branched out, with great success.
Combine 1 envelope/2.25t of active dry yeast with 1t sugar in 1/2cup warm water. Let sit for awhile (10-15min). Note: do this in the bowl you plan to make your bread in, to save you from washing multiple bowls unnecessarily.
Whisk together 2cups flour, 1/2t allspice, 1/2t cinnamon, 1/2t salt, 1/2cup sugar. Add half of that to the yeast. Add 5T softened butter and 1 egg, mix well. Add a second egg, Mix. Add the remaining flour.
Knead for a few minutes, until dough is smooth and elastic. This dough is pretty soft.
Let rise in a warm place, about 2 hrs (I let it sit for 4, and it was enormous- very fun.)
Knead in your fruit of choice: I used about 1/3cup each of flame raisins and finely chopped grapefruit peels. Divide dough in half, roll each half into a snake/log, and divide each log in half and then into thirds (12 pieces total), and roll each piece of dough into a ball. Spread out on a parchment-lined cookie sheet, cover with plastic wrap/a towel and let rise for another 45 minutes. Quickly slice an X into the top of each bun with a sharp knife. Bake at 400F for 10-12 minutes.
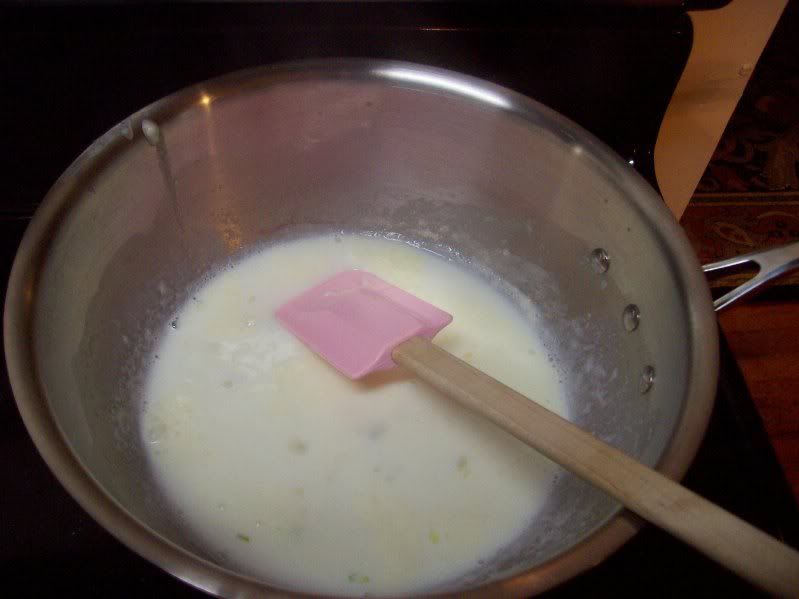
Optional (and I didn't do it, but will next time I make these): when buns are cool, make a milk/powdered sugar glaze (mix 1t milk and 1/2cup powdered sugar, stir until lumps are gone) and drizzle over the buns (or in an X shape on the tops).
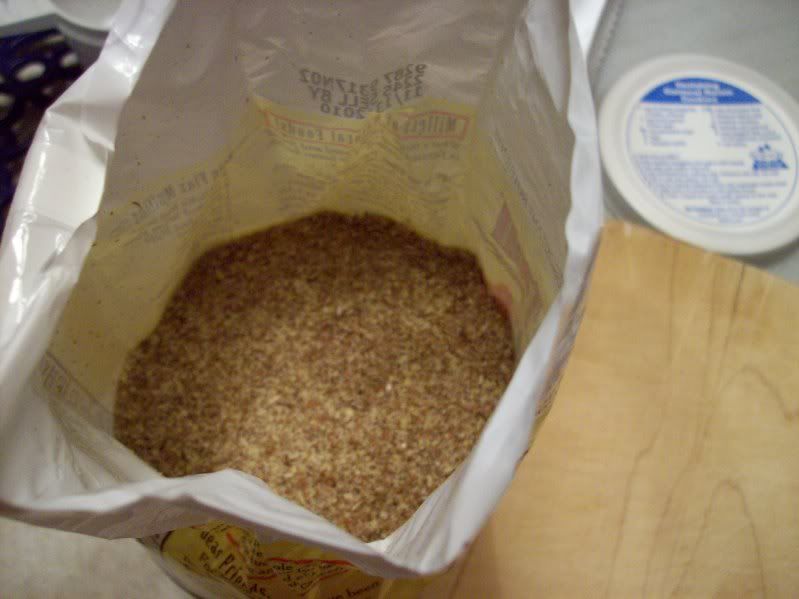 I'd heard of it, but never really paid any attention to it until Clint and I were watching an episode of Martha, where she has an allergen-free cookbook author cooking with her. This allergen-free cook caught Clint's attention when she started talking about egg substitutes (since Clint is so anti-egg, he says because of the cholesterol content, but he's been anti-egg since before he knew
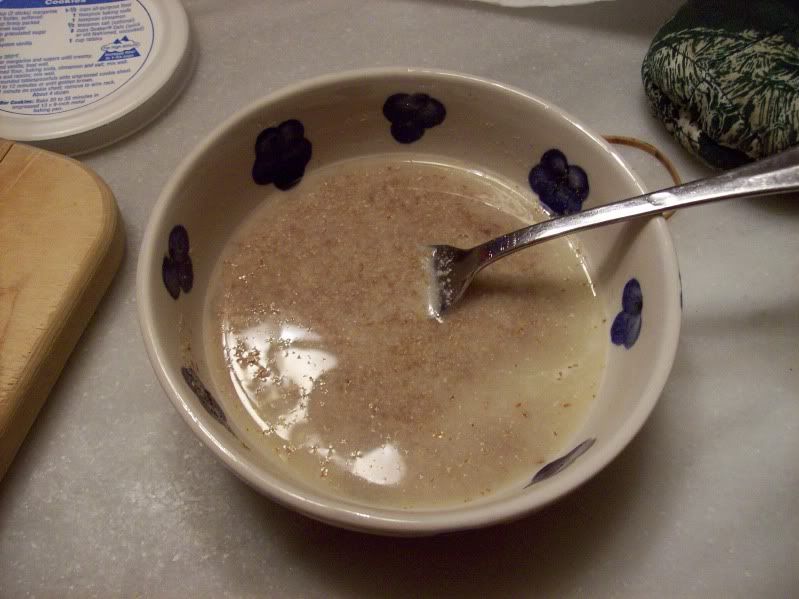 And not only does this get rid of 1 egg, it adds a new source of omega-3 fatty acids and fiber. Even better, the taste test on the show selected the flax seed meal cookies as the better cookie.
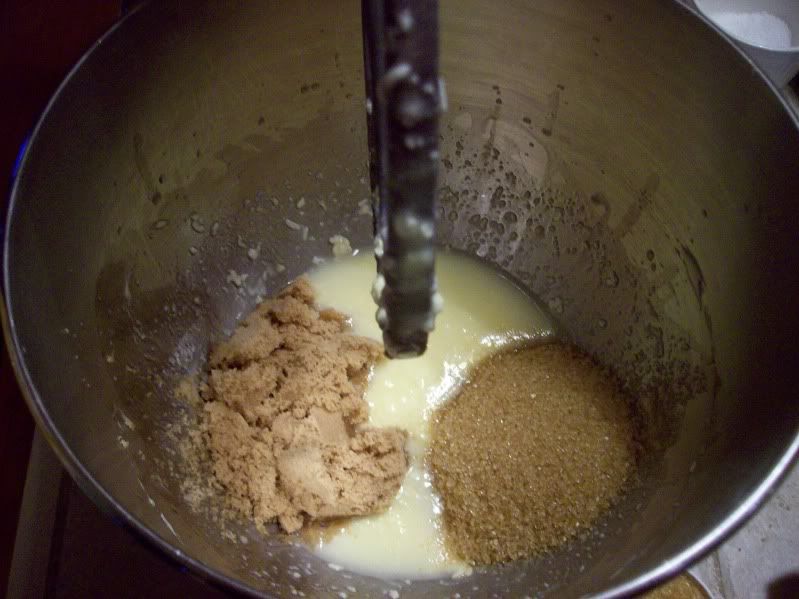 Beat in flax seed meal/water and vanilla.
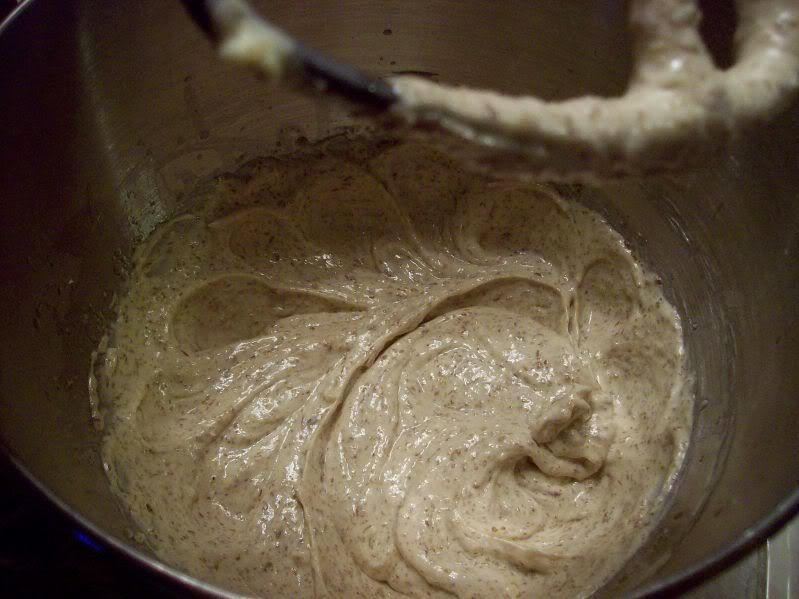 Sift together flours, soda, salt, allspice, and stir in to the wet mixture in 2 batches.
 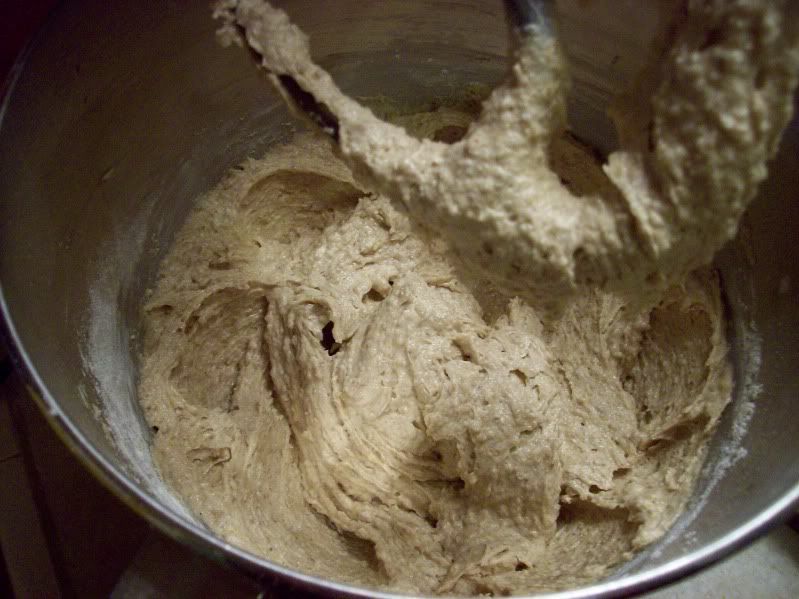 Stir in chocolate chips and cranberries/raisins.
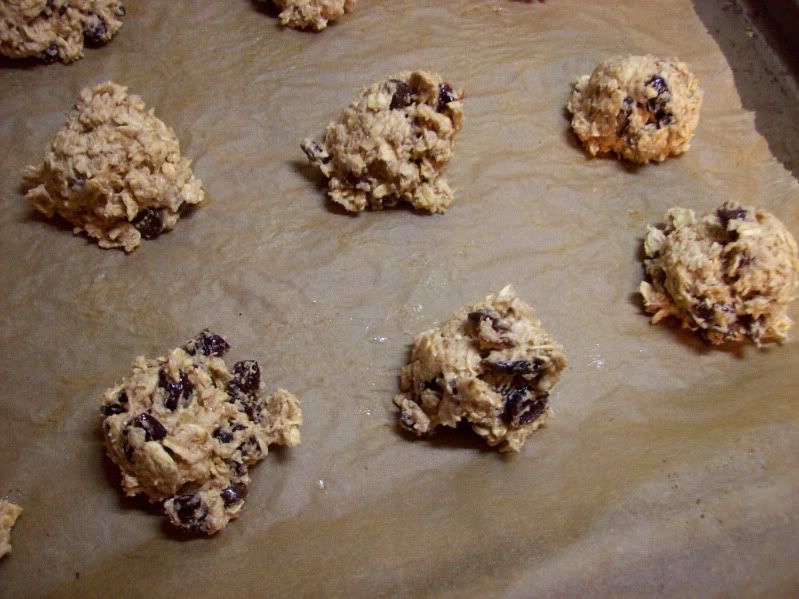 Drop heaping tablespoons of dough on a cookie sheet, bake at 375F for 14 min. Makes 4-5 dozen cookies.
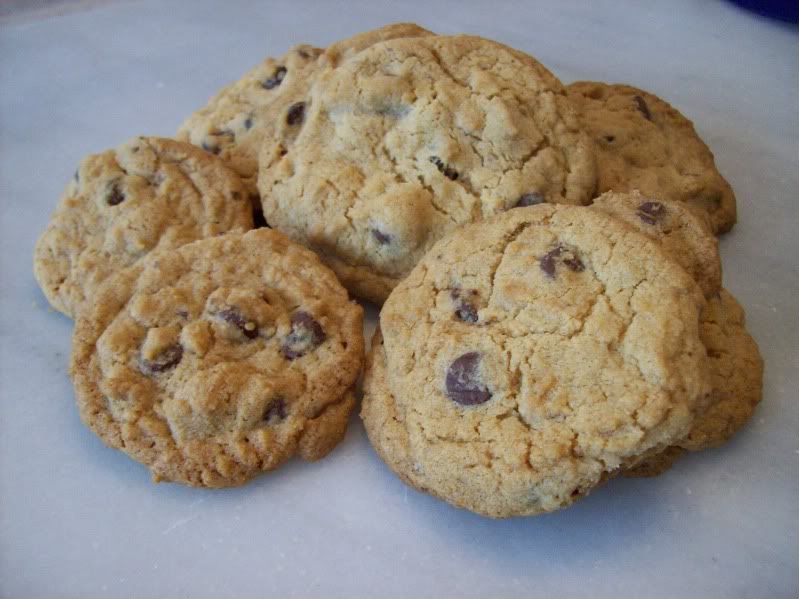
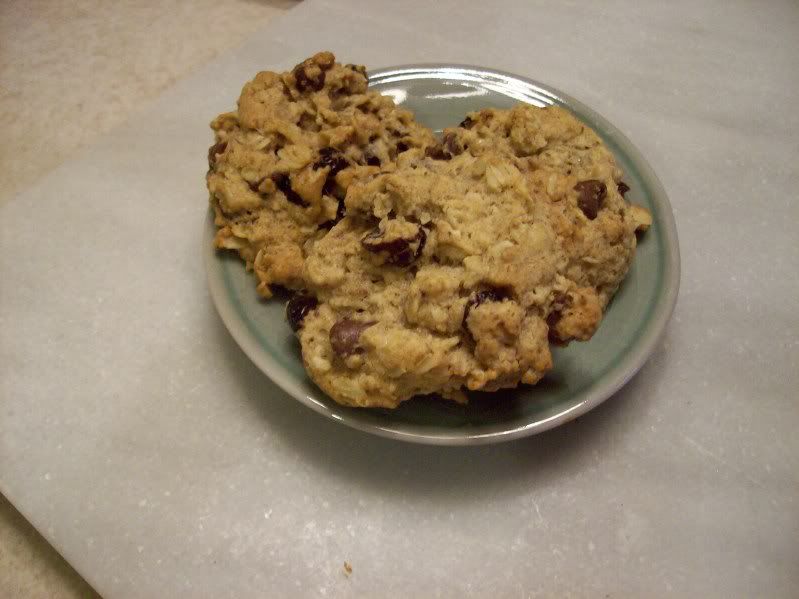 The one thing I like about these cookies (aside from not being scolded for snacking on the raw dough) is that they have a real depth of flavor that the regular recipe doesn't have. The regular recipe is sweet, a little vanilla-y, and has great texture, but these have this earthiness that I really love. I'm not sure if it's the whole wheat flour or the flax seed meal, but it's good. You can expect more use of flax seed meal here.