It's Day 2 of the Massachusetts Loving Local Blogathon/Farmer's Market week! Again, more of the participating blogs can be found here and here, and please consider donating to the MA farmer's markets!I've been saying it all month: I love canning. Today I would like to amend that to, I love canning
jam. Canning tomato sauce was kind of horrifying.
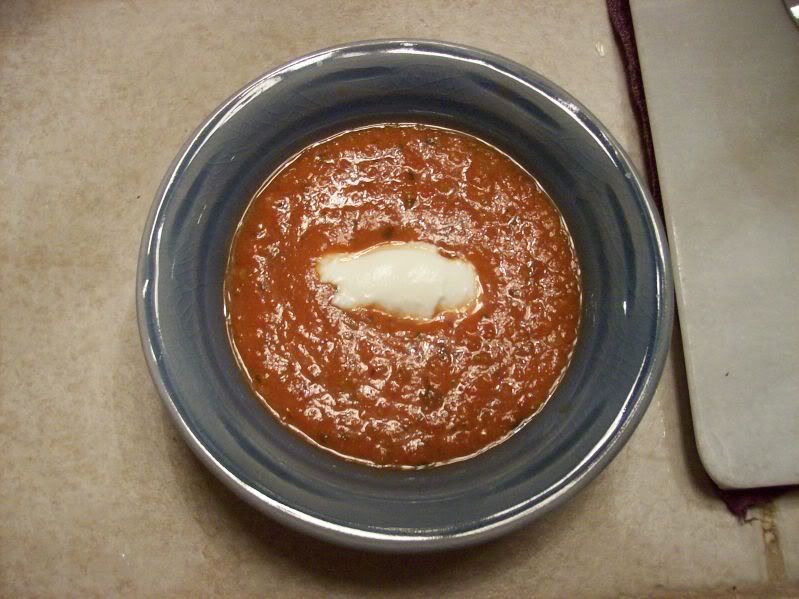
Don't get me wrong, I'm pleased with the end result (even if it is a little bland, it still has that super-fresh tomato taste). It's just that the process was so long and involved and just plain messy.
Tomato sauce in a nutshell: on Monday night, after a good 40 minute work out and dinner (leftovers), I started the dishwasher with all the jars, and started chopping tomatoes (with Clint's help). I got everything going, it seemed ok. Then I realized...
1. I didn't have enough big pots to process the filled/sealed jars of tomato sauce (important for avoiding botulism. I don't want botulism).
2. Step #5 didn't say "Bring to a boil,", it said "Bring to a boil. Reduce heat and simmer until volume is reduced by half, stirring to prevent sticking." Um. I started out with about 32 cups of sauce, do you know how long that will take to reduce by half?!?
So I called my mom for advice. We decided to just turn the burner off and put the lid on, and leave the sauce til the next night. It was going to boil a while anyway (2.5hrs, to be exact), so I shouldn't have to worry about anything weird going on in that pot. I also emailed my cousin (former housemate, who has just about every kitchen gadget/implement known to man) to borrow a giant pot.
And Tuesday night, I started phase 2.
All in all, I think tomato sauce took me about 6-7 hours, and ended with kind of a nerve-wracking giant pot of boiling water and sealed glass jars. I was scared. The worst thing that happened in the whole process was that boiling tomato sauced (from the uncovered pot) splattered all over one of the kitchen rugs, but we'd already decided that rug wouldn't last much longer, anyway. But tomato sauce just took
forever. So I really don't blame you if you read this post and decide never to make tomato sauce. I will probably do it again, but then, I'm a little crazy and over-ambitious in the kitchen.
 Tomato sauce with basil and garlic
(the two-day version)
notes: Do this on a day when you don't have any other plans. Start it early, not at 9pm. Also, this makes a mess. Wear either old clothes, or red clothes, and I really recommend lining the floor around your stove with newspaper- or else plan to throw out the rug you keep in front of your stove after this is over, which is what I did.
Ball has a really helpful canning tutorial
here, I referred to it over and over throughout this process.
Ingredients:
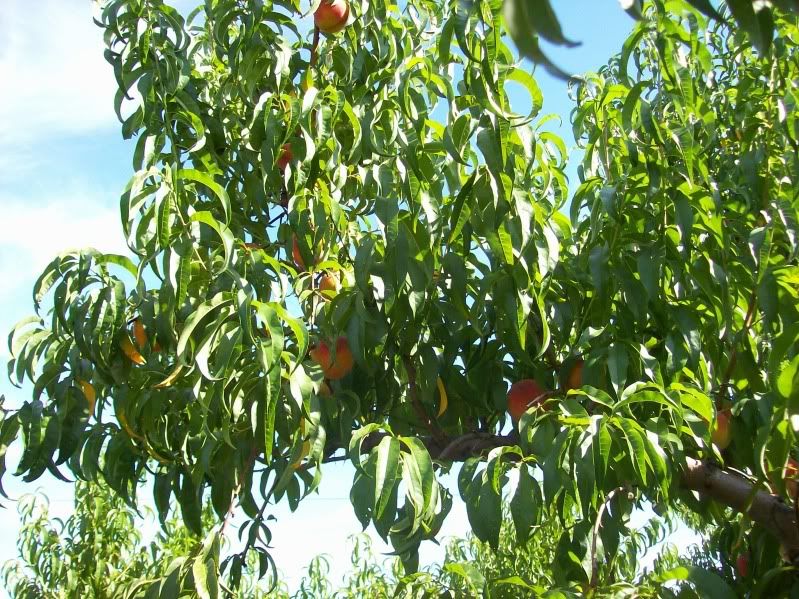
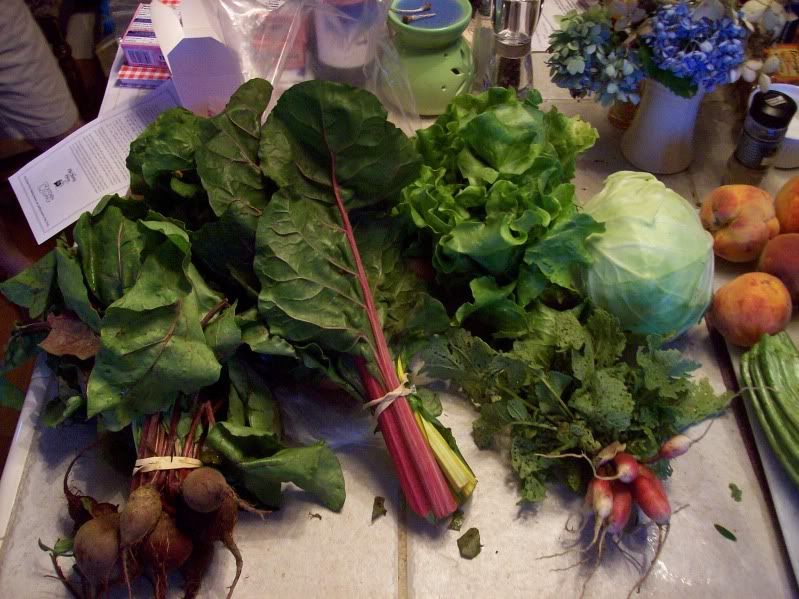
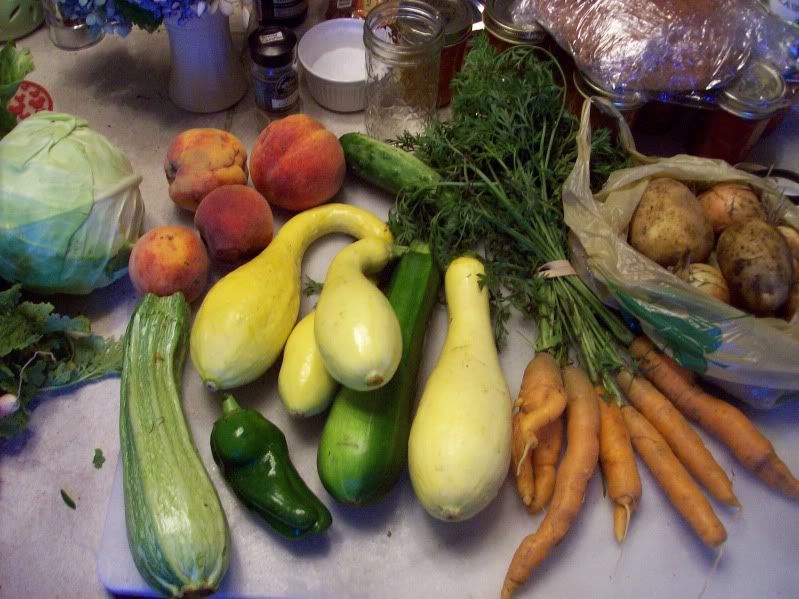
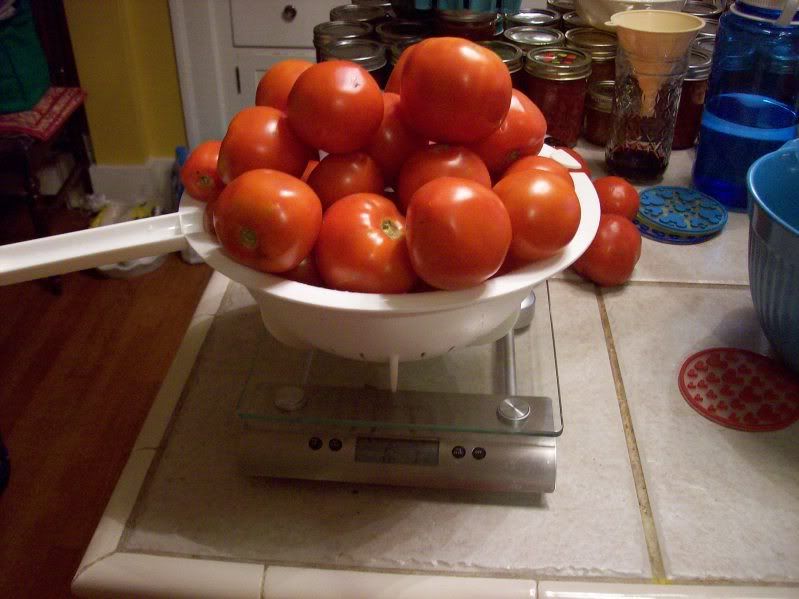
20lbs of local tomatoes (I used 18lbs)
2 medium local onions, chopped
8 cloves of local garlic, minced
1T olive oil
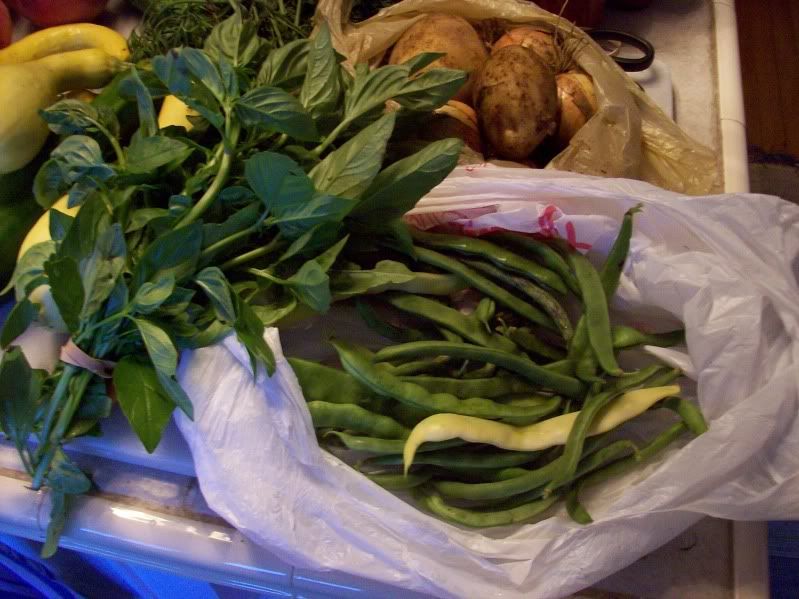
1/4cup local basil, chopped
8-10T bottled lemon juice, 1T per jar
8-10 pint jars
Directions:
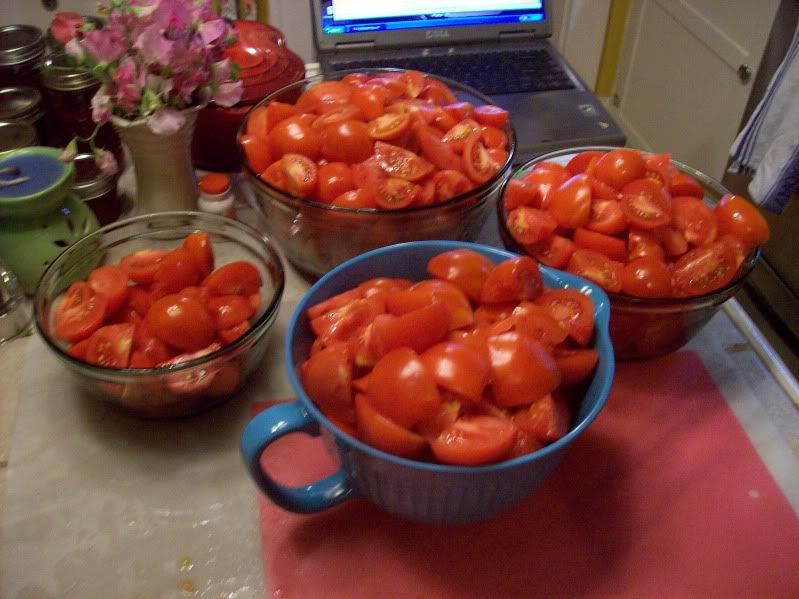
1. wash all the tomatoes, cut the blossom end out, and quarter.

Set aside (note: 20lbs of tomatoes need about 4 bowls for setting aside).
2. In a huge pot, saute the onions and garlic with the olive oil, until the onions are translucent.
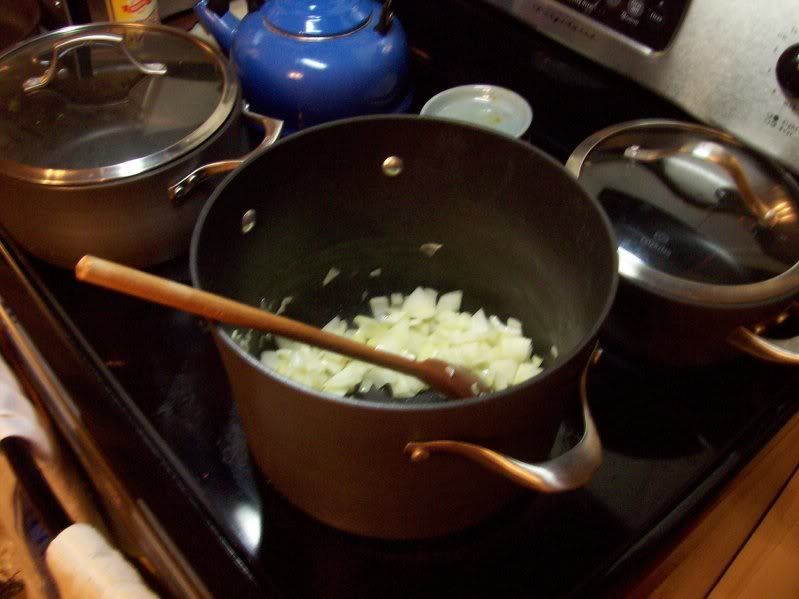
Add the tomatoes, bring to a boil. (When I added the tomatoes, I discovered my giant stock pot was not so giant... I had to split the tomato/onion/garlic mixture into two pots)
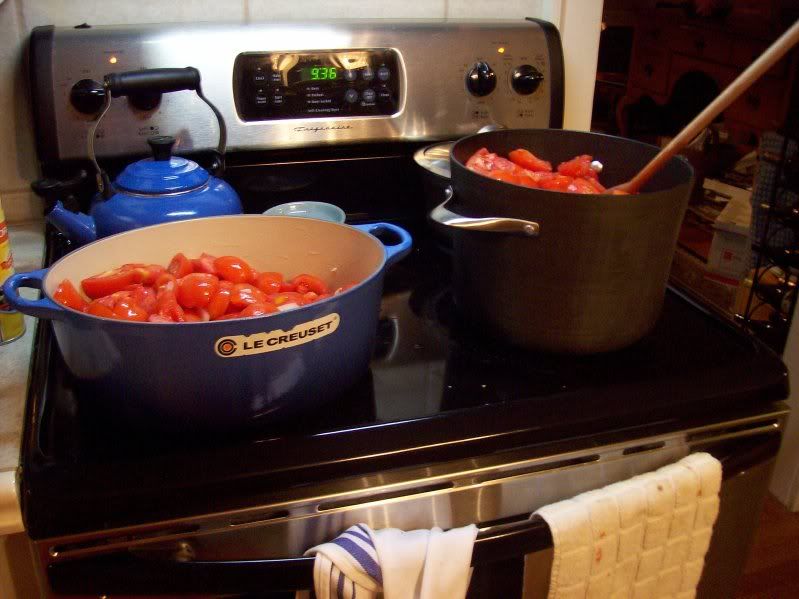
Simmer for 20 minutes, stirring occasionally.
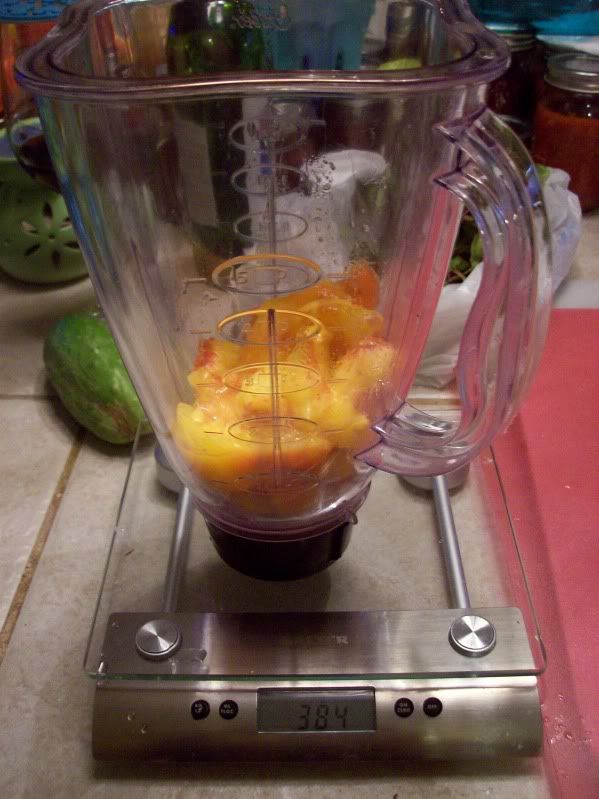
3. After 20 min turn off the burners and let the tomatoes cool a bit, for a few minutes. Puree in batches (7 batches for me) in a blender (or food processor, but I find a blender easier for something so liquidy).
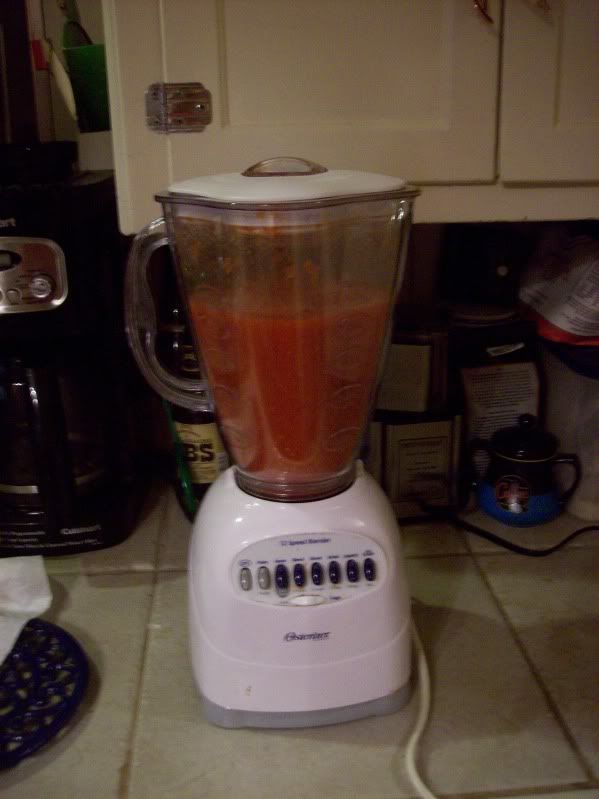
Strain to remove skins and seeds (my strainers were either too fine, or way not too fine- I choose the larger one, and ended up with a lot of seeds. Oh well.)
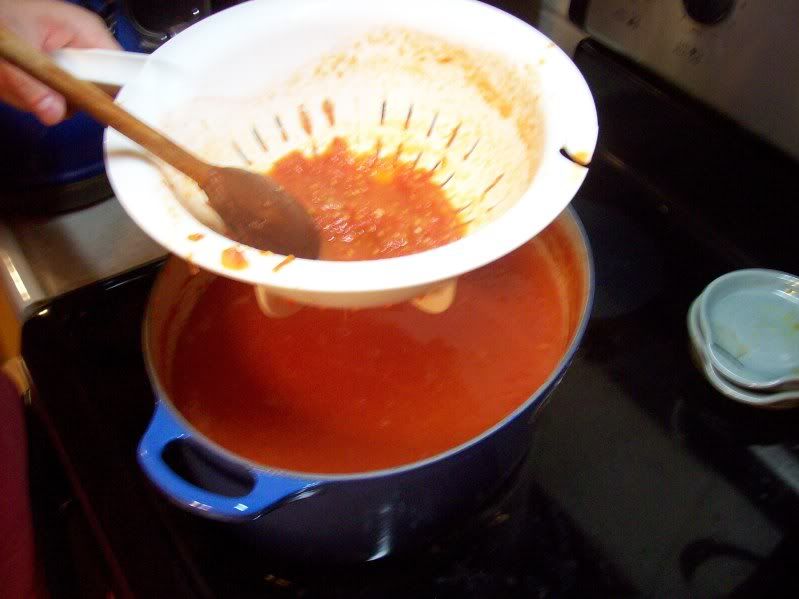
Return to your giant pot.
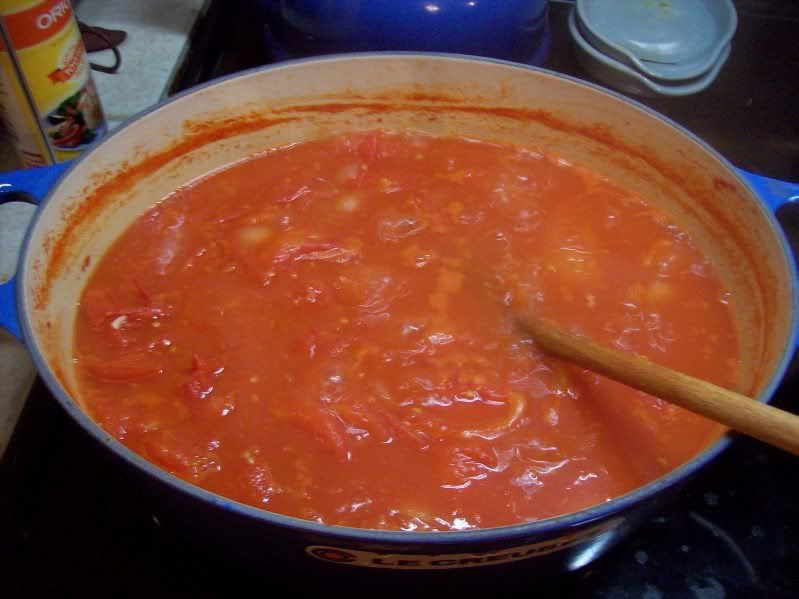
4. here's where I misread: Bring to a boil, and
reduce by half. I reduced for 1/2hr the first night, and 2.5-3hrs the second night, although it took a good 30 minutes to start boiling that second night. I still may not have reduced it enough (but come on, it was 11:00, I was sick of the reducing and splattering and fogging up my glasses every time I stirred the pot). So, reduce (over medium-high heat, I did change it a lot if it started boiling a little
too vigorously, or wasn't boiling enough) and stir every so often.
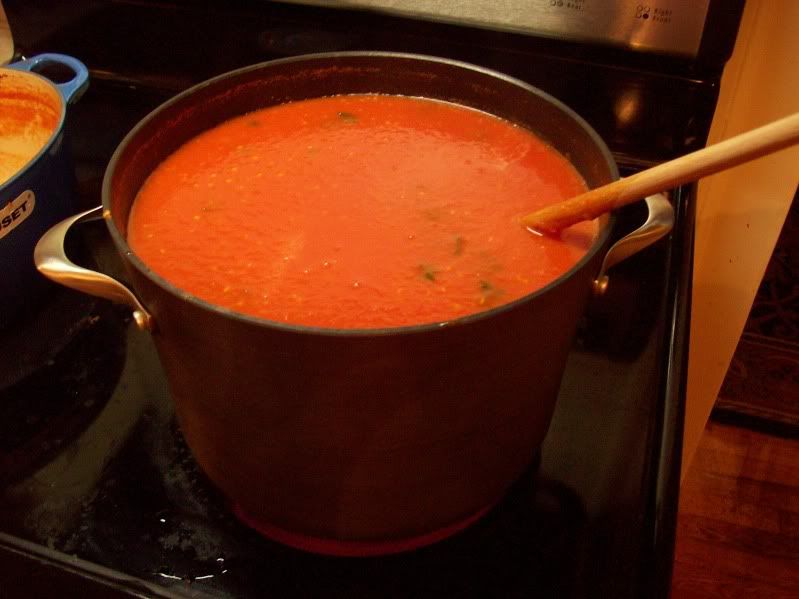
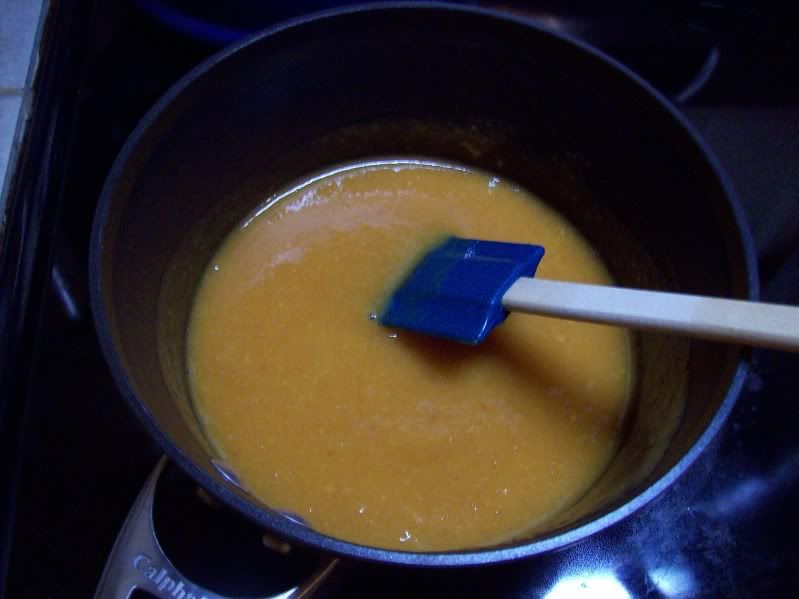
Before reducing:
After an hour:
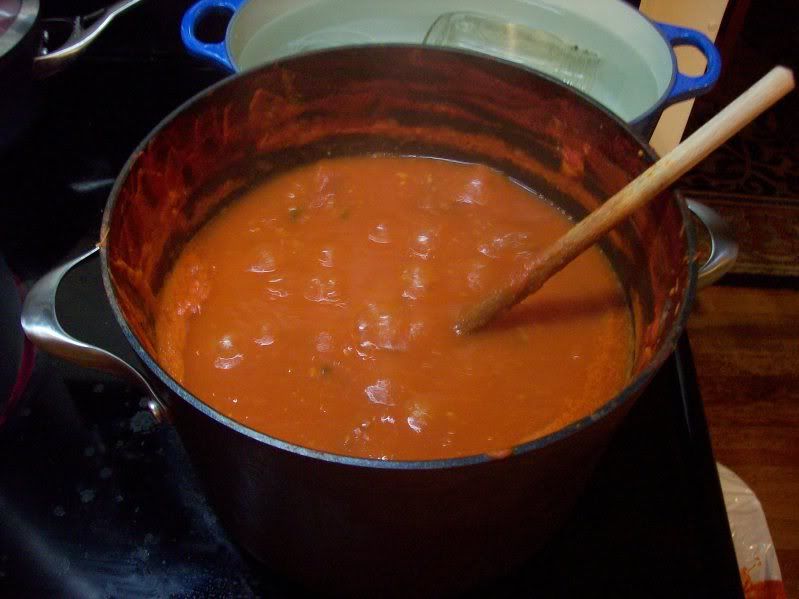
At the end of reducing:
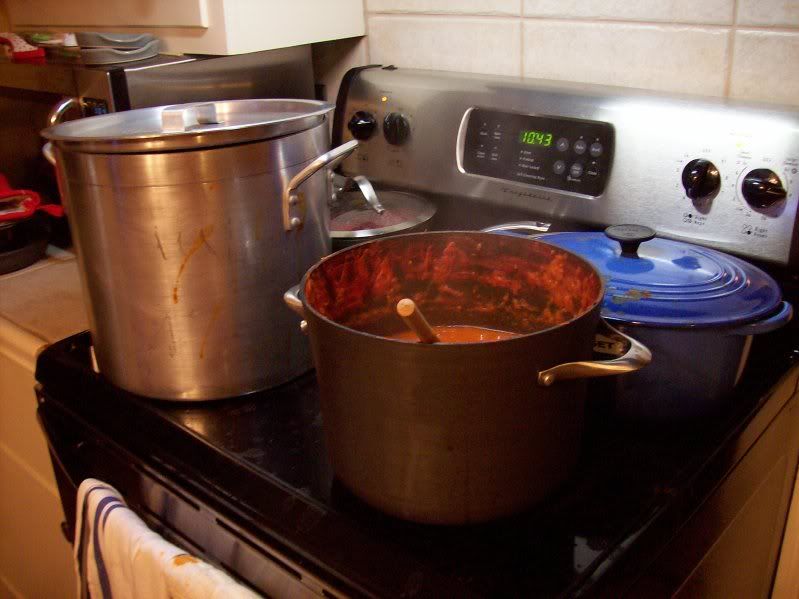
Also, note my set up: beside the tomato sauce reducing pot, we have a giant pot for the jars, a smaller pot for the extra jars, and in the back corner, the small saucepan with the lids.
About 60-90 minutes into the reducing by half step, start prepping your jars. They should have already been cleaned (by hand or dishwasher, in hot soapy water). For this you need an enormous pot (I had to borrow one, thank you Rich!).
I don't have a proper canning pot, the kind that has a nice little rack that lifts all your jars out at once. Fortunately, I do have some jar tongs, from this set (the upper right hand tool). This allows you to lift the jar out of boiling water, either straight up, or while it's on its side. It also includes a wide mouth funnel (very useful!), two other sets of tongs (haven't used them much) and the magnet stick for the lids.

My make-shift canning pot had a perforated tinfoil pie dish, upside down on the bottom (I wasn't sure about placing the jars directly on the bottom, with that hot, hot burner on the other side of the stainless steel pot bottom). I stood all the jars on top of that, filled with enough hot tap water to have a few inches above the jar tops, and turned the burner on. I brought it to a boil, boiled it for a few minutes, then turned the heat to a simmer until I needed the jars. Once I took the jars out, I left the pot as it was, with all the water and the burner still on. I needed it later for processing.
As for the lids: the rings were just washed and set aside, on a clean towel. The lids were placed in a small saucepan and covered with hot water, and simmered on low for about 20 minutes. The lids should not be boiled, because it will damage the gummy part around the edge that's required for a proper seal.
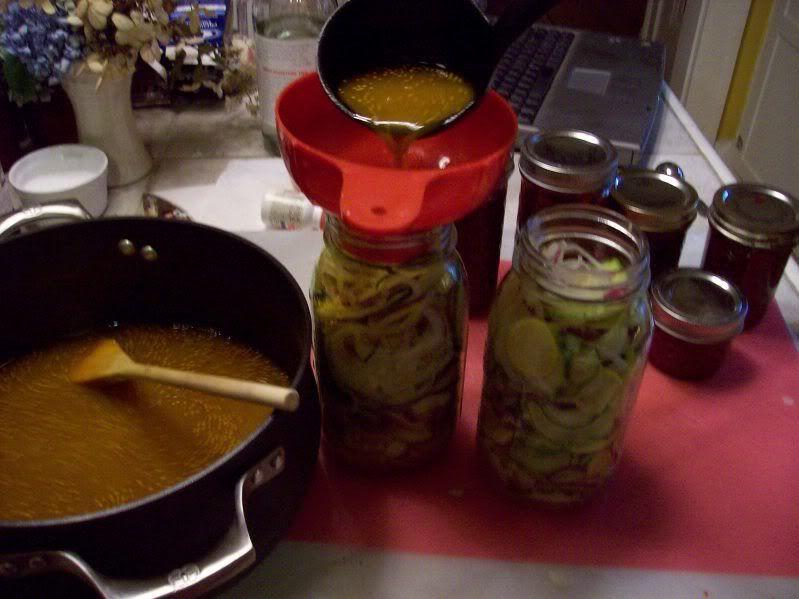
5. Once it's reduced by about half (judging by the sauce being about halfway down the pot from the starting level), do a happy dance, turn off the burner, and commence filling the jars. Start by pouring about 1T lemon juice into each jar, and then pouring in the tomato sauce.

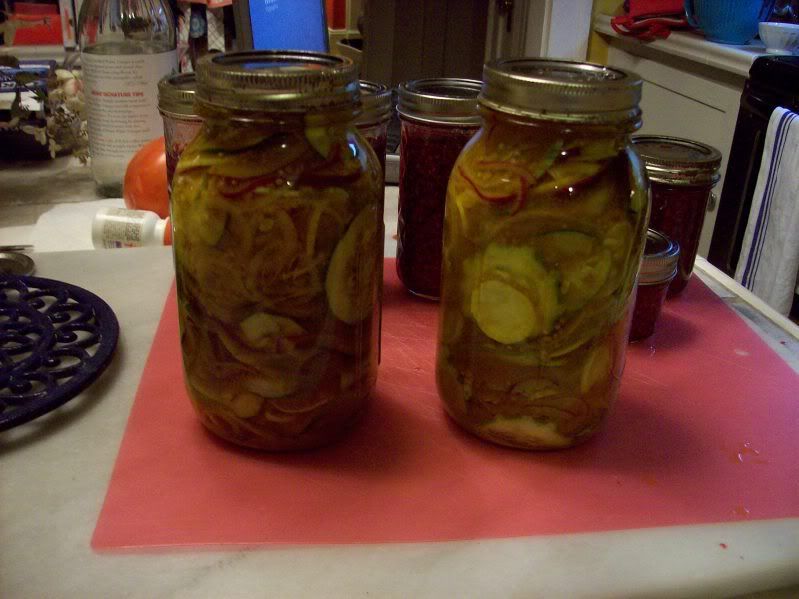
To fill the jars, I lined up all the hot, hot jars on a thick dishtowel on the counter (don't use your pretty new dishtowel, use the old ratty ones) and added the lemon juice. I'd tossed the wide mouth funnel in with the jars while they simmered, and placed that in the first jar. I had a clean bowl (fresh from the dishwasher) with a handle and a pour spout/lip that I dipped into the pot of tomato sauce, and then used to fill each jar, through the funnel. The jars should only be filled to a 1/2 inch below the top, this is necessary for the processing that will come later (I don't know why...). I quickly placed a lid on (using the handy magnet stick in the kit pictured above, so I didn't have to stick my hands in the hot lid-simmering-pot water), and placed the ring on, finger tight. I ended up with 8 full pint jars. However, you should always prepare extra- I prepared 12.
6. The scary part. All the filled and sealed jars now go into the huge pot that the jars were simmered in, standing straight up.
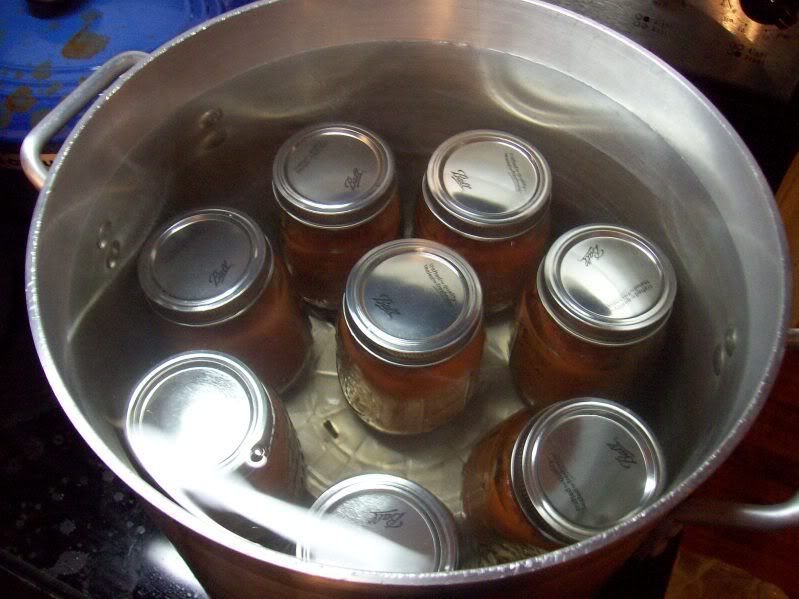
This is the processing step. The water must be 1-2 inches above the tops of the jars (since before they were empty jars, I ended up with too much water, just dip a bowl in and take enough water out). Get all the sealed jars in, adjust the water level, put the lid on, and bring to a boil. Boil for 35 minutes, then turn off the burner and let the pot cool. I let it cool for the length of a DVD episode of House (42 min- the one with the mob guy from season 1), and then I took all the jars out with the big jar tongs, and placed them on a thick towel. Don't place them directly on the counter, they need some sort of temperature-absorbing cushion so they don't crack from a temperature difference. Leave them alone for a day (12 hours for me).
7. After 24 hrs, all the lids should be popped down. If any are still up, these haven't sealed properly and should be processed (35 min in boiling water) again (or eaten immediately).
8. Sit down and have a glass of wine- you deserve it after all this work! I don't recommend drinking until
after the sauce is done, you need your wits about you for this.
I didn't season this with salt and pepper, because the recipe didn't say to. I don't know if it's better for preserving not to do this, but I plan to season heavily with something when we actually use this sauce. It's good- nice and fresh-tasting, but really boring, despite all that basil. I'd like to make this
pizza sauce recipe with my tomato sauce.

 Slight issue here: both Treat's and Tartelette's recipes said to cook until the mixture reaches 113F, but if you think about it.... 113F is just warm water. Jacques Pepin, whom I trust entirely, just says to boil for 10 minutes. So I kind of did that. It got a bit abvet 200F during this time.
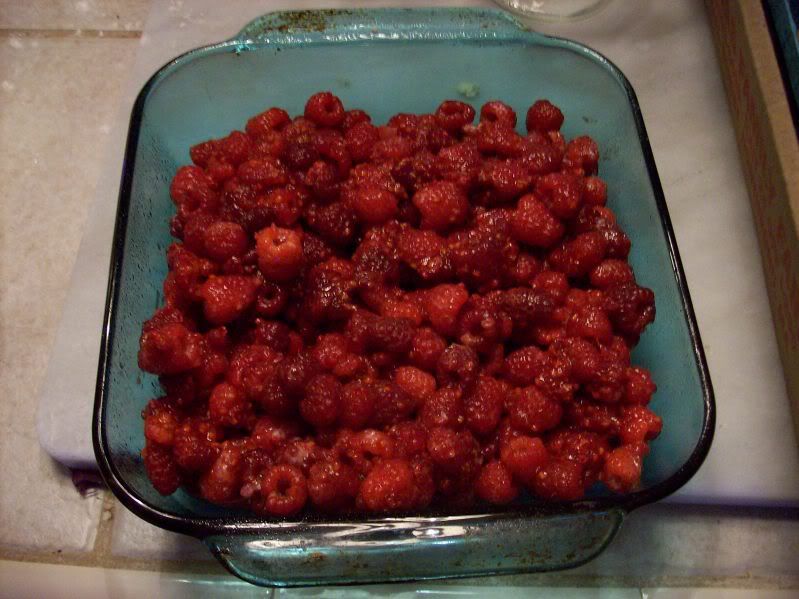
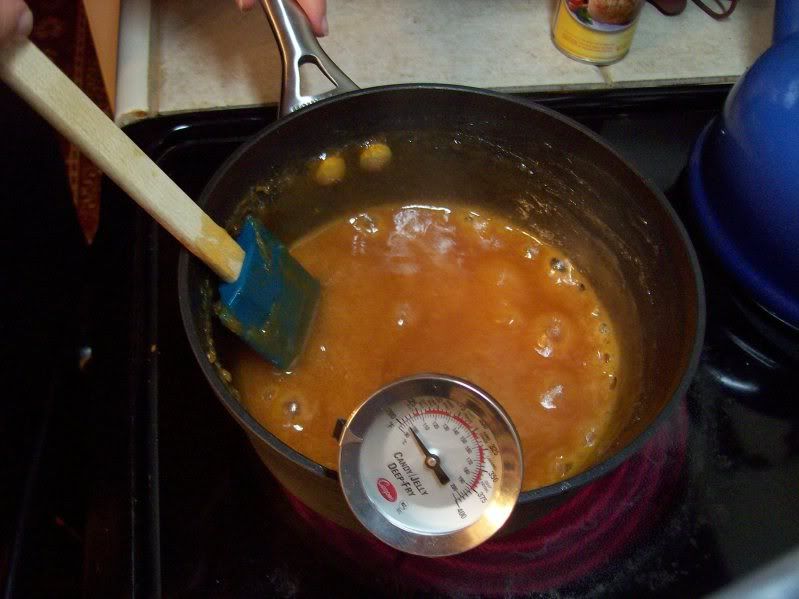 I actually only got to about 220F, I couldn't take it anymore, and the heat was set to highhigh as it was. It was ok. After 4 minutes at 223F, pour the gooey mixture into the prepared parchment-lined pan.
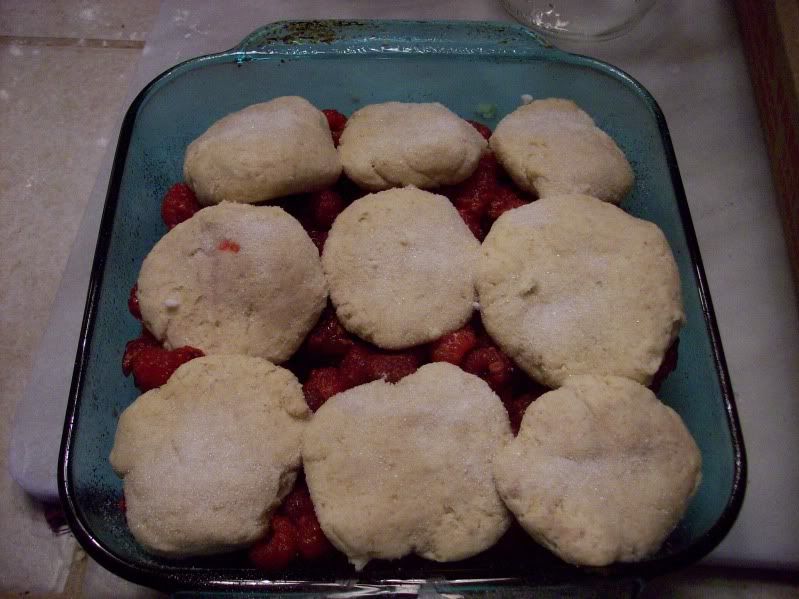
 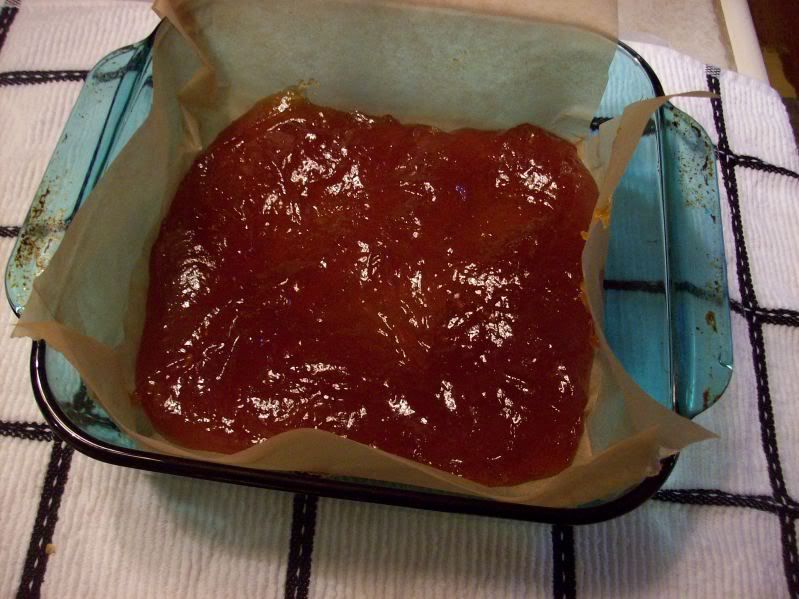 Let set overnight (I loosely covered the dish), cut into squares or with a cute little cutter, and roll each cut pate de fruit in sugar- they're quite sticky.