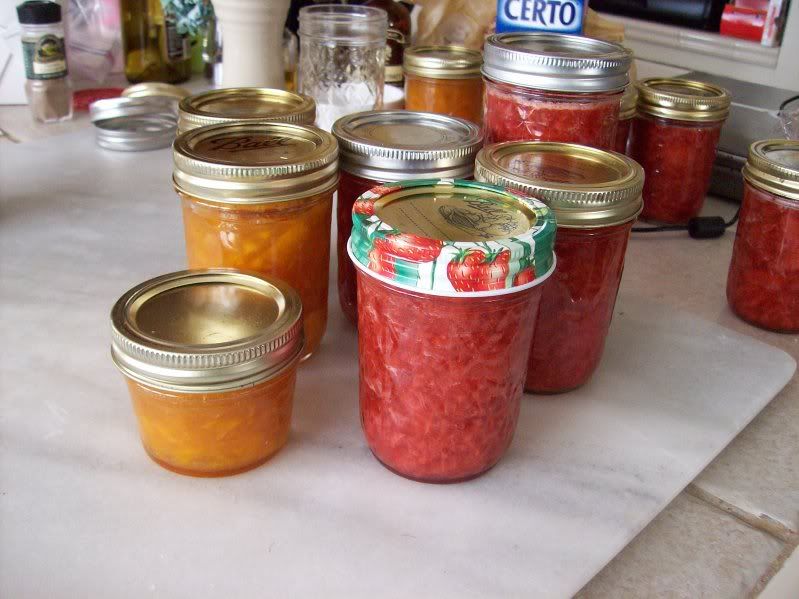
 I grew up helping my parents can. They mostly made pickles (I was the official cucumber washer, but sadly, my allergy to green bell peppers prevents me from participating further until the cucumber/onion/pepper mixture has begun to cook), but every so often, mom would make jam. Recently she's made grape jam, with all the grapes that grow on the side of my grandma's house, but when I was young, she'd make the best ever peach jam. It happened very rarely, I'm not sure why, but I always remember jam-making very fondly.
As with most new things, I'm a little nervous at first, but something always clicks and I jump in head first. With jam, it took 3 lbs of over-ripe apricots to get me to try it. I had to use those apricots immediately, and what better way to use up a lot of fruit than to dump it all in a pot with some sugar? Easy peasy- especially because I didn't preserve that jam, I just kept it in the fridge until it was all gone.
But man, the day after that jam was gone, and I had to have store-bought strawberry jam (high-quality, $6/jar stuff, but still) on my toast... it was sad. I knew I had to make more jam.
So when peaches went on super sale at the grocery store and I bought 6 lbs, I used about 3.5lbs to make Peach Bourbon Vanilla jam, a recipe someone very kindly shared online. And thus began my jam obsession.
Some pointers on jam, courtesy of my mom:
-sterilize your jars and lids in the dishwasher (regular setting is fine, but you can use high temp if you want) just before you need to use them. Try to time it so that the dishwasher is done just before you want to fill the jars
- if you have to wait for the jars, keep the jam boiling, but it will get thicker and thicker the longer it boils.
-always sterilize more jars/lids than you think you'll need. Sometimes you end up with more than the recipe predicts, or sometimes a jar is cracked and unusable. It's easier to sterilize extra than to run around and try to sterilize one last jar when you've filled the other 6 already (I speak from experience- and if this happens, fill a big clean pot (any kind of pot) with water, the needed jars and lids, bring to a boil and boil for 10 minutes. Keep the jam simmering during this time, and bring back to a full, rolling boil before filling the newly sterilized jar).
-a wide mouth funnel is extremely useful- I would hesitate to can without one. Sterilize that with the jars.
-DO NOT touch the inside of the jars, or the underside (jam side, not exterior) of the lid. The rings are ok to touch. The jam's storage environment needs to be kept sterile.
-all of your utensils MUST be clean. Wash everything immediately before using in hot, hot water.
-line the floor around your canning area with newspaper, and consider filling your jars on a tray, cookie sheet, or paper towels. You can't possibly avoid dripping, so just plan for it.
-have a helper when you start filling the jars, it's good to have another set of hands.
-When you fill the jar with jam, leave about a 1/2inch space between the jam and the top. Clean the lip of the jar (not the inside!) and quickly put the lid on before filling the next jar. It's a good idea to also put the ring on before filling the next jar- which is why an extra pair of hands is useful. The rings only need to be finger tight for now.
To make jam, you will need (according to me):
-jars, with lids and rings (available at the grocery store during canning season (late summer), or apparently at Loew's)
-a wide mouth funnel
-tongs, so you don't have to touch the hot/sterile jars and lids with your bare hands
-a large, non-reactive pot
-a large wooden spoon, ready to be stained by brightly colored fruit: the "canning spoon".
-a bowl with a pour spout and handle, for filling the jars
-a tray, cookie sheet or paper towels to line up the jars on when ready to fill
-newspapers to line the floor
-an apron, because you will get splattered. I also prefer to wear my glasses instead of contacts during the jam process.
There are a few useful "canning kits" out there, which are inexpensive and contain the necessary tongs and wide mouth funnel, and often also a stick with a magnet, which makes picking up the sterile lids very easy. I got mine at the grocery store.
Canning might seem a little daunting after this big check list, but my main points are: everything needs to be super clean, you will make a mess, and you should move quickly. I recommend small batches of jam unless you've turned into a lean, mean canning machine (I'm not there yet, I'm sticking with batches using 4lbs of fruit for now).
Also note: if the canning process seems scary, just pour the jam into tupperware and refrigerate as soon as it cools. If you plan to use it up quickly, this is a totally viable option- and honestly, if I hadn't done it this way first, I probably would have been too scared to start preserving. By making a batch of refrigerated jam first, I figured out how to make the jam, and once I knew I could do that, I was ready to move onto preserving it.
How does jam work?
Jam is essentially fruit that's cooked down and preserved in a sterile, sealed environment. Jam uses pectin (see pectin info at the end of the post), a polysaccharide (essentially a sugar that's found in some fruits) to make the jam gel from interacting with the sugar. I wish I could tell you about the history of gelled jam and why it's popular, but I don't really know. There are different types of preserved fruit:
Jam uses whole fruit, which is usually mashed/crushed before preserving, releasing the juice
Jelly uses just the juice of the fruit.
Marmalade is generally made using citrus peels, which, interestingly, are high in pectin, which means they can gel themselves with added sugar.
Preserves is essentially another word for Jam, but sometimes implies that a whole fruit is preserved and gelled.
Fruit preserve is jam with no additional sugar (Polaner all fruit, anyone?)
Curd is made with fruit juice, sugar, butter and egg yolks. It's spreadable like jam/jelly, but is very different (and tasty!)
Butter (as in, Apple Butter) is fruit cooked with sugar, and then forced through a sieve to have a pureed consistency. Since apples are very high in pectin, apple butters don't require added pectin.
Conserves are similar to jam, but are cooked differently and without added pectin, and generally are not as solid as a typical jam.
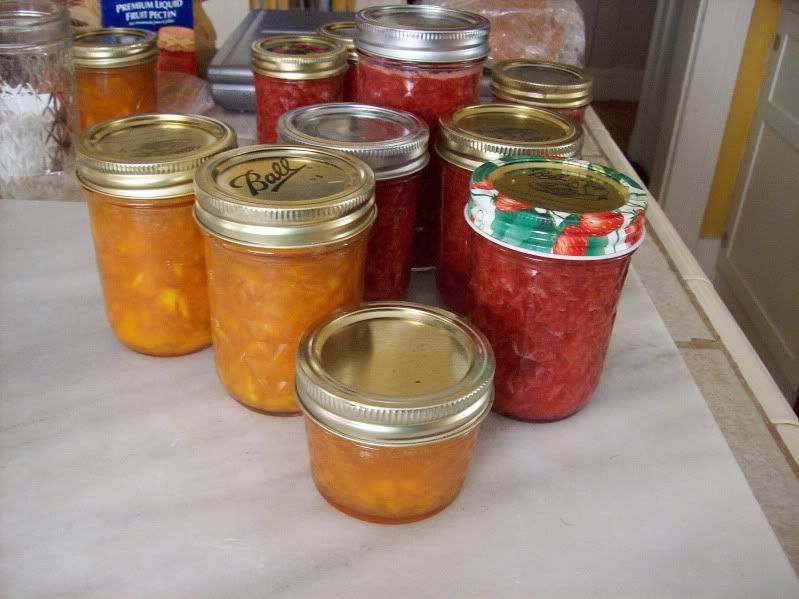
Now that you're ready, the recipes.
Peach Bourbon Vanilla jam,
found on Beantown Baker
(and I actually followed the recipe with no huge modifications- except I took out the almond extract, and used vanilla extract instead of a bean)
Makes 7 8oz jars
1 package low sugar pectin (this is the stuff in the pink box, either in the canning/seasonal section of the store, or near the jello in the baking section)
3.5 pounds peaches (note: one peach was a CSA peach!)
3 cups of sugar
1/4 cup lime juice
2t vanilla extract
1/4 cup bourbon
1. Peel the peaches: prepare a big pot of boiling water and an ice water bath, wash all the peaches, and cut a shallow X into the skin at the bottom. Place a few at a time in the boiling water, leave for a few minutes, and transfer to the ice water. Now you can easily peel the peach skin off the peach.
2. Dice the peaches, discard the pits. Place the peaches, along with the lime juice, vanilla (bean seeds or extract) and sugar, into a large, non-reactive pot (I use enamel-coated pots, either my 6-3/4 qt Le Creuset or my mom's enormous enamel pickling pot)
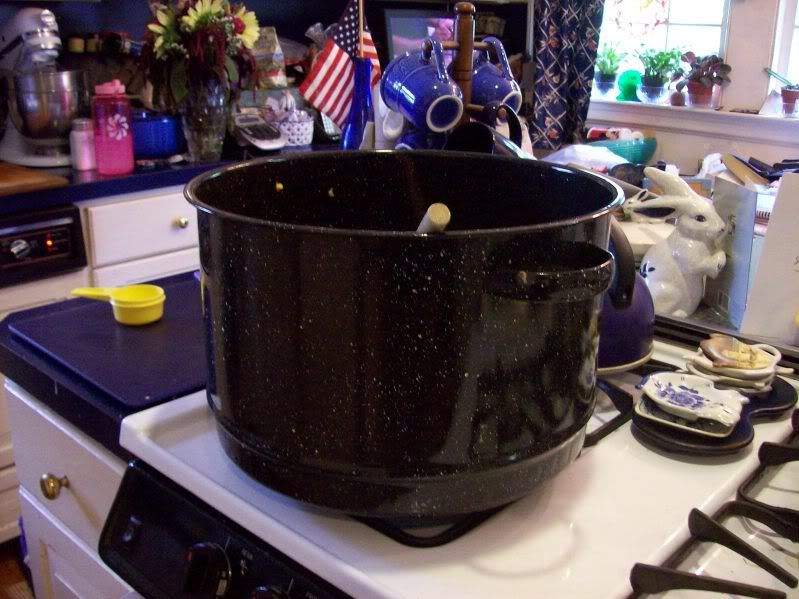 and mash the peaches with a potato masher. Stir to dissolve the sugar.
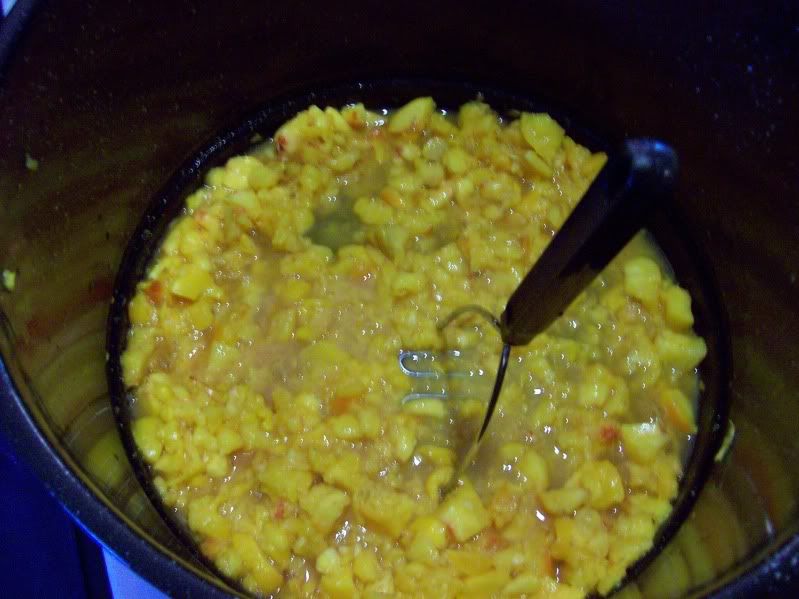
3. Bring the peaches/sugar to a boil over medium-high heat, stirring frequently.
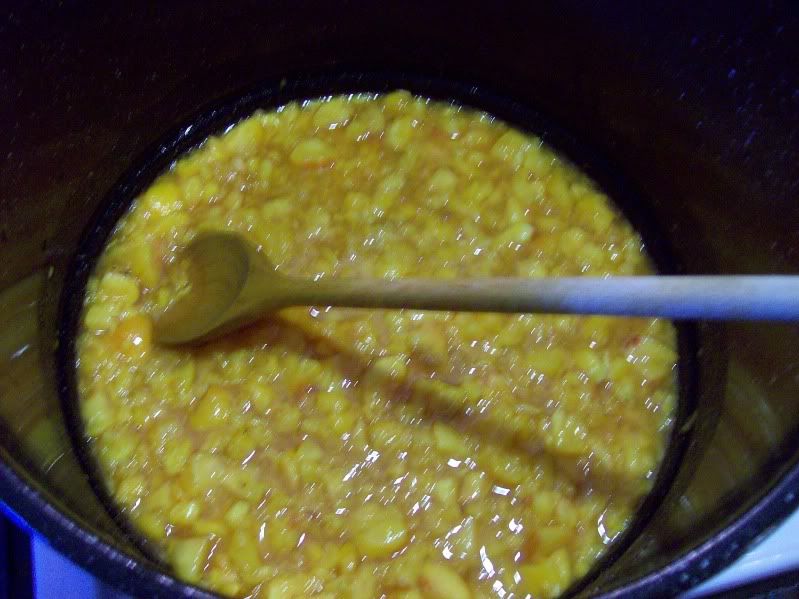 Sprinkle in the pectin, stirring constantly.
 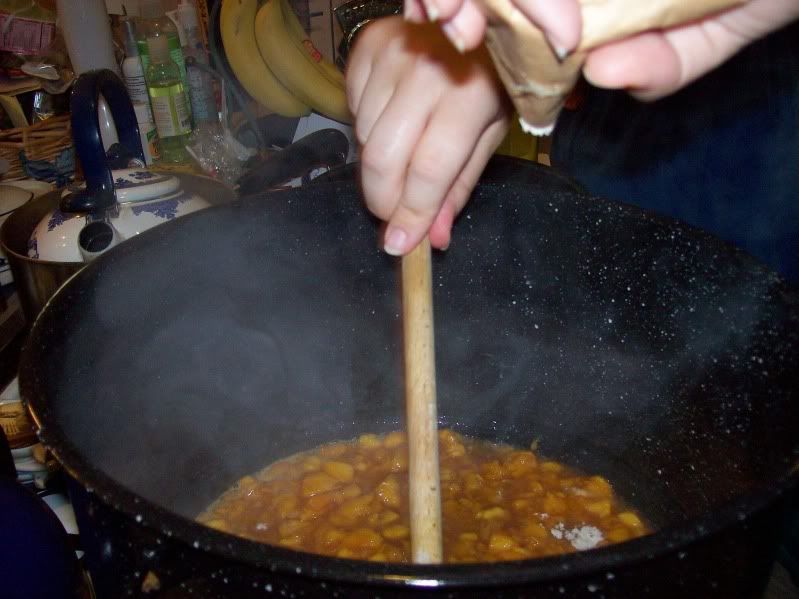 After the pectin's added, you may have some foam (I did not). If you do, skim that off and discard. Beantown Baker says to now boil for 1 minute, but I boiled about 5 minutes. So: boil 1-5 minutes, depending on your mood, and how long the dishwasher takes to sterilize the jars.
4. Remove from heat and stir in the bourbon.
Now get ready to fill the jars.
5a. Line up all the jars, space them out enough to maneuver the funnel and pot.
5b. Fill a clean pitcher-type vessel with the jam (some or all, whatever's easiest)
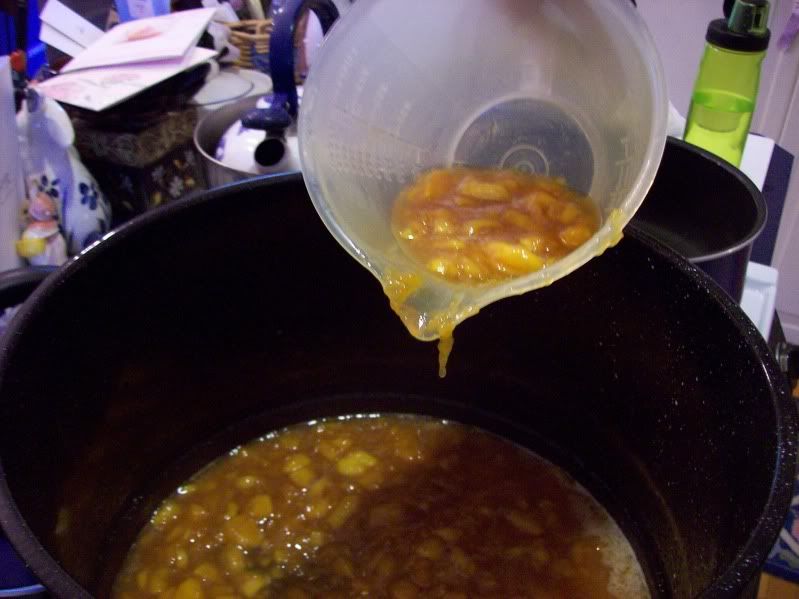 and begin to fill the jars. Fill so that the jam just barely comes to the bottom of the funnel as it sits inside the jar.
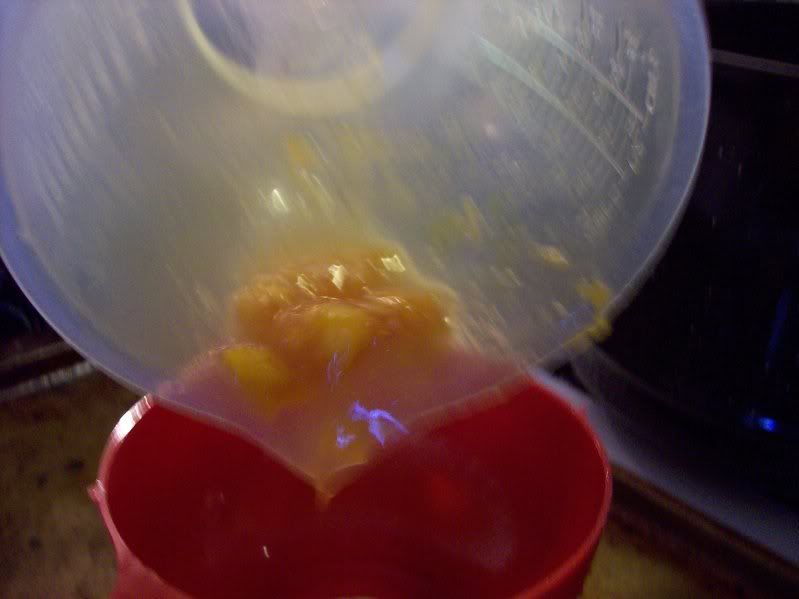 Move the funnel to the next jar, stick a sterilized knife inside the jar and run it around the edge to dislodge any air bubbles, and place a lid on the filled jar. Screw on a ring so that it's finger tight (the jar will now be hot, so you can't easily grip it to tighten anyway), and move on to the next jar.
5c. Leave the jars alone. As you go about your business the rest of the day, you'll occasionally hear little pops from the kitchen- this sound is the clicky lids of the jars clicking down, indicating that they're sealed. Sometimes if you click it down yourself, it will stay down, this is fine. Any that don't click down are not properly sealed, and must be kept in the refrigerator, or you'll have a fine case of botulism. Don't fret, though, this means you can have some of your homemade jam now.
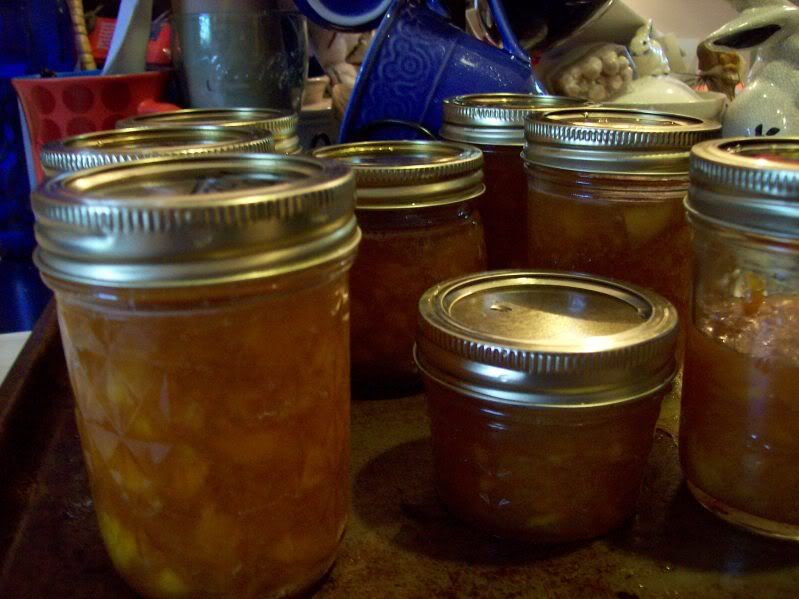
Does it make sense? It's probably easier if you're in the kitchen with someone who's doing thing and explaining as they go (no, I'm not going to make a video). I had the excellent luck to make my first batch of preserved jam in my mother's kitchen, with her standing by me as I went through the entire process.
Also, remember: it can't be that hard, I have two other successful batches to tell you about.
Strawberry Cardamom Jam
kind of adapted from/inspired by this Homemade Strawberry Preserves recipe
Makes 7 8oz jars
3.5lbs strawberries, washed and hulled
1 cup apple juice (or any other kind of juice)
1 package low-sugar pectin (the pink Sure-Jell box again)
2/3 cup sugar, regular granulated white or turbinado (or more, if you prefer it sweeter)
1/2t ground cardamom
In a large, non-reactive pot (my 6-3/4qt Le Creuset), add berries, one layer at a time, and mash with a potato masher.
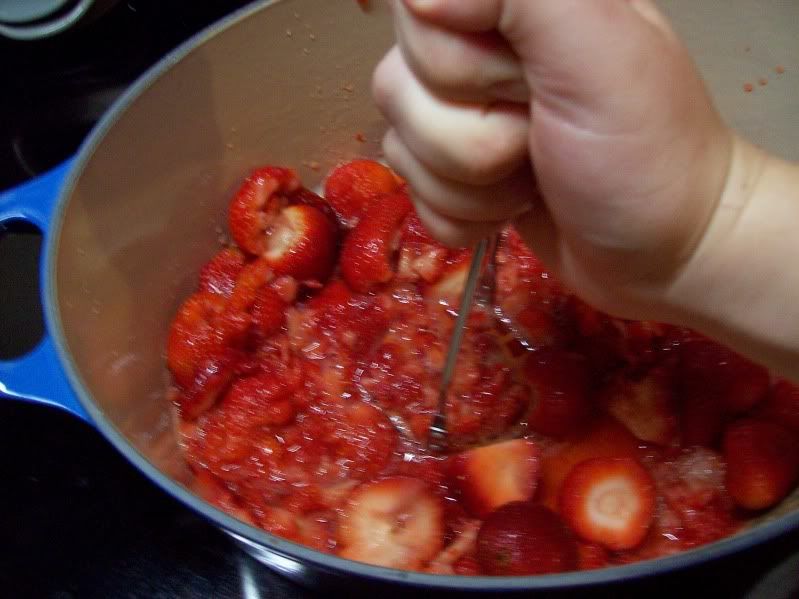 I like chunks of strawberries in jam, so I didn't mash very well, I sort of smooshed. Stir in juice, and bring to a boil over medium-high heat, stirring often.
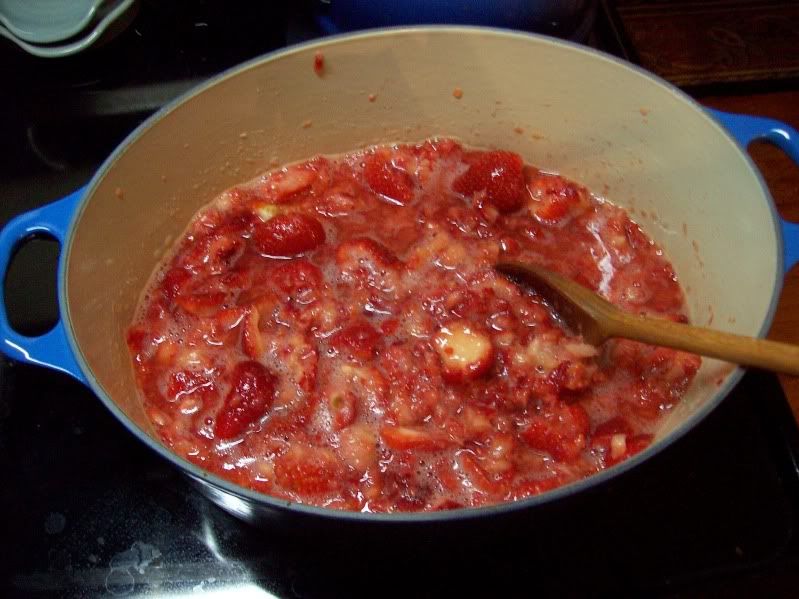 Once it starts to boil, add the pectin, stirring constantly until it's dissolved, then stirring often. Add the cardamom.
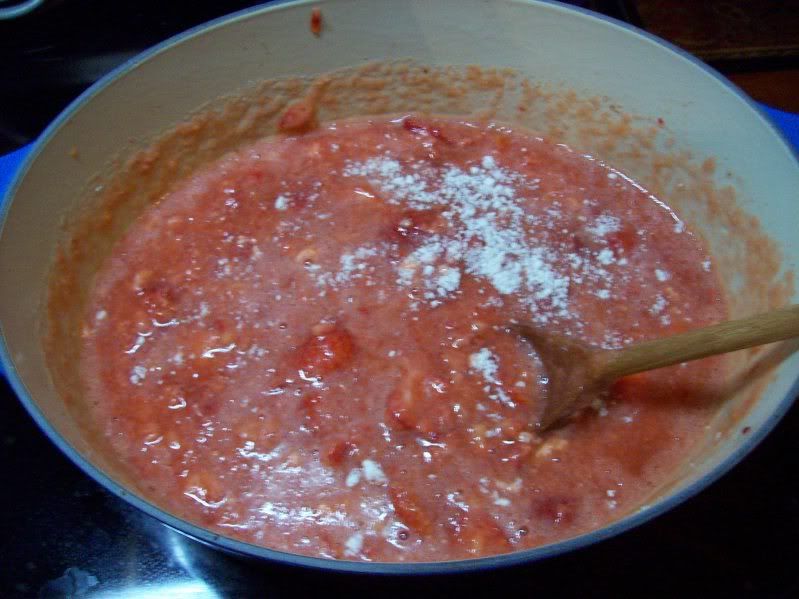 If the jam starts to foam up after adding the pectin (this didn't happen with the peach, but it did with the strawberry), skim off the foam and discard.
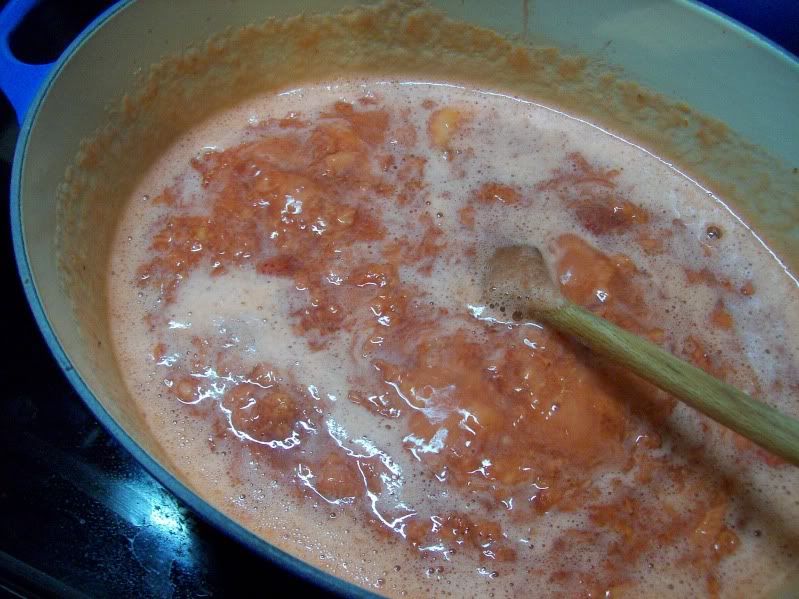 Continue to boil and when boiling cannot be stirred down*, add sugar to taste. (I found that 2/3cup was plenty). Return jam to a boil, and boil for 5-7 minutes, remove from heat and fill and seal jars (as described above).
The cardamom adds a really interesting flavor to the jam, it enhances the sweetness a bit, and seems to go really well with the strawberry flavor.
*"when boiling can't be stirred down": you know how when something's boiling, and you stir and it stops boiling? This means keep boiling so that when you stir, it's still boiling.
Strawberry Lemon Marmalade
adapted from Ball's preserving website's recipe collection
Makes 8 8oz jars
4lbs strawberries, washed and hulled
1/4 cup lemon rind, thinly sliced (I used 3 smallish lemons)
juice of 1 lemon
1 package of low sugar pectin (the pink Sure-Jell box yet again!)
2-6 cups sugar (I thought 2 cups was plenty, the recipe said 6)**
Throw the lemon rind in a large non-reactive pot with enough water to cover. Bring to a boil, boil 5 minutes and discard water, leaving lemon rind in the pot. Add the strawberries, a few at a time, and mash. Stir in lemon juice. Bring to a boil over medium-high heat, and slowly stir in the pectin.
When boiling can't be stirred down, add the sugar- add a cup or two, then taste (important! Use a clean tasting spoon each time you taste, don't add any potential nasties to the jam), add more sugar until you're happy.
Boil for a few minutes more, then fill and seal your jars.
** I think the difference in sugar amount is due to the pectin. I'm using low sugar pectin, which allows you to use less sugar than you would otherwise, and the original recipe calls for regular pectin. Low sugar pectin and regular pectin are slightly different in their chemical structure, so that the low sugar pectin doesn't require as much sugar to gel as regular pectin- this means I don't have to overload my jams with sugar, which I don't want to do, for taste and calorie reasons. For more info, see the "Uses" section in the pectin link above. Additionally, using 2 cups of sugar, my jam did not gel as much other the other recipes, but it's definitely gelled enough, it's not runny.
There. Now you have knowledge, a list of supplies, and recipes. Go forth and make jam!
1 comment:
They look SO good...but I'm so scared...
Post a Comment