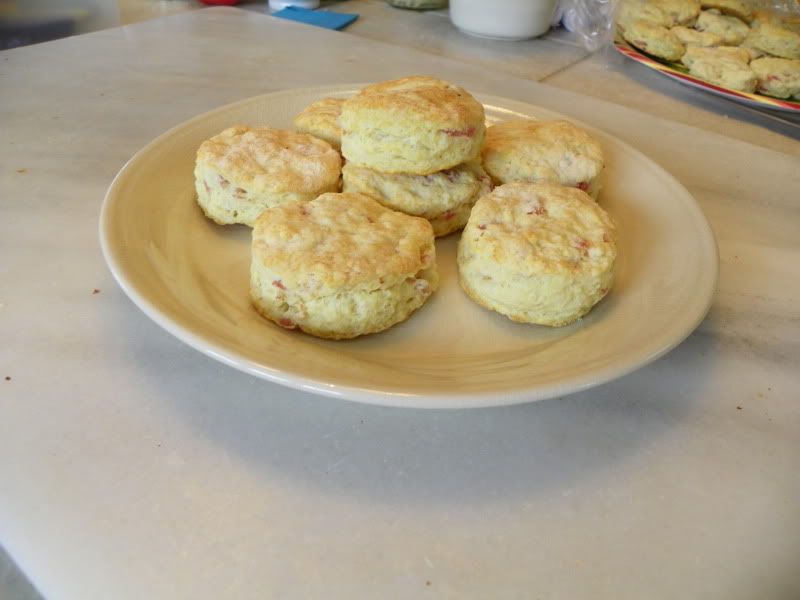
 It's perfect timing for me, since I had a couple birthday cakes to bake! For my own birthday, I baked a strawberry cake, using allllll the strawberries I'd picked the week before. For Clint's birthday, I made a red velvet cake- my very first one! Usually I leave the red velvet to him, but it was his birthday so I had to give it a try.
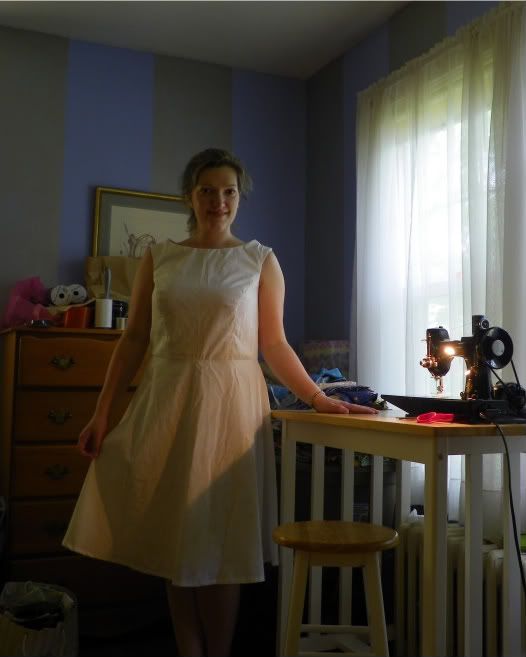
Before I tell you about my cakes, though, let me show you the view from where I'm blogging.
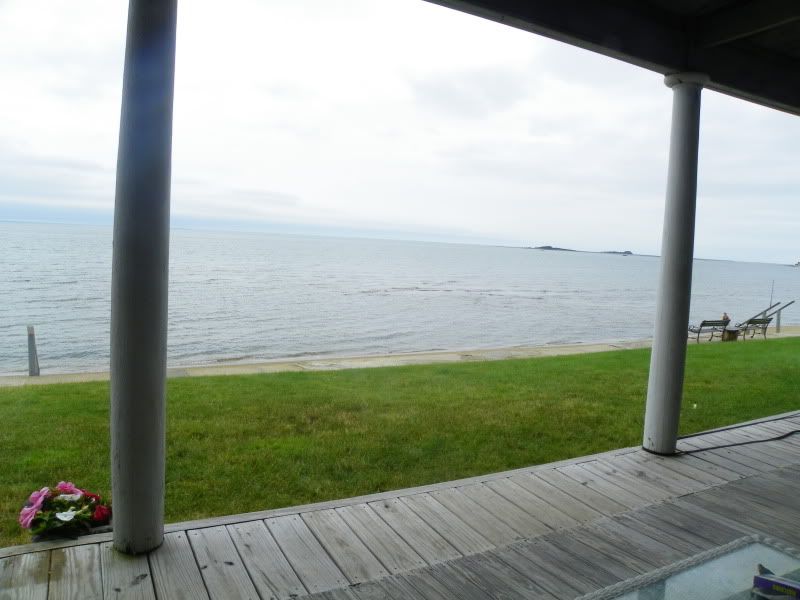 Jealous?
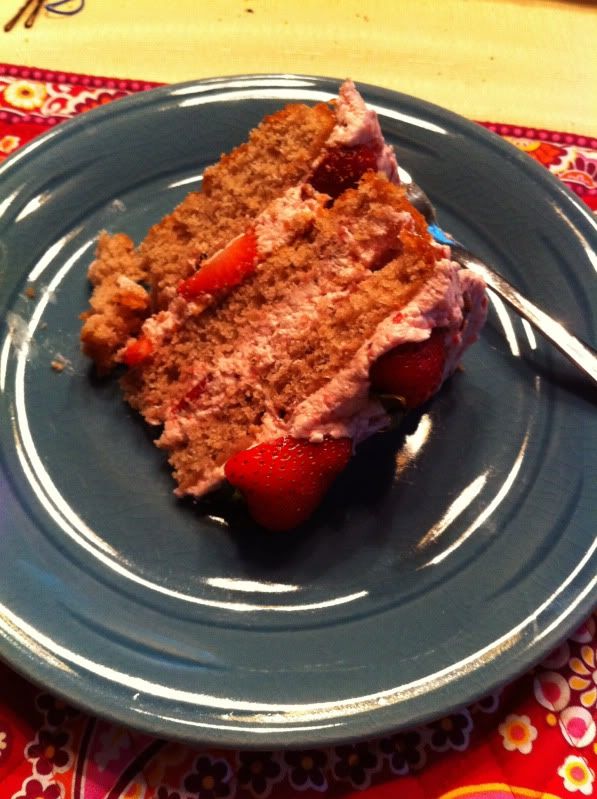
Strawberry Cake
from Confections of a Foodie Bride

Note: the blogger's comments on this cake mention that it's nearly impossible to find a strawberry cake recipe from scratch. Clint looked at that and scoffed, but it's true. I had 13lbs of strawberries at my disposal, but the only recipes I could find involved adding strawberry jello to a box of cake mix. Seriously? Not for my birthday! So I was pleased to find this recipe. It's a hardier cake, not super sweet but I think it would make great cupcakes. It also has a nice, natural pink color. Not neon pink, like strawberry jello.
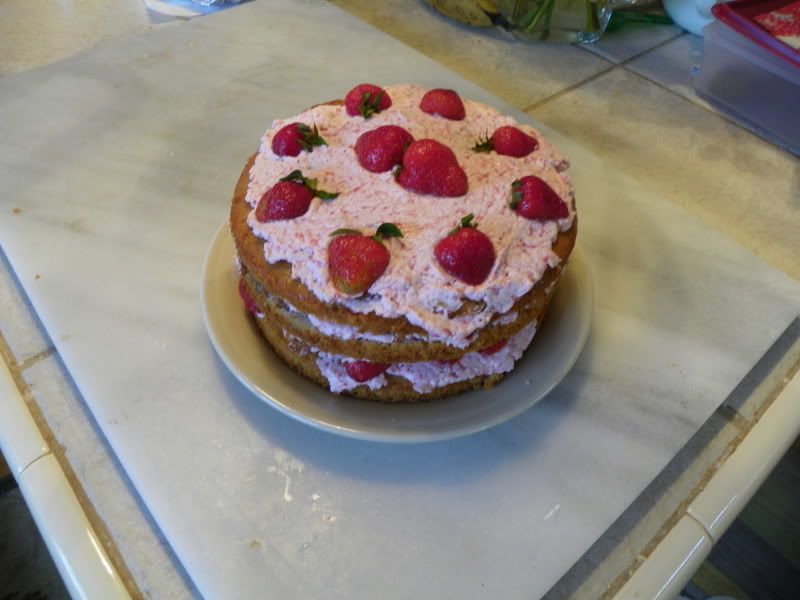
Also, I cut this recipe in half to make 3 6in layers. You can find the original recipe, for 8in pans, in the link above.
Ingredients:
6T cup strawberry puree (slice strawberries, toss with a bit of sugar and let sit for about an hour, stirring occasionally. Then puree. Use the puree for the cake and the frosting)
2T milk
2 eggs
1t vanilla
1/2 cup whole wheat flour
1/2 cup + 2T cake flour
3/4 cup + 2T sugar
dash of salt
2t baking powder
6T butter, softened
In a small bowl, whisk together the puree, milk, eggs and vanilla.
In the bowl of your stand mixer, sift together the flours, sugar, baking powder and salt. Beat in the butter at low speed, and mix until the mixture resembles a coarse meal. Stir in the liquids til combined.
Divide the batter among 3 6 inch cake pans. Bake at 350F for 25-35 minutes (the original recipe, in 8 inch pans, said to bake 25min, but it took 35 min for me. Sometimes I really wonder about my oven- maybe I need a second thermometer to make sure the first is right).
Let the cakes cool in the pans, then remove. Frost each layer with strawberry buttercream and top with sliced strawberries, then add the next layer and repeat, etc.
I used Martha's strawberry buttercream. I don't want to tell you about mine, since it totally failed- even though I've made this recipe many, many times before. :-/
A week later, we had Clint's birthday cake
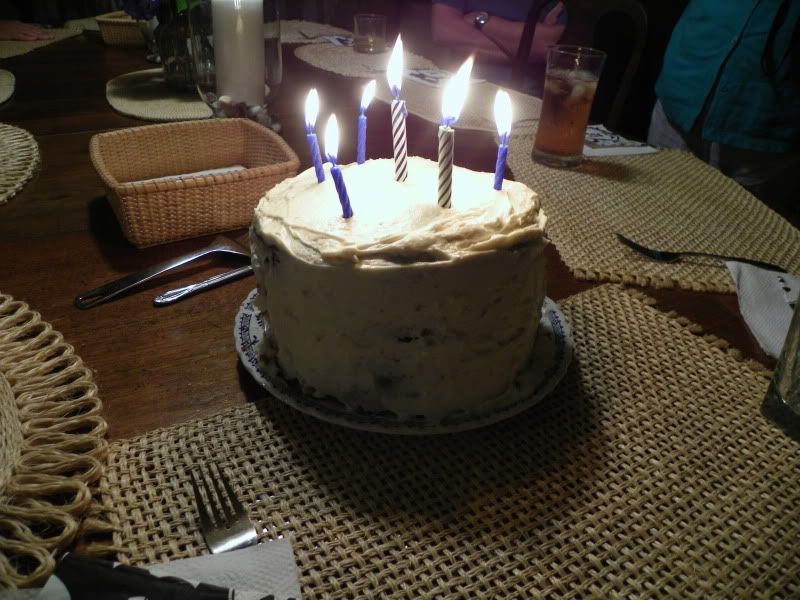
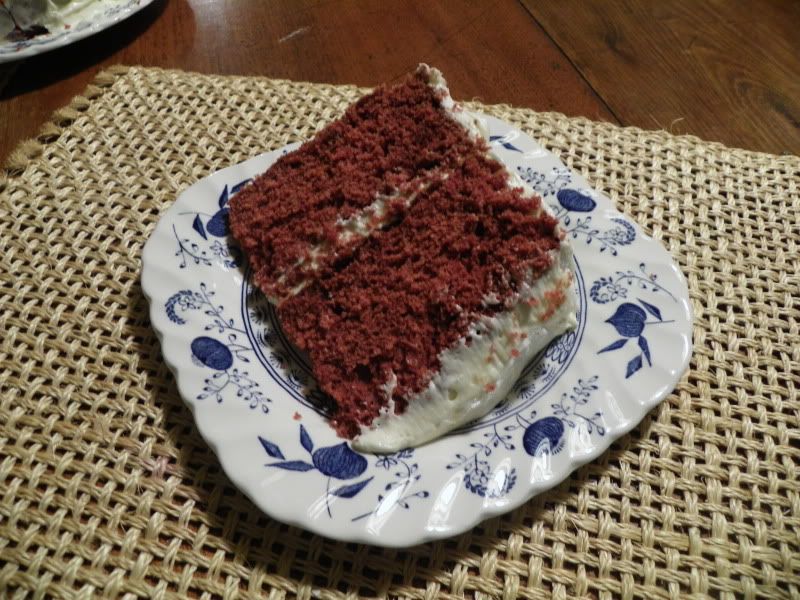
Montclair Martha's Red Velvet Cake
from Martha Stewart
1 and 1/2 sticks butter, softened
2 and 1/2 cups cake flour
3T cocoa powder (I used dutch process, Clint normally uses Hershey's)
1 and 1/2 t baking powder
2 cups sugar
3 eggs
1t vanilla
pinch of salt
red food coloring (I used gel)
3T warm water
1 cup buttermilk
1t baking soda
1T white vinegar
Sift together the flour, cocoa and baking powder (otherwise you'll get big lumps of powdery cocoa, not so fun).
Cream together the butter and sugar, and beat for 15 minutes. Beat in the eggs, one at a time, then the vanilla, salt and food coloring. Now alternate adding the sifted flour/etc with the buttermilk, starting and ending with the flour. Finally, in a small bowl, combine the vinegar and baking soda, then add to the batter.
Divide among 2 8 inch cake pans and bake at 350F for 25-35 min. Cool in pans, then remove.
Frosting
Suzi-Q Filling/Ermine Frosting (my mom's had this recipe so long she doesn't know where it came from).
Note: Clint, the resident red velvet expert, insists that this frosting is the only appropriate frosting for red velvet. He calls it "red velvet cake frosting", since this is the only thing he's ever had it on. I recently discovered its more-or-less official name is "Ermine Frosting", but I grew up knowing it as "Suzi-Q Filling". I've only seen this frosting on chocolate cake, and it's kind of the only way I want my chocolate cake. It's totally unsuitable for piping, but oh well.
5T flour
1 cup milk
1 cup sugar
1/2 cup butter, softened
1/2 cup shortening
pinch of salt
1t vanilla
In a small saucepan, cook the milk and flour, whisking often, until it's thick like paste. Let cool.
Beat the butter, shortening and sugar together until fluffy. Add the flour/milk paste, salt and vanilla. Beat until fluffy (or my mom's direction: "beat like hell".)
The cake is frosted very simply: 2 layers of cake with this frosting in between the layers and all over the outside of the cake. Simple and classic!
This is a great red velvet cake. It's not Clint's mom's recipe (which is for a 9x13 pan and I wasn't in the mood for math when it came time to bake this, and obviously it had to be a layer cake this time), but the texture was lovely.