Thursday, August 12, 2010

Jammin'

Jam. It's my new favorite thing.

I grew up helping my parents can. They mostly made pickles (I was the official cucumber washer, but sadly, my allergy to green bell peppers prevents me from participating further until the cucumber/onion/pepper mixture has begun to cook), but every so often, mom would make jam. Recently she's made grape jam, with all the grapes that grow on the side of my grandma's house, but when I was young, she'd make the best ever peach jam. It happened very rarely, I'm not sure why, but I always remember jam-making very fondly.

As with most new things, I'm a little nervous at first, but something always clicks and I jump in head first. With jam, it took 3 lbs of over-ripe apricots to get me to try it. I had to use those apricots immediately, and what better way to use up a lot of fruit than to dump it all in a pot with some sugar? Easy peasy- especially because I didn't preserve that jam, I just kept it in the fridge until it was all gone.

But man, the day after that jam was gone, and I had to have store-bought strawberry jam (high-quality, $6/jar stuff, but still) on my toast... it was sad. I knew I had to make more jam.

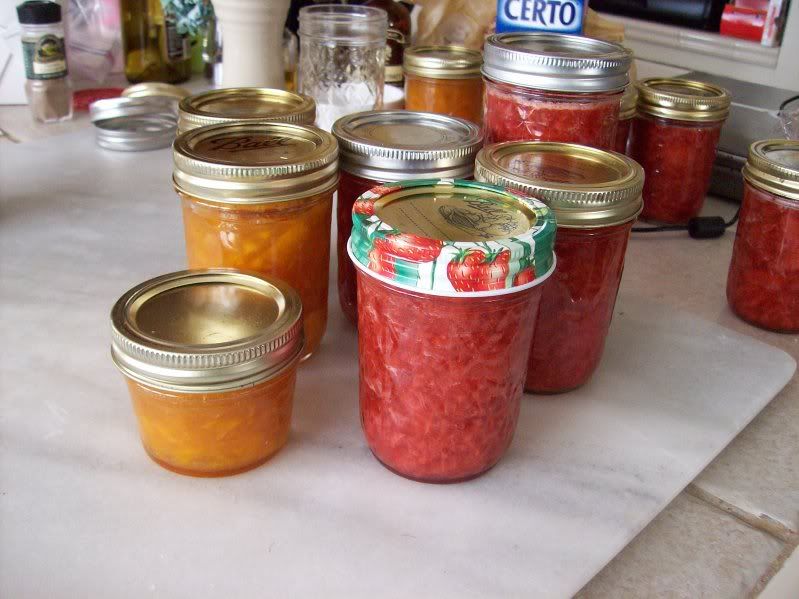
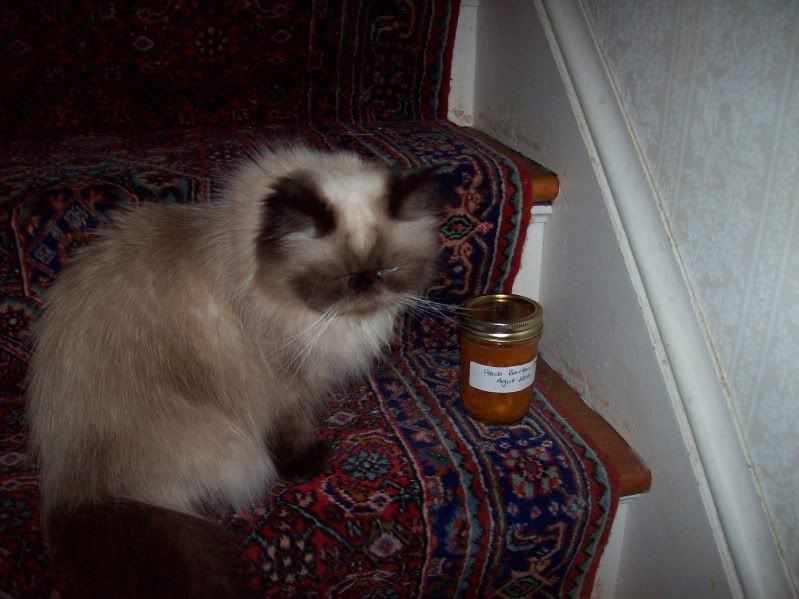
So when peaches went on super sale at the grocery store and I bought 6 lbs, I used about 3.5lbs to make Peach Bourbon Vanilla jam, a recipe someone very kindly shared online. And thus began my jam obsession.

Some pointers on jam, courtesy of my mom:

-sterilize your jars and lids in the dishwasher (regular setting is fine, but you can use high temp if you want) just before you need to use them. Try to time it so that the dishwasher is done just before you want to fill the jars

- if you have to wait for the jars, keep the jam boiling, but it will get thicker and thicker the longer it boils.


-always sterilize more jars/lids than you think you'll need. Sometimes you end up with more than the recipe predicts, or sometimes a jar is cracked and unusable. It's easier to sterilize extra than to run around and try to sterilize one last jar when you've filled the other 6 already (I speak from experience- and if this happens, fill a big clean pot (any kind of pot) with water, the needed jars and lids, bring to a boil and boil for 10 minutes. Keep the jam simmering during this time, and bring back to a full, rolling boil before filling the newly sterilized jar).


-a wide mouth funnel is extremely useful- I would hesitate to can without one. Sterilize that with the jars.


-DO NOT touch the inside of the jars, or the underside (jam side, not exterior) of the lid. The rings are ok to touch. The jam's storage environment needs to be kept sterile.


-all of your utensils MUST be clean. Wash everything immediately before using in hot, hot water.


-line the floor around your canning area with newspaper, and consider filling your jars on a tray, cookie sheet, or paper towels. You can't possibly avoid dripping, so just plan for it.


-have a helper when you start filling the jars, it's good to have another set of hands.


-When you fill the jar with jam, leave about a 1/2inch space between the jam and the top. Clean the lip of the jar (not the inside!) and quickly put the lid on before filling the next jar. It's a good idea to also put the ring on before filling the next jar- which is why an extra pair of hands is useful. The rings only need to be finger tight for now.


To make jam, you will need (according to me):
-jars, with lids and rings (available at the grocery store during canning season (late summer), or apparently at Loew's)

-a wide mouth funnel
-tongs, so you don't have to touch the hot/sterile jars and lids with your bare hands

-a large, non-reactive pot

-a large wooden spoon, ready to be stained by brightly colored fruit: the "canning spoon".
-a bowl with a pour spout and handle, for filling the jars
-a tray, cookie sheet or paper towels to line up the jars on when ready to fill
-newspapers to line the floor

-an apron, because you will get splattered. I also prefer to wear my glasses instead of contacts during the jam process.


There are a few useful "canning kits" out there, which are inexpensive and contain the necessary tongs and wide mouth funnel, and often also a stick with a magnet, which makes picking up the sterile lids very easy. I got mine at the grocery store.

Canning might seem a little daunting after this big check list, but my main points are: everything needs to be super clean, you will make a mess, and you should move quickly. I recommend small batches of jam unless you've turned into a lean, mean canning machine (I'm not there yet, I'm sticking with batches using 4lbs of fruit for now).

Also note: if the canning process seems scary, just pour the jam into tupperware and refrigerate as soon as it cools. If you plan to use it up quickly, this is a totally viable option- and honestly, if I hadn't done it this way first, I probably would have been too scared to start preserving. By making a batch of refrigerated jam first, I figured out how to make the jam, and once I knew I could do that, I was ready to move onto preserving it.

How does jam work?
Jam is essentially fruit that's cooked down and preserved in a sterile, sealed environment. Jam uses pectin (see pectin info at the end of the post), a polysaccharide (essentially a sugar that's found in some fruits) to make the jam gel from interacting with the sugar. I wish I could tell you about the history of gelled jam and why it's popular, but I don't really know. There are different types of preserved fruit:
Jam uses whole fruit, which is usually mashed/crushed before preserving, releasing the juice
Jelly uses just the juice of the fruit.
Marmalade is generally made using citrus peels, which, interestingly, are high in pectin, which means they can gel themselves with added sugar.
Preserves is essentially another word for Jam, but sometimes implies that a whole fruit is preserved and gelled.
Fruit preserve is jam with no additional sugar (Polaner all fruit, anyone?)
Curd is made with fruit juice, sugar, butter and egg yolks. It's spreadable like jam/jelly, but is very different (and tasty!)
Butter (as in, Apple Butter) is fruit cooked with sugar, and then forced through a sieve to have a pureed consistency. Since apples are very high in pectin, apple butters don't require added pectin.
Conserves are similar to jam, but are cooked differently and without added pectin, and generally are not as solid as a typical jam.
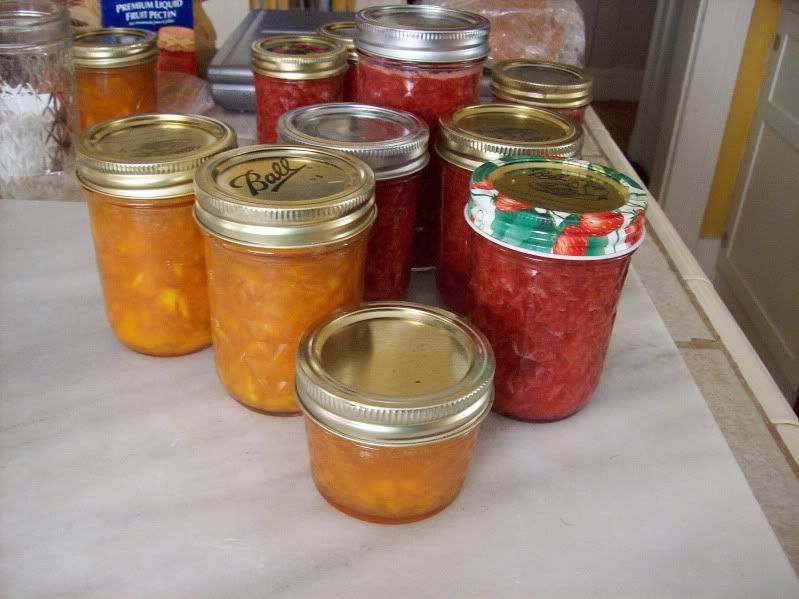
Now that you're ready, the recipes.

Peach Bourbon Vanilla jam,
found on Beantown Baker
(and I actually followed the recipe with no huge modifications- except I took out the almond extract, and used vanilla extract instead of a bean)

Makes 7 8oz jars

1 package low sugar pectin (this is the stuff in the pink box, either in the canning/seasonal section of the store, or near the jello in the baking section)
3.5 pounds peaches (note: one peach was a CSA peach!)
3 cups of sugar
1/4 cup lime juice
2t vanilla extract
1/4 cup bourbon


1. Peel the peaches: prepare a big pot of boiling water and an ice water bath, wash all the peaches, and cut a shallow X into the skin at the bottom. Place a few at a time in the boiling water, leave for a few minutes, and transfer to the ice water. Now you can easily peel the peach skin off the peach.

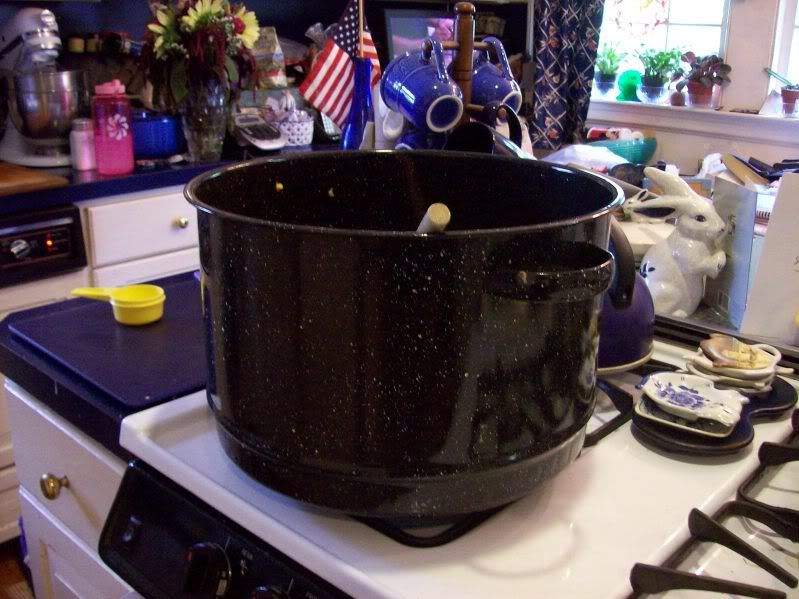
2. Dice the peaches, discard the pits. Place the peaches, along with the lime juice, vanilla (bean seeds or extract) and sugar, into a large, non-reactive pot (I use enamel-coated pots, either my 6-3/4 qt Le Creuset or my mom's enormous enamel pickling pot) and mash the peaches with a potato masher. Stir to dissolve the sugar.
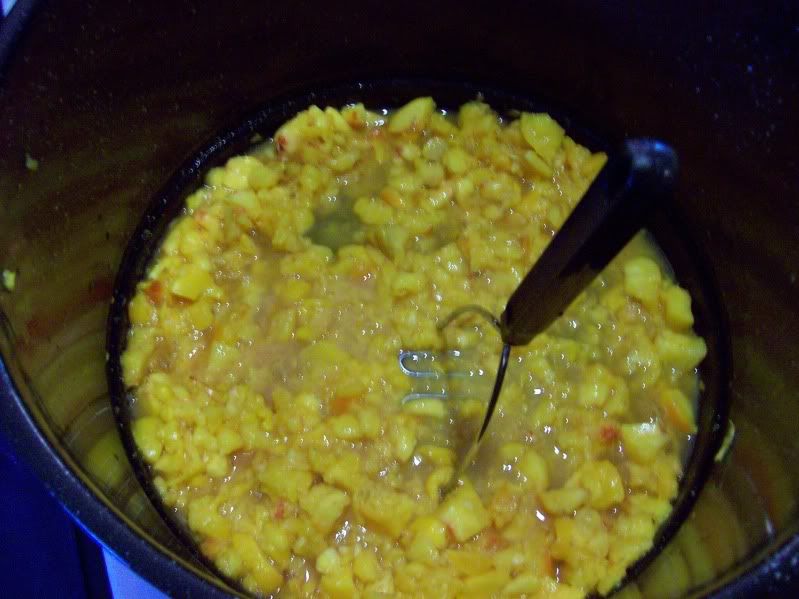
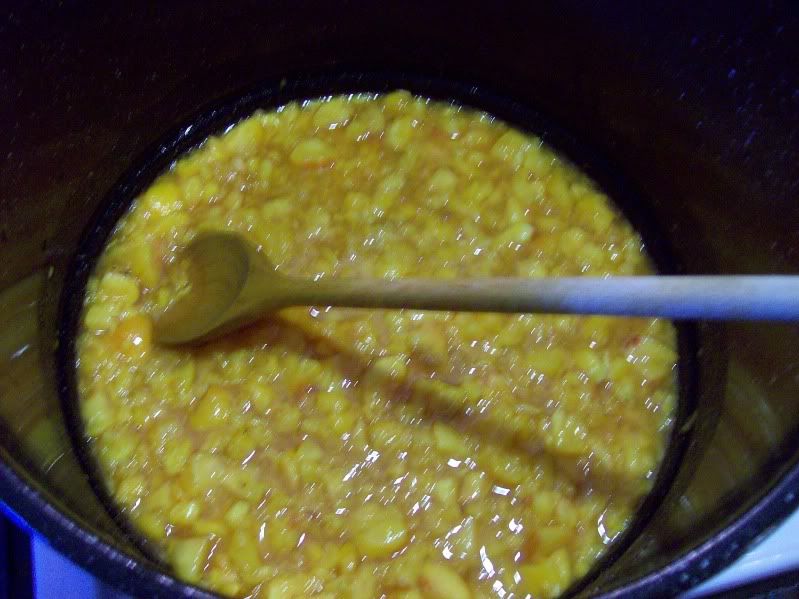
3. Bring the peaches/sugar to a boil over medium-high heat, stirring frequently. Sprinkle in the pectin, stirring constantly. After the pectin's added, you may have some foam (I did not). If you do, skim that off and discard. Beantown Baker says to now boil for 1 minute, but I boiled about 5 minutes. So: boil 1-5 minutes, depending on your mood, and how long the dishwasher takes to sterilize the jars.
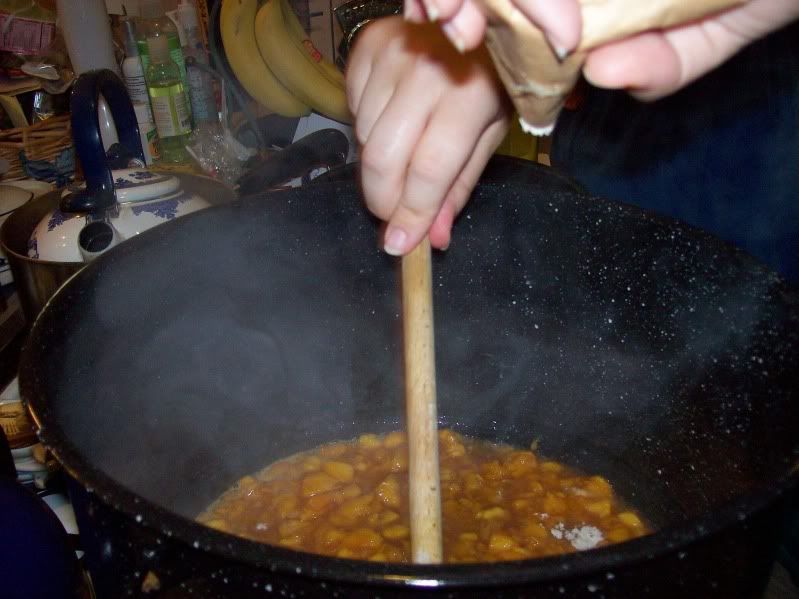
4. Remove from heat and stir in the bourbon.

Now get ready to fill the jars.

5a. Line up all the jars, space them out enough to maneuver the funnel and pot.

5b. Fill a clean pitcher-type vessel with the jam (some or all, whatever's easiest) and begin to fill the jars. Fill so that the jam just barely comes to the bottom of the funnel as it sits inside the jar. Move the funnel to the next jar, stick a sterilized knife inside the jar and run it around the edge to dislodge any air bubbles, and place a lid on the filled jar. Screw on a ring so that it's finger tight (the jar will now be hot, so you can't easily grip it to tighten anyway), and move on to the next jar.
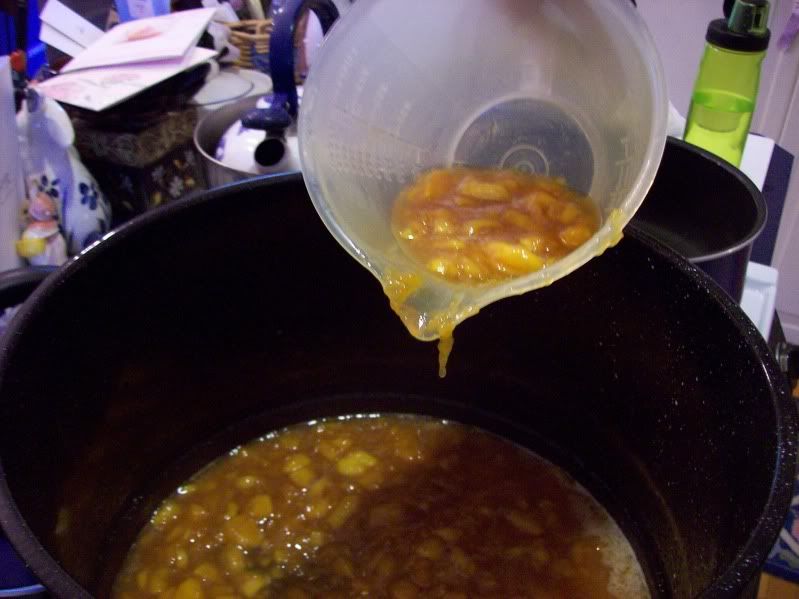
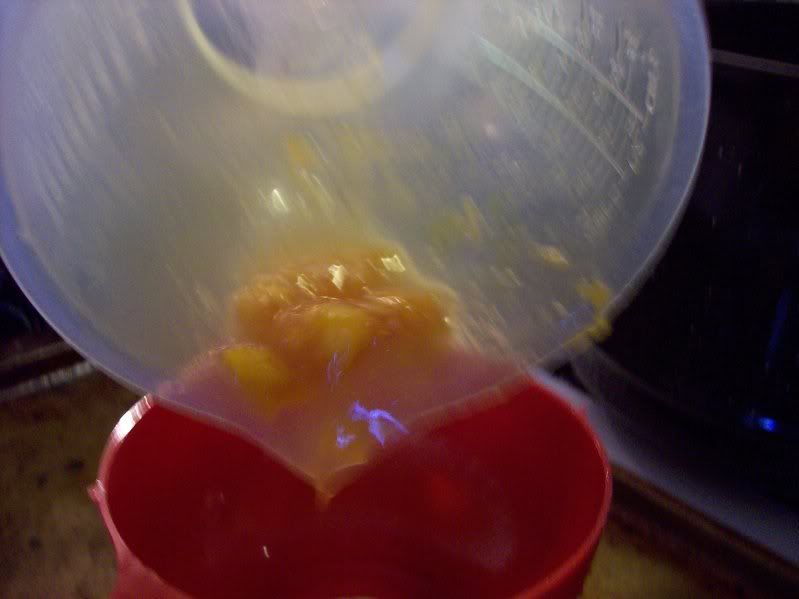
5c. Leave the jars alone. As you go about your business the rest of the day, you'll occasionally hear little pops from the kitchen- this sound is the clicky lids of the jars clicking down, indicating that they're sealed. Sometimes if you click it down yourself, it will stay down, this is fine. Any that don't click down are not properly sealed, and must be kept in the refrigerator, or you'll have a fine case of botulism. Don't fret, though, this means you can have some of your homemade jam now.
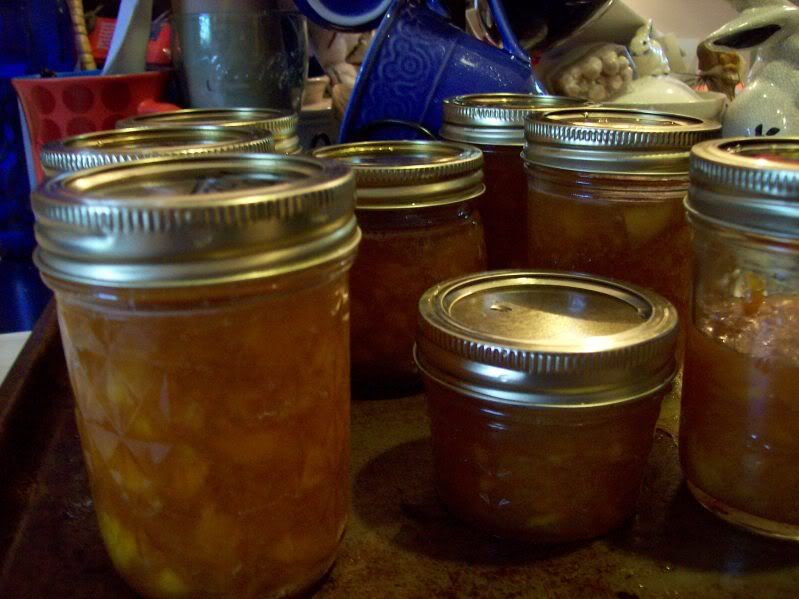
Does it make sense? It's probably easier if you're in the kitchen with someone who's doing thing and explaining as they go (no, I'm not going to make a video). I had the excellent luck to make my first batch of preserved jam in my mother's kitchen, with her standing by me as I went through the entire process.

Also, remember: it can't be that hard, I have two other successful batches to tell you about.

Strawberry Cardamom Jam
kind of adapted from/inspired by this Homemade Strawberry Preserves recipe
Makes 7 8oz jars

3.5lbs strawberries, washed and hulled
1 cup apple juice
(or any other kind of juice)
1 package low-sugar pectin
(the pink Sure-Jell box again)
2/3 cup sugar, regular granulated white or turbinado
(or more, if you prefer it sweeter)
1/2t ground cardamom


In a large, non-reactive pot (my 6-3/4qt Le Creuset), add berries, one layer at a time, and mash with a potato masher. I like chunks of strawberries in jam, so I didn't mash very well, I sort of smooshed. Stir in juice, and bring to a boil over medium-high heat, stirring often. Once it starts to boil, add the pectin, stirring constantly until it's dissolved, then stirring often. Add the cardamom.If the jam starts to foam up after adding the pectin (this didn't happen with the peach, but it did with the strawberry), skim off the foam and discard.Continue to boil and when boiling cannot be stirred down*, add sugar to taste. (I found that 2/3cup was plenty). Return jam to a boil, and boil for 5-7 minutes, remove from heat and fill and seal jars (as described above).
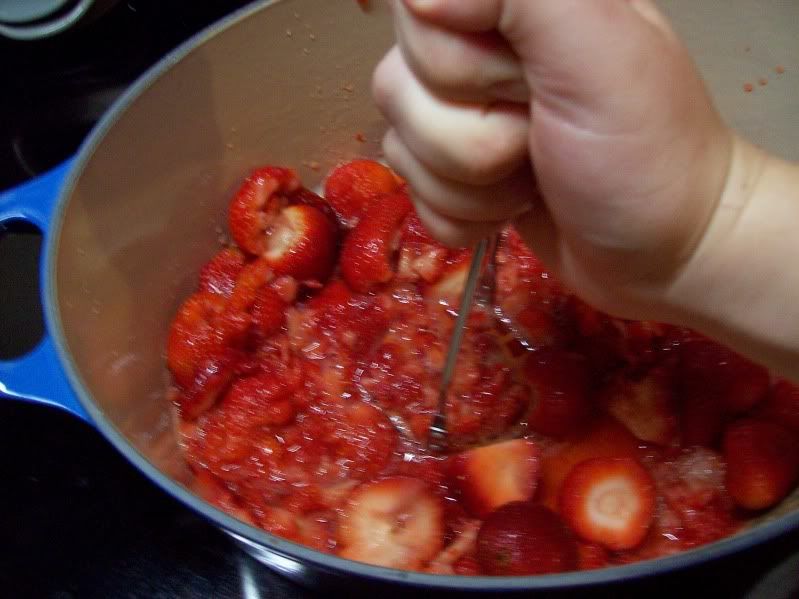
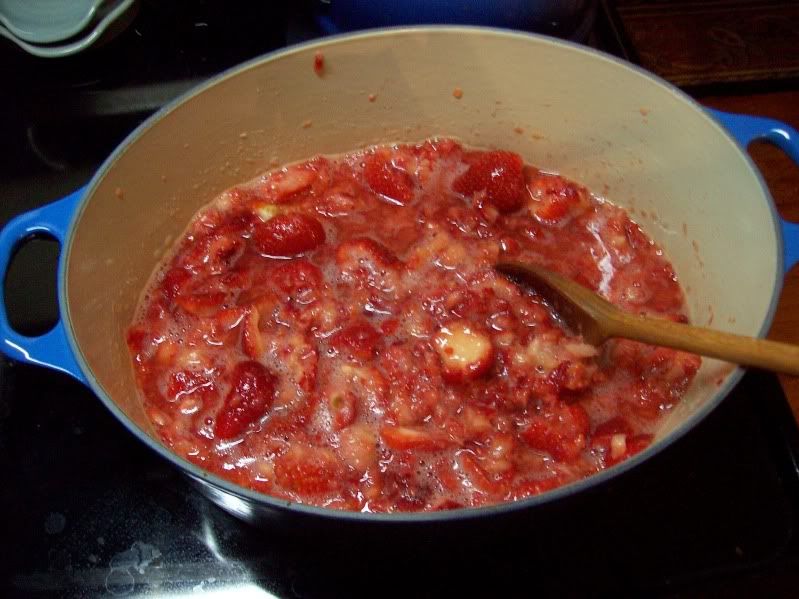
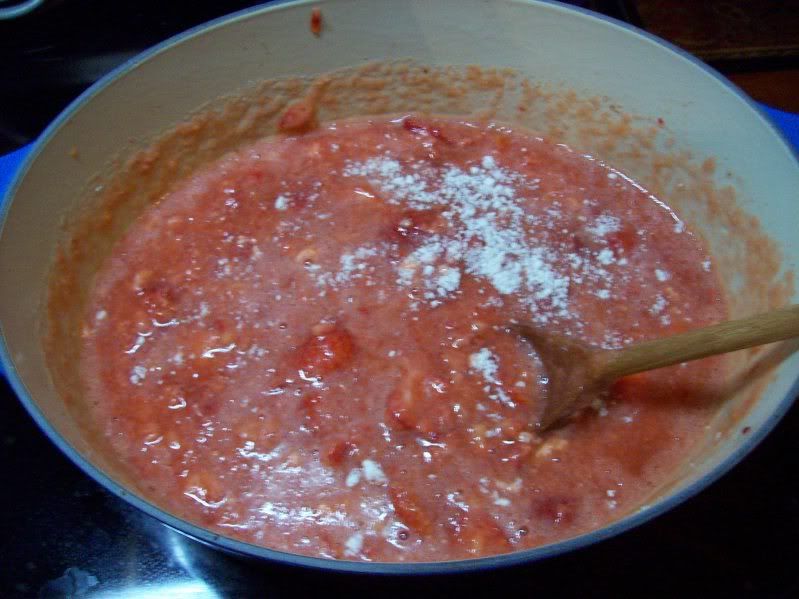
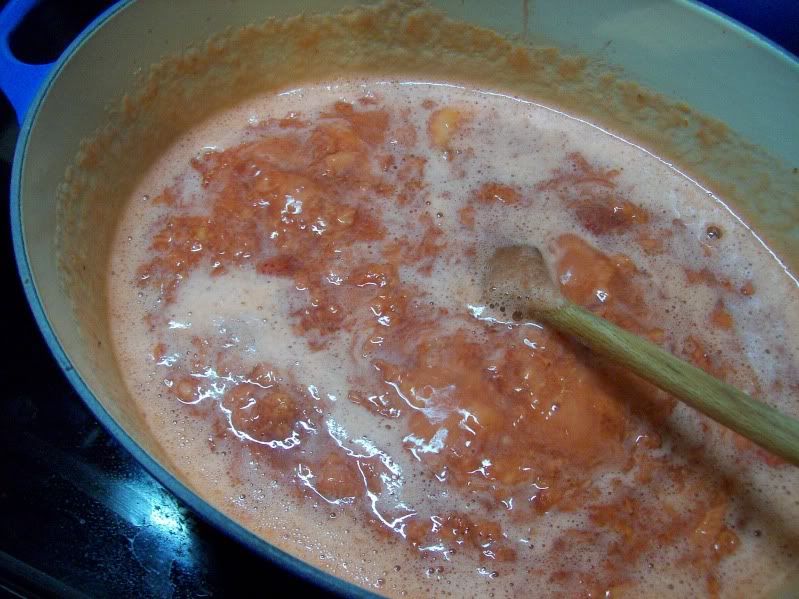
The cardamom adds a really interesting flavor to the jam, it enhances the sweetness a bit, and seems to go really well with the strawberry flavor.

*"when boiling can't be stirred down": you know how when something's boiling, and you stir and it stops boiling? This means keep boiling so that when you stir, it's still boiling.

Strawberry Lemon Marmalade
adapted from Ball's preserving website's recipe collection

Makes 8 8oz jars

4lbs strawberries, washed and hulled
1/4 cup lemon rind, thinly sliced (I used 3 smallish lemons)
juice of 1 lemon
1 package of low sugar pectin (the pink Sure-Jell box yet again!)
2-6 cups sugar (I thought 2 cups was plenty, the recipe said 6)**

Throw the lemon rind in a large non-reactive pot with enough water to cover. Bring to a boil, boil 5 minutes and discard water, leaving lemon rind in the pot. Add the strawberries, a few at a time, and mash. Stir in lemon juice. Bring to a boil over medium-high heat, and slowly stir in the pectin.

When boiling can't be stirred down, add the sugar- add a cup or two, then taste (important! Use a clean tasting spoon each time you taste, don't add any potential nasties to the jam), add more sugar until you're happy.

Boil for a few minutes more, then fill and seal your jars.

** I think the difference in sugar amount is due to the pectin. I'm using low sugar pectin, which allows you to use less sugar than you would otherwise, and the original recipe calls for regular pectin. Low sugar pectin and regular pectin are slightly different in their chemical structure, so that the low sugar pectin doesn't require as much sugar to gel as regular pectin- this means I don't have to overload my jams with sugar, which I don't want to do, for taste and calorie reasons. For more info, see the "Uses" section in the pectin link above. Additionally, using 2 cups of sugar, my jam did not gel as much other the other recipes, but it's definitely gelled enough, it's not runny.

There. Now you have knowledge, a list of supplies, and recipes. Go forth and make jam!
Birthday Pie

My dad's birthday was last weekend. He's not so big on cake. He has few strong food preferences, but unless he's being polite or is actually hungry, he won't usually indulge in cake.

So he got a birthday pie this year. The candles stood up in it, that's enough.

Dad's favorite is lemon meringue pie. I've never made a lemon meringue pie before. One year I made a lemon meringue cake, which had some issues related to the insane heat and humidity early August sometimes experiences, but tasted good. This was the year I went for it, though, and with great success.

I used Martha's Lemon Meringue Pie recipe, which is excellent.

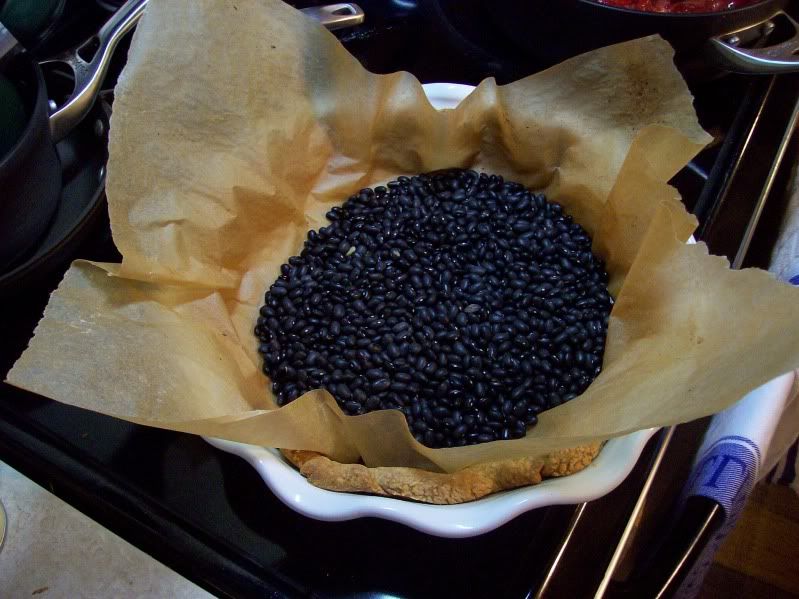
I used some pate sucree (pie crust with more sugar and egg yolks, as opposed to flour-salt-butter-water pate brisee) that I'd made a month before and stored in the freezer. I blind baked that crust in my lovely Simon Pearce pie dish.
Blind Baking
The Purpose:
when the filling doesn't need to be baked, you bake the pie crust alone before you fill it. You don't want raw crust.
The Problem:
you can't just put the crust in the pan and stick it right in the oven (believe me, I've tried). It shrinks and instead of a crust lining the whole dish, you get a little circle on the bottom that doesn't even begin to cover the sides. Not to mention the horrible air bubbles that sometimes happen.
The Solution:
Place the pie crust in the (greased) pie dish, make it pretty like you normally would. Then put a big piece of parchment paper in the crust, and fill that with dried beans or pie beads (beans are cheaper and available at the grocery store). The beans/beads hold the pie crust in place as it bakes.

I baked my crust for 45 min at 375F.

Meanwhile, I made the lemon filling.

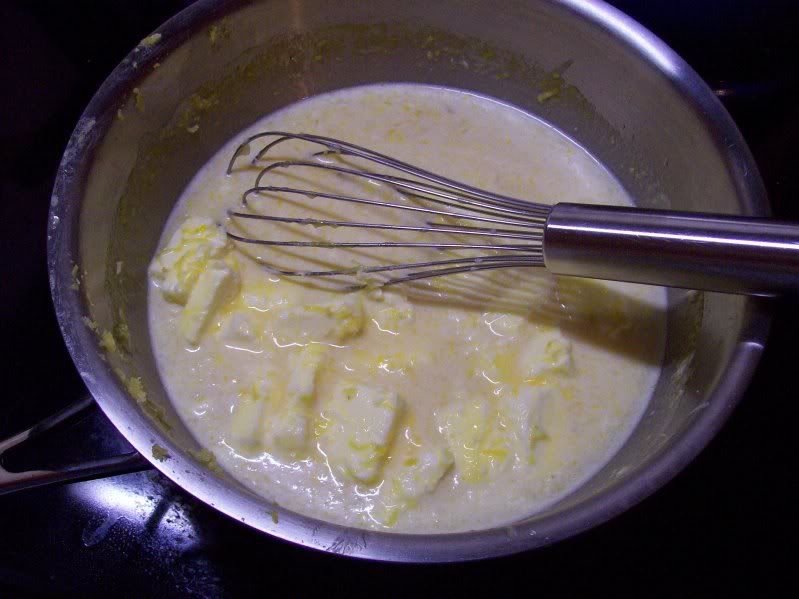
In a pan (on the counter, not on the burner), I combined
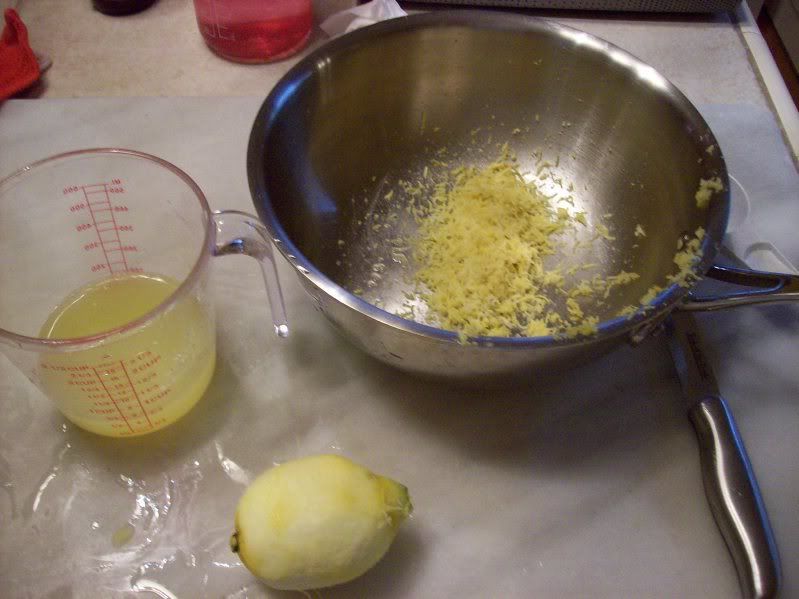
the zest of 2 lemons
1 cup of sugar
8 egg yolks (save the whites for the meringue!)
and whisked.

I then whisked in
2/3 cup fresh lemon juice (from 3 lemons, but you need to measure it yourself)
1/4t salt


I placed this over medium heat.

I then combined
1 cup water
1/4cup cornstarch
in the following way:
whisk the cornstarch together with about 1/4-1/2cup water very well- there must be no lumps! Then add the remaining water, whisking vigorously. No lumps!

I added this cornstarch water to the lemon/egg mixture as it heated up, as well as
1 and 1/4 sticks (10T) cold butter, cut into ~1/2T pieces.
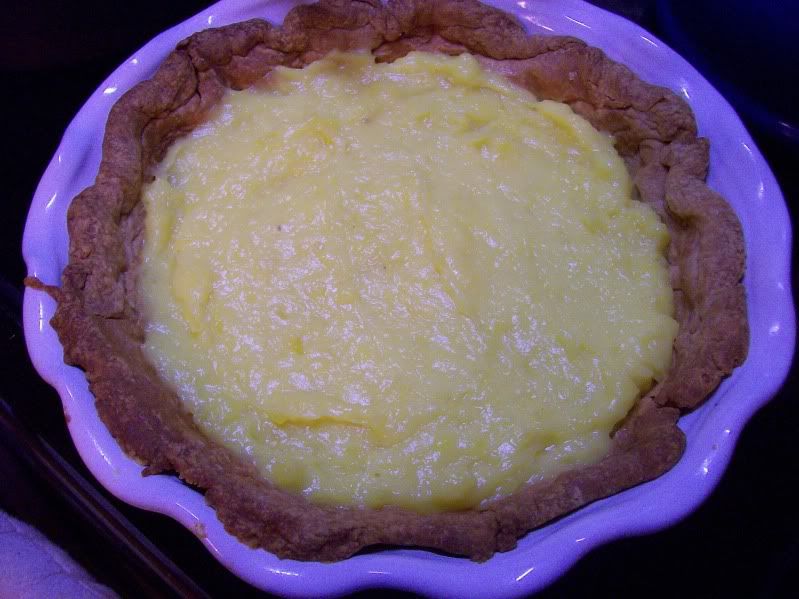
I stirred this with a whisk as it heated, and switched to a wooden spoon after the butter melted. You want it to thicken (and it will get very thick, like store-bought pudding thick), but you don't want it to boil. The recipe says it takes 5 min, it took more like 12 min for me. Keep stirring, and think about how thick lemon meringue pie filling normally is. That's how thick this should be.

Pour that into the pie pan after the crust has cooled.

Stick that in the fridge for a while- I placed plastic wrap directly on top of the curd (otherwise it will form a skin) and wrapped it well, and left it for 3 days.

Now, make the meringue. Don't be scared- this is the reason I'd never made a lemon meringue pie before, and it was actually really easy.

In the bowl of your mixer, combine
8 egg whites (leftover from making the lemon curd- why else do you think they use meringue to top this pie?)
2/3 cup sugar
1/4t salt

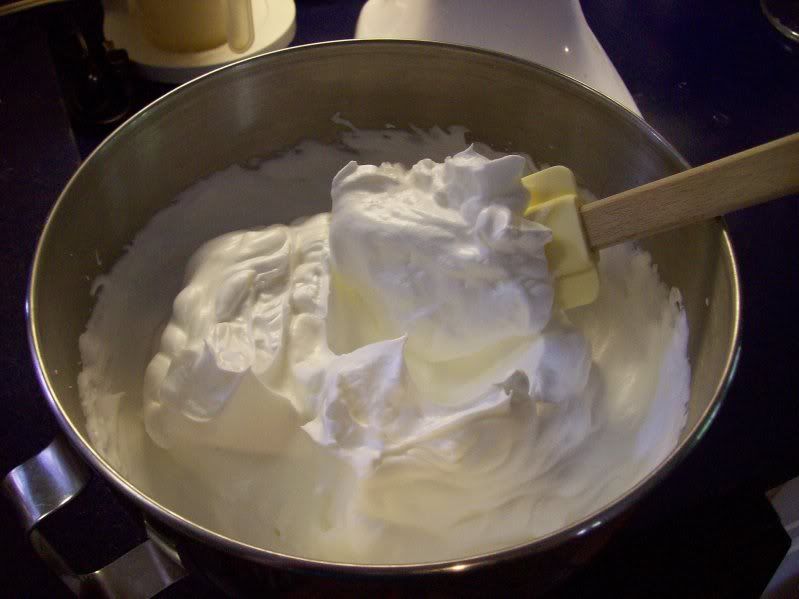
and beat on medium-high speed. Beat, beat, beat. This takes a few minutes, you want nice, stiff egg white peaks. When you lift the beater out of the meringue, it shouldn't droop at all. Be patient. If your arm gets tired, that's just a sign you need a stand mixer (or you should increase your weight lifting a few weeks prior to making meringue).

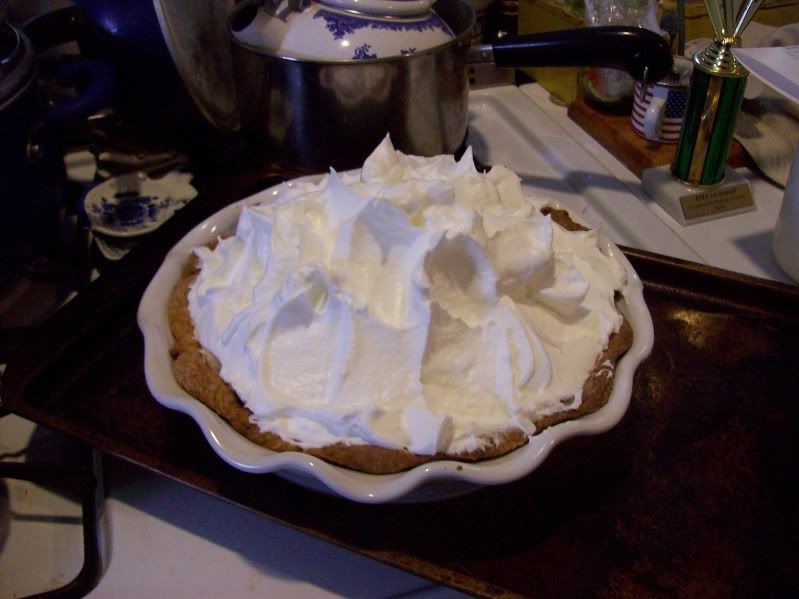
Top the pie (take the plastic wrap off first!) with the meringue, and make sure the meringue touches the edges of the crust (so says Martha, but I'm not sure why). Then bake at 350F to brown the meringue.

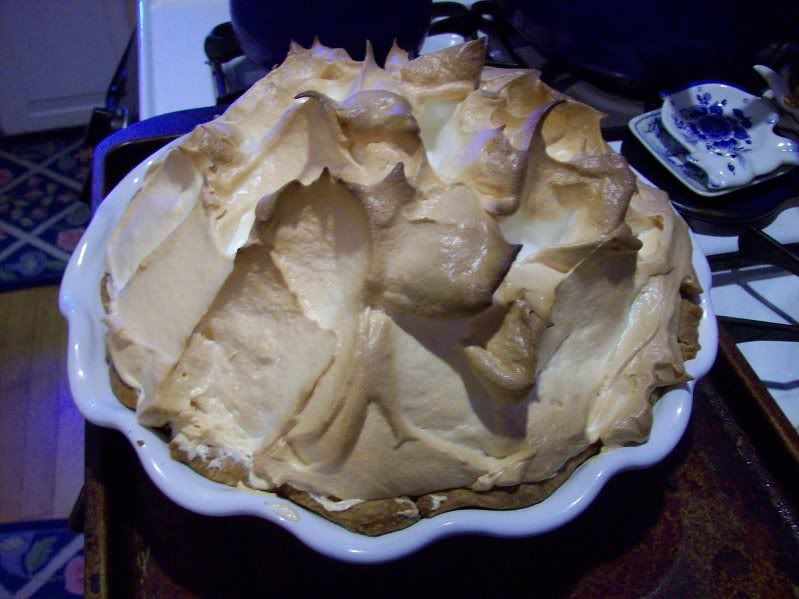
Martha says bake 8-10 min. I like a nice browned meringue, so I baked 30 min. I would have baked longer, but I was impatient. Also, raw egg whites freak me out, I like to pretend baking a giant mountain of meringue for 30-40 minutes will make it safe. I know it's probably not, but let me have my egg fantasy.

The results? Delicious. I'm so impressed with myself.

Wednesday, August 11, 2010

CSA #8

Can you believe it? CSA #8!

And along those lines, how is it August already? I'm glad I'm not on the school schedule anymore, I don't have to mourn the loss of summer, just celebrate the return of cooler weather (although parking at work in the summer is so much easier).

With CSA #8, I must admit a sad truth: I threw food away. :(

Let's begin:
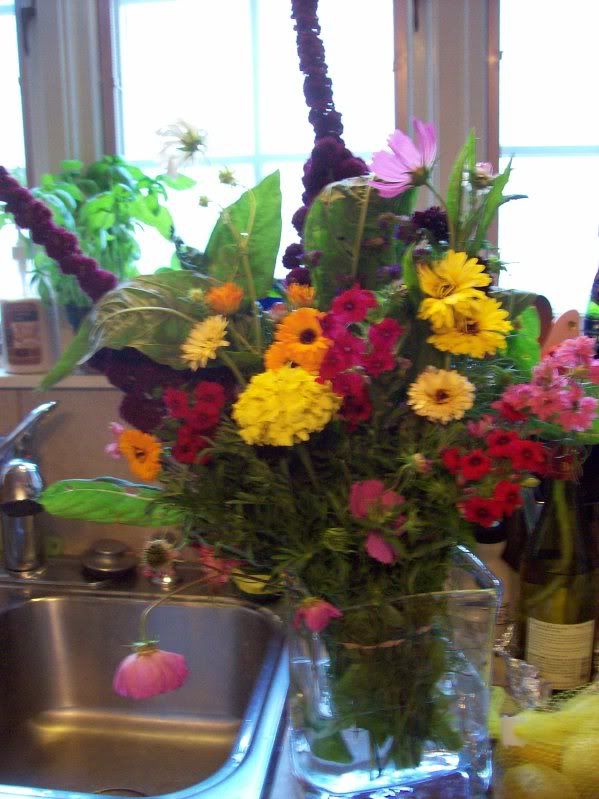
Clint picked up the share (as usual), and I came home to this sight
and said, whoa! These were some big flowers.
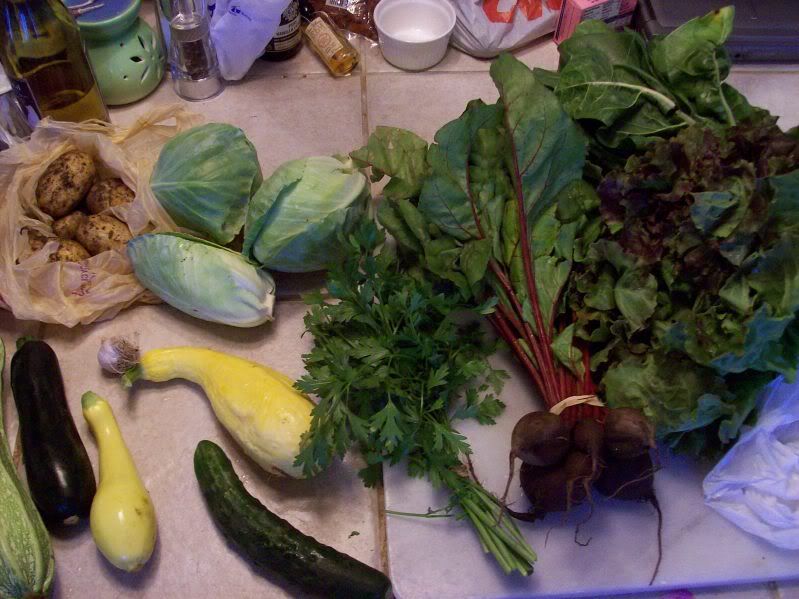
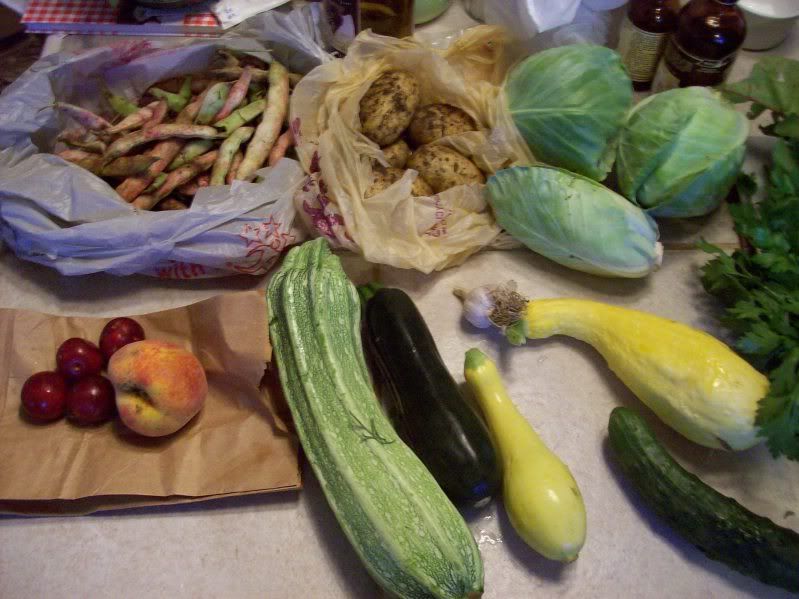
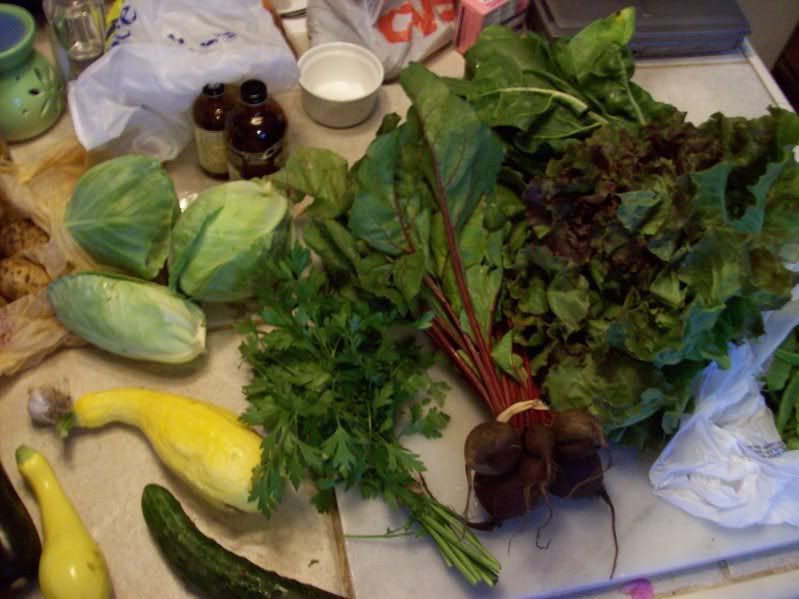
We got more beets, more lettuce, some parsley, 3 small cabbages, 2 small summer squashes, a zucchini, and a cucumber, another tiny garlic,
another kind of squash, 3 tiny plums, a single peach, more dirty potatoes (love the dirt!), some kind of green, pink and cream beans,

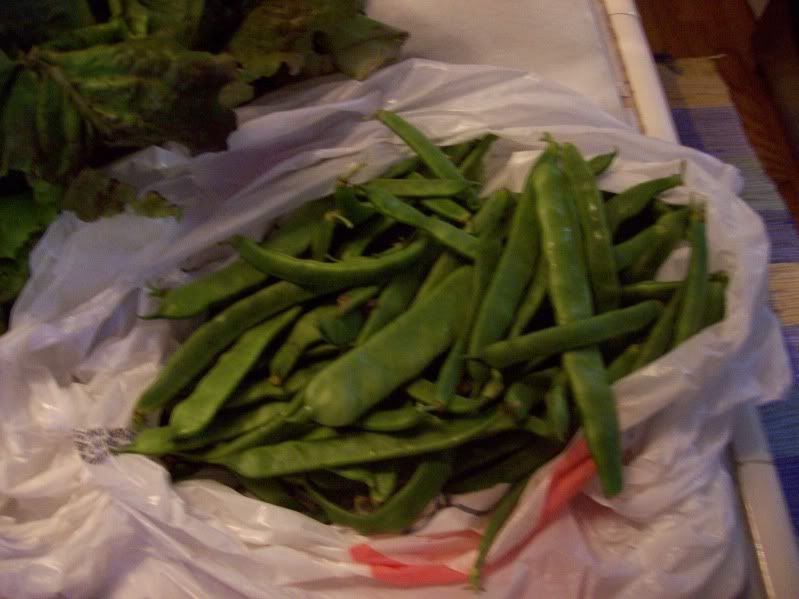
and green beans.

What did I do with all of it? I gave some of the cabbage away. I hope to grill the last head. I gave the beets away and cooked and froze the greens (because the person I was giving them to told me to just cut the greens off so they'd fit in the veggie drawer better. What, waste food?!? Never!). I will tell you the tale of the peach tomorrow (he joined some friends from PA in a big pot, they had a lot fun together) and we ate the plums. The lettuce and cucumber became salad, the potatoes are waiting, some of the squashes were steamed and added to shrimp red curry leftovers (love the steamed zucchini in there, it really improved an otherwise mediocre dish), and some other squashes and the garlic were used in the recipe below.

What about the beans?

The beans had a sad tale. I planned to make zydeco beans with them, I bought jars and lids and vinegar, and I had all the herbs and spices I needed. The only thing I lacked was time. So- I put them in the cooler on Friday, took them to my parents' house, and planned to can them on Sunday. On Sunday, however, they were all a big mess of mold. I thought they'd be fine in the fridge, they were only 4-6 days old (depending on when they were picked), and certainly grocery store beans are that old when they get put into my cart. Perhaps I should not have left them in their plastic bags. Sigh.

I will redeem myself, though, we expect more beans, and I'll can them promptly.

On a happier note, the squash.

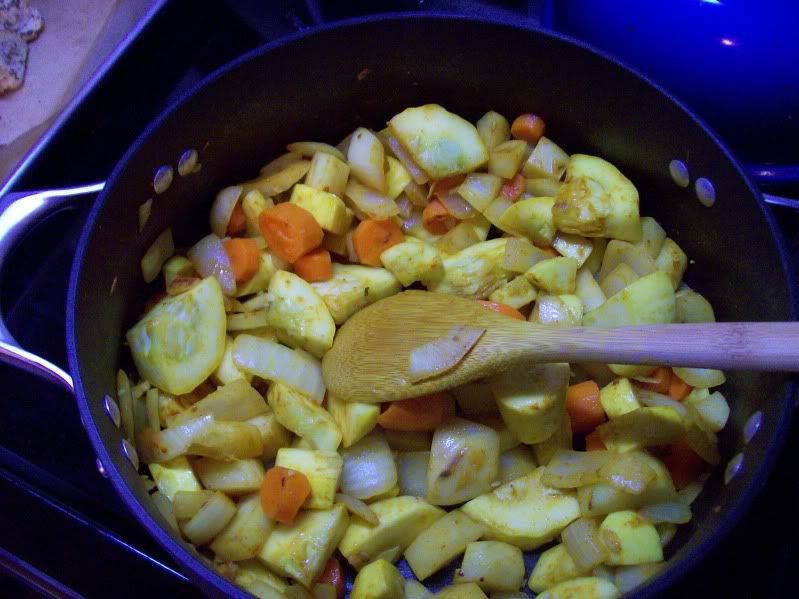
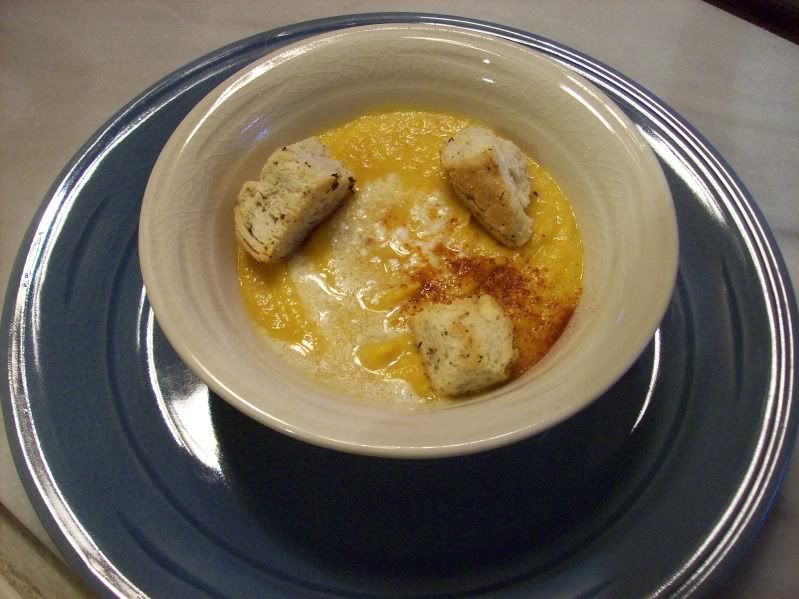
I made squash soup! Incidentally, squash soup-making occured on the same evening as strawberry sauce-making, lemon meringue pie-making, and peach cobbler-heating-up, and this particular evening was about 90F outside and rather humid. I should consider the weather before embarking on an all-night cooking spree. But you know what? This food was completely worth it. And the lemon meringue pie was for my dad's birthday.

Summer Squash Soup
adapted from Naturally Ella, thanks to TasteSpotting

Ingredients:
  • 1T olive oil
  • 3 small summer squash
  • 1 onion, diced
  • 2-3 carrots, diced
  • 1-2 cloves garlic
  • 2-3 small potatoes, peeled and diced
  • 1/4 cup white wine
  • 3 cups broth (I used chicken)
  • 1/4t coriander
  • 1/4t tumeric
  • 1/4t paprika
  • 1/8 teaspoon cumin (the original recipe also used mustard powder and cinnamon, but, um, I forgot)
  • pinch chipotle pepper
  • 1/3 cup coconut milk
Heat the oil in a large pot, add the onion and garlic and saute for a few minutes. Add squash, carrots and potatoes and cook til softened, 7-10 minutes. Add the spices and then white wine to deglaze the pan. Add broth and simmer for about 30 minutes. Remove from heat and puree with an immersion blender, or carefully add soup to a regular blender and puree in batches. Return to pot, place back on the burner to reheat, and stir in coconut milk.

To serve, top with a dollop of coconut milk and some homemade croutons.

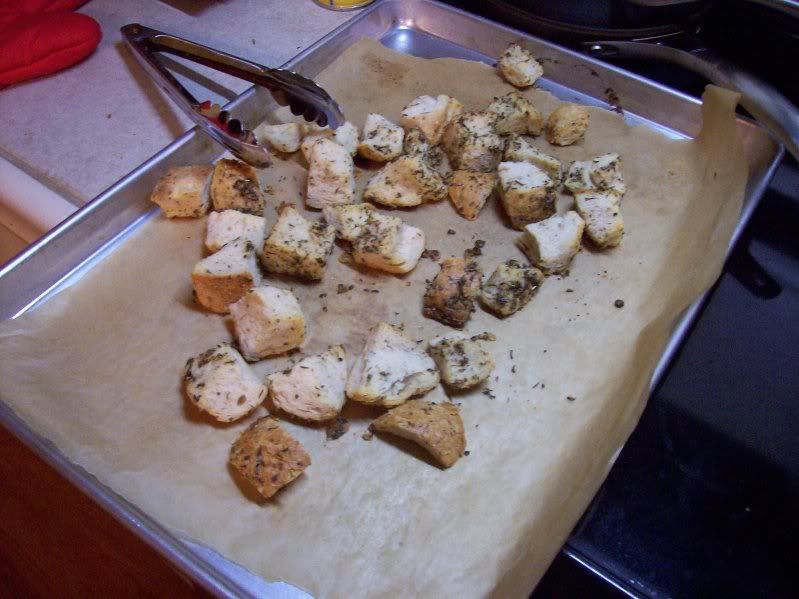
Homemade Croutons

Have you made croutons before? No? You should- they're easy and fun, and a great way to use up bread that might otherwise go stale.

Ingredients:
bread, cut into cubes
olive oil
herbs and spices

Toss the bread with a few T of olive oil (enough to coat) and herbs/spices of your choice. Make sure oil and herbs evenly coat the bread. Transfer to a cookie sheet, bake at 350F for 10-25 minutes, until they're as crisp as you want, and depending on the size of the cubes. Store in a ziploc bag.

I like to use herb blends or garlic salt. Penzey's Sunny Paris or Sunny Spain blends make good croutons. The croutons served with the soup are coated in a Stonewall Kitchens herb blend for poultry.


Friday, August 6, 2010

Redeeming the Whoopie Pie

A few weeks ago, I baked a lovely batch of whoopie pies to bring to a bake sale. They were so cute and perfect-looking.... and gross. Ok, they weren't really that bad, but I certainly wasn't eating them.
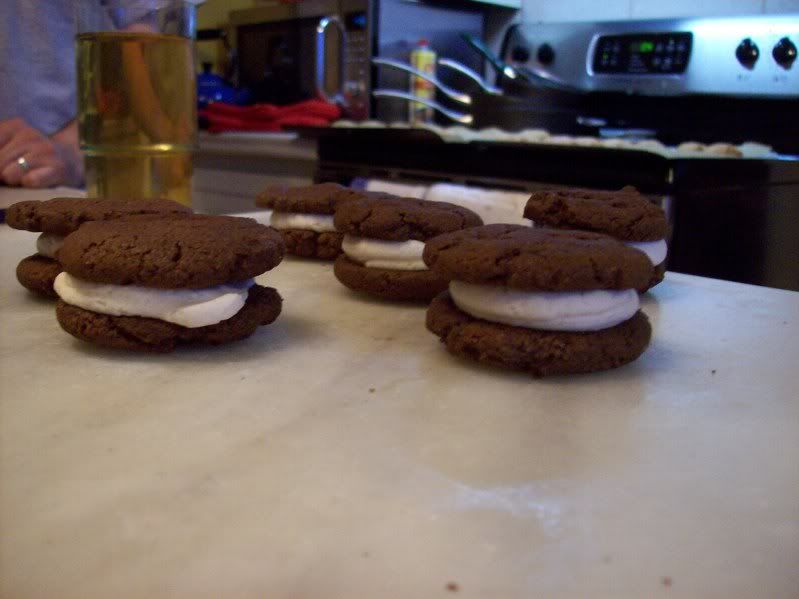
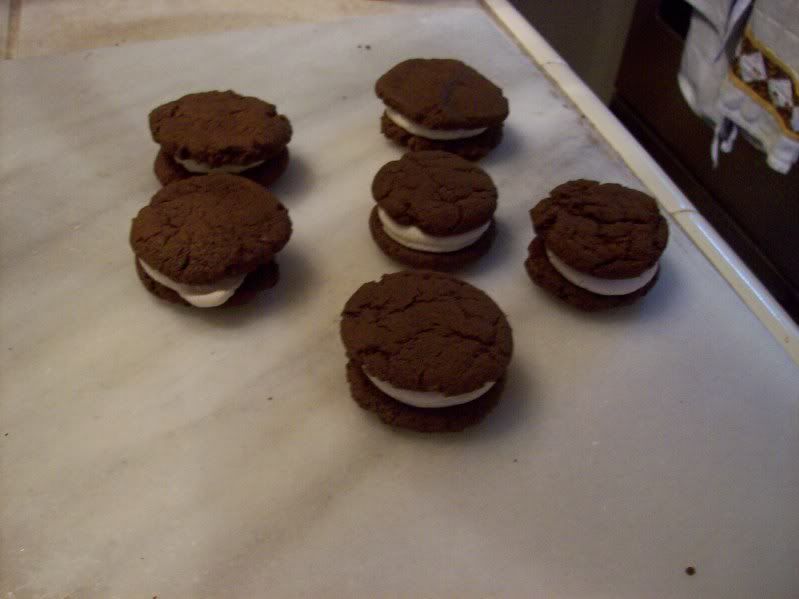
Recently I made some headway in redeeming the whoopie pie- not in baking a perfect whoopie pie, but it paying homage to it in cookie form.
(Note: some people say whoopie pies are cookies. These people have no idea what a "cookie" is. They are CAKE, people. Two little flat cakes with icing in between. Since when do cookies have fluffy icing? They're deconstructed cupcakes, not cookies. I have strong opinions about certain things, and this is one of them.)

These cookies are actually called Homemade Oreos, and I got them from Smitten Kitchen (who has never shared a recipe I didn't like). Hers look like oreos. Perhaps I didn't flatten mine quite enough- but then, I don't think the frosting/filling really mimics the oreo filling well, either.
The recipe's easy and straightforward, but has a different order than regular cookies.

In a bowl (of your mixer), combine:
1 1/4 cups flour
1/2 cup unsweetened Dutch process cocoa
1 teaspoon baking soda
1/4 teaspoon baking powder
1/4 teaspoon salt
1 cup sugar [SK's note mentioned that if you make the cookies without the filling, increase the sugar to 1.5 cups, since these chocolate cookies aren't super sweet. I thought they were sweet enough, though]

Stir.

Then cut in
1/2 cup plus 2 tablespoons (1 1/4 sticks) room-temperature, unsalted butter
and
1 egg.

Form 1t-1/2T balls, place on a parchment-lined cookie sheet, and flatten (with your hand, a glass, whatever). Bake for 9-12 min (depending on thickness) at 375F.

Make the filling:
1/4 cup unsalted, room temperature butter
1/4 cup shortening
2 cups powdered sugar
2t vanilla

Beat all that together. Using a spoon (less mess) or a pastry bag with a plain round tip (easy, most mess) or a ziploc bag with a hole cut in the corner (easiest, if you have a plastic bag handy), spoon/pipe the frosting onto an upside-down cookie, then top with another cookie.

Then eat, and be sure to hide a few in your desk drawer, so that when you bring these to your friend's house and everyone devours them instantly, you'll have a few saved.

Tuesday, August 3, 2010

CSA #7

CSA #7 gave me quite a shock. In the previous 5 weeks, we'd been inundated with lettuce. We gave and threw lettuce away, because we couldn't use it all. In week 6, I finally found ways to use up all our lettuce, and wouldn't you know, I had to go out and buy lettuce, because we ate it all up in 5 days. So I was pretty excited for the next batch of lettuce... but there was none! CSA #7 included no lettuce at all.

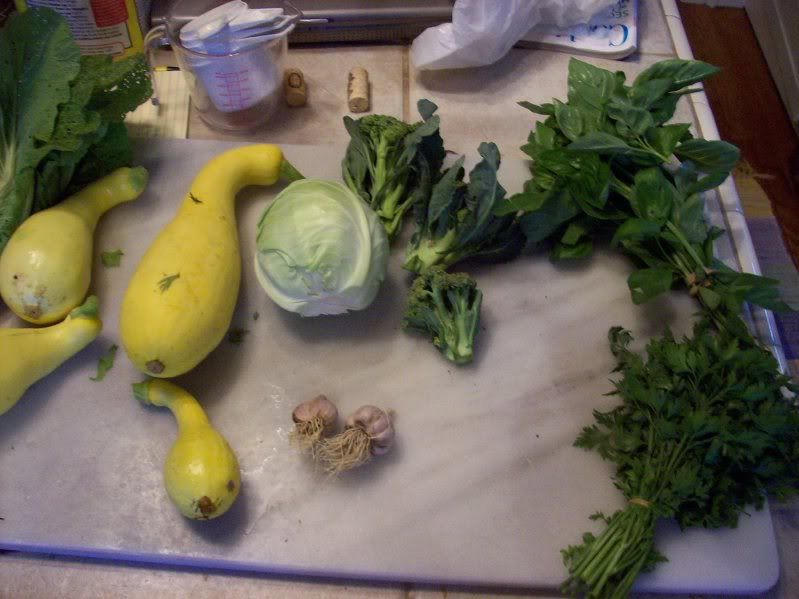
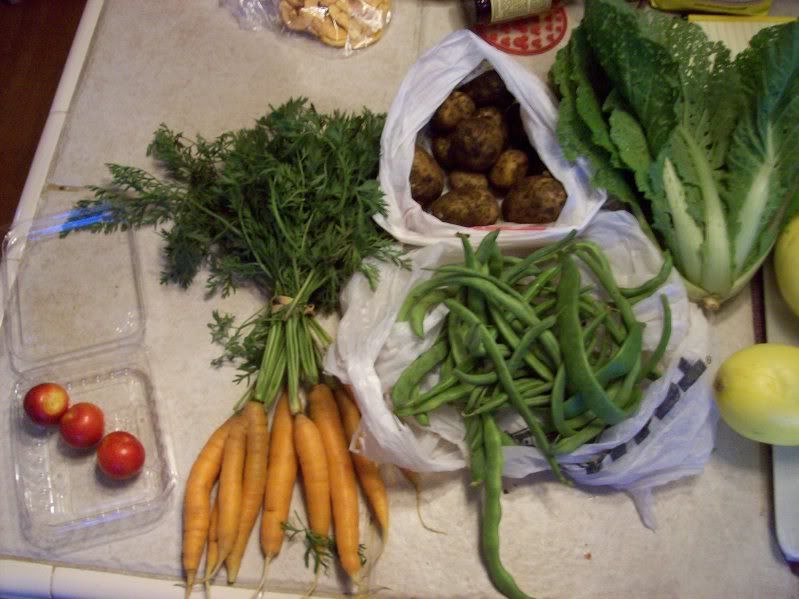
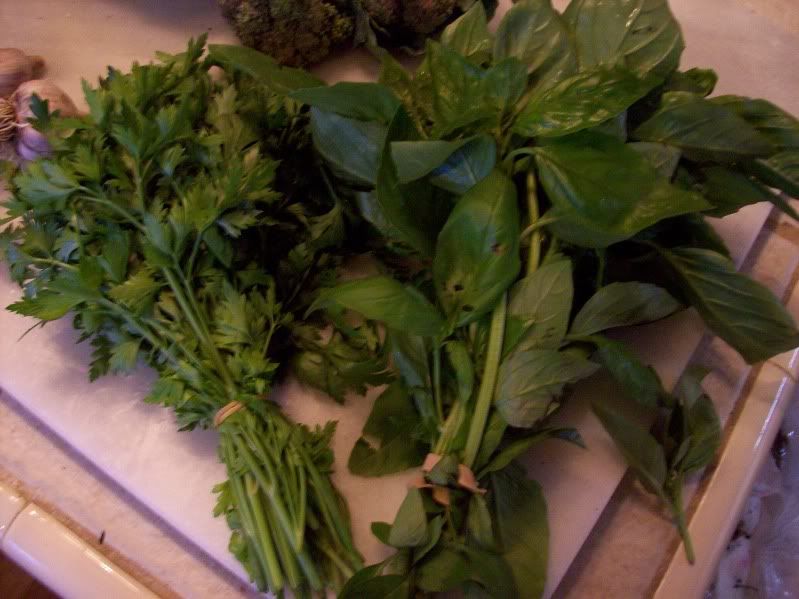
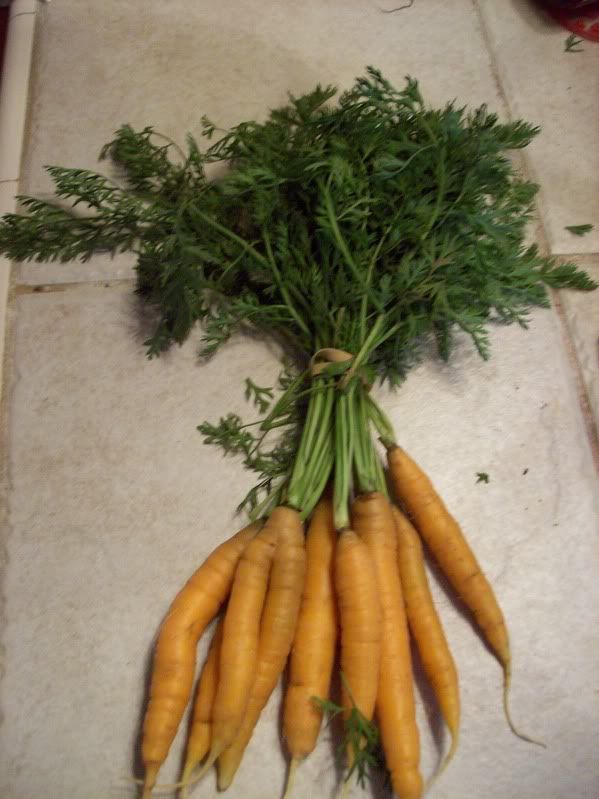
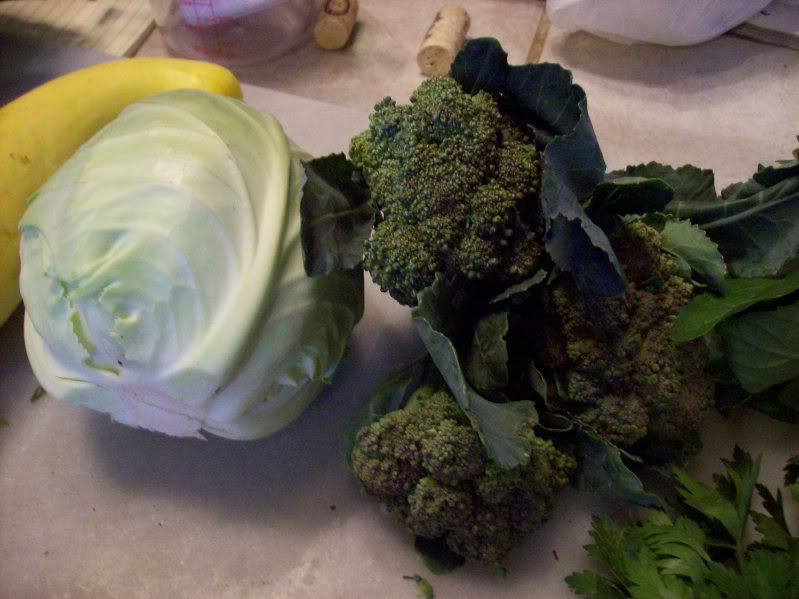
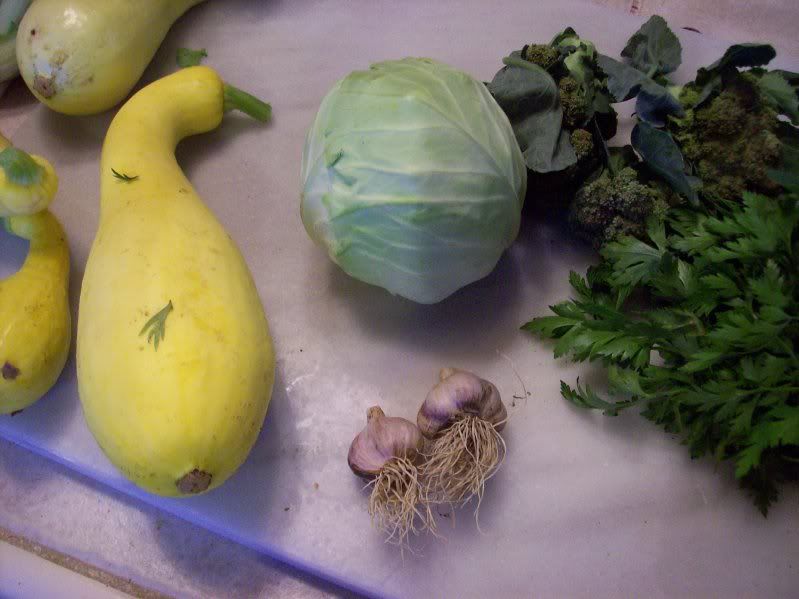
We received:big bunches of very fragrant parsley and basil, more little broccolis, a small, perfect cabbage, two little tiny garlics, summer squash,
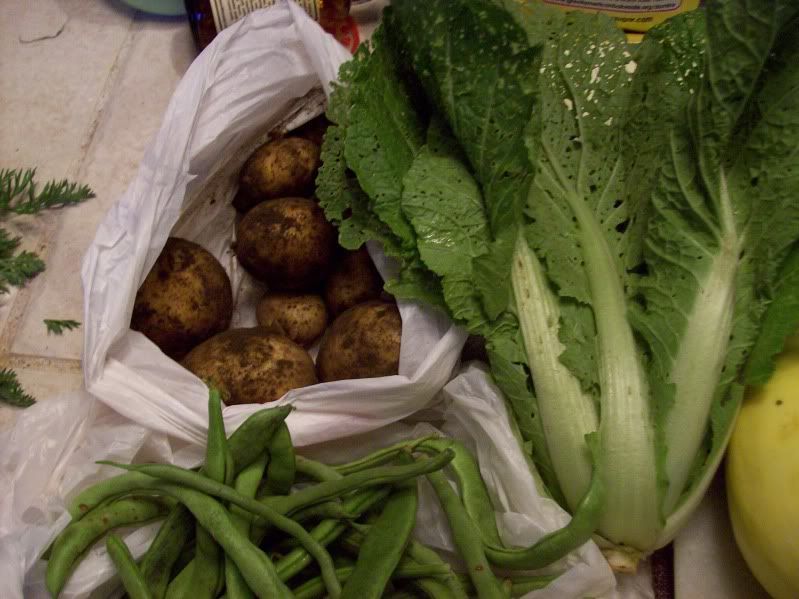
boy choy, green beans, 1lb of very dirty potatoes (it makes them seem fresher!), a bunch of beautiful carrots, 3 tiny red plums, and some flowers (cosmos, snap dragons, zinnias, and a sunflower).

The potatoes amuse me. It took me at least a minute to figure out what they were.
Mmm, the herbs

I love these carrots! They gave me about 1cup of chopped carrots.
Little tiny broccoli!

And the little tiny garlic!

I love that all these things are tiny and cute.

So I'm sure you're wondering what in the world I made with all these goodies. Well, not to toot my own horn, but I did a pretty good job using things up. Currently we are left with only garlic (which was just too cute to use), broccoli and herbs.

First: abish.

Online we have a FQOTD: Foodie question of the day. CSA#7 day's was, what type of food have you not yet tried but want to? The overwhelming answer was Ethiopian. I have actually had Ethiopian, exactly one time, but that one meal haunts me, even a year later.

Clint and I visited R in Boston, and we went to her favorite Ethiopian restaurant, Addis Red Sea, on Tremont. The seating is a bit odd for a restaurant in the US, it was mostly little stools crowded around tiny tables. The three of us ate out of a giant, wide, low bowl, which was lined with a flatbread, and on top were our dishes- a veggie dish, a fish dish, and a lamb dish.

This was one of the few times I actually finished all my food. I could not stop eating the deliciousness.

The next morning, I woke up from a dream about the previous night's meal, and almost cried when I remembered we didn't have leftovers.

So when people online were discussing Ethiopian, I had to look up some recipes. I found abish, a meat dish with tomatoes, onions and spices. I added in 2 medium-sized summer squashes and one tiny zucchini.

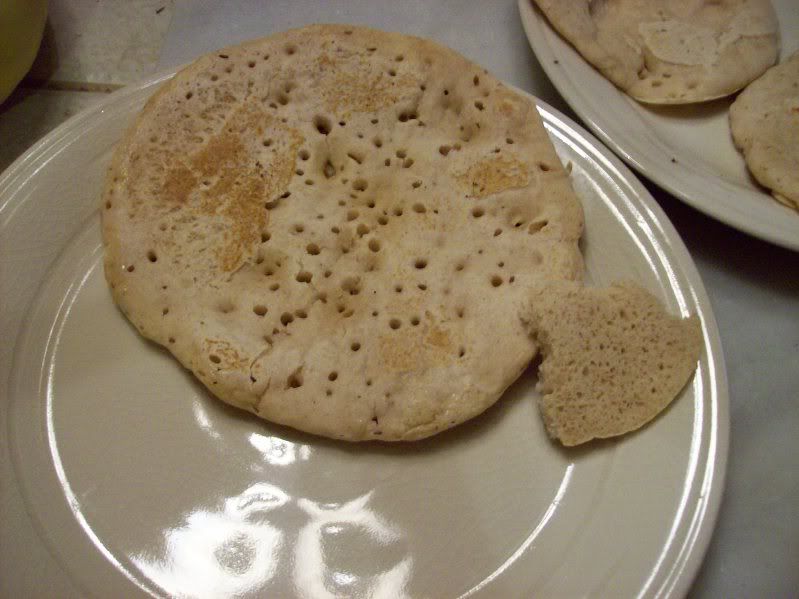
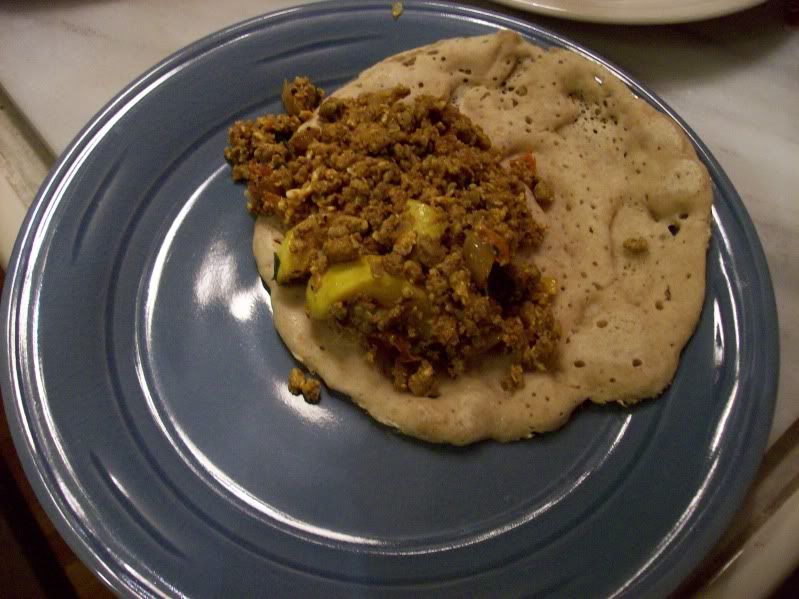
I also tried to make injera, but that is a fail-tale for another day. Pictured below is a reasonably successful attempt at Americanized injera, using typical US ingredients. The "authentic" injera I made a few days later was revolting- leading me to believe either injera is not what I think it is, or I seriously screwed up the authentic recipe. Because the version below is similar to what I mean to make, I think I screwed up the authentic recipe. I may try again, I may avoid it like the plague. But first, the wildly successful abish.


Abish
my Americanized, CSA-using version

1T butter
1 onion, diced
1T ginger, grated
2 cloves garlic
2 tomatoes, diced
1 lb ground turkey or beef
dash salt
3 eggs, beaten
2 medium summer squashes or zucchinis, cut into bite-sized pieces
1t Turmeric
1T berbere (note: I used 1 sanaam chili, not 10 unspecified small chilis- 10 is scary. 1 is dull, I'd recommend 3-4)
1T Butter
1T chopped parsley
Extra parsley for garnishing

Saute the onion in the butter in a very large pan. Stir in ginger, garlic, tomatoes. Add in ground turkey/beef, cook for 15-20 min, uncovered, over low heat. Stir occasionally to prevent burning/sticking. Season with salt as desired.

Beat 3 eggs, add to pan. Once eggs are stirred in, add squash and turmeric and berbere. Cook over low for 10 min, then stir in butter and parsley. Remove from heat.

Serving recommendations from the website:
serve with rice or bread, mix with corn, or use to stuff other things. (I love that last one- how about an Ethiopian take on a chili relleno?)

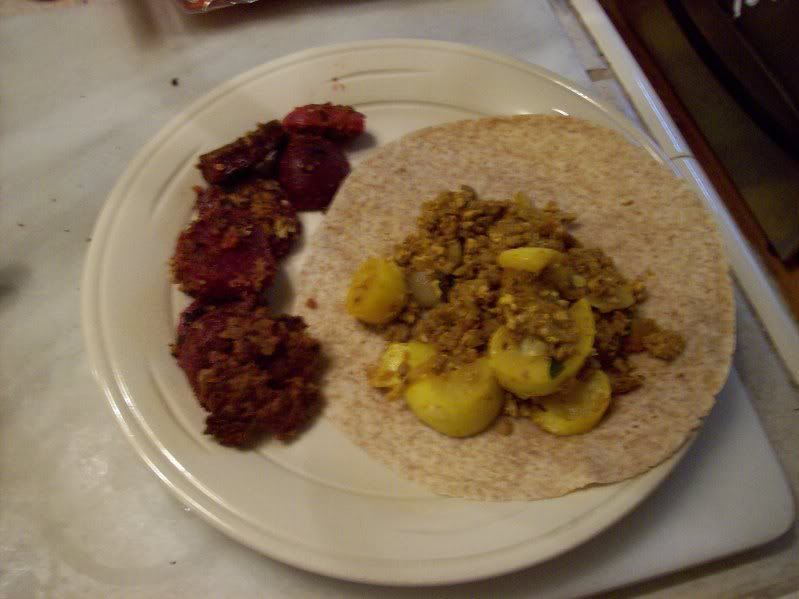
I would have preferred this served with some Ethiopian flatbread, but either I'm really awful at making it, or I'm making the wrong kind. I ended up eating this meat with a whole wheat tortilla, burrito style.

Note: as I took my first bite, I was shocked that I made such a delicious dish, especially in only about 40 minutes (all while doing lots of other things, such as making the berbere while the meat was cooking, and sauteing breaded beets). So I really, highly recommend this dish. I will be making it again!

Pictured with the abish are some sauteed beets! I still have the previous week's beets to play with.

I found this recipe because American ways of using beets are boring. It's either roasted and served over a salad, or pickled. Um, can we say boring?

Indian sauteed beets, modified

beets (I used 2 large and 4 baby)
1 egg, beaten
1/2 cup breadcrumbs
1/2 t spice mix (I used the berbere from above)
2T butter

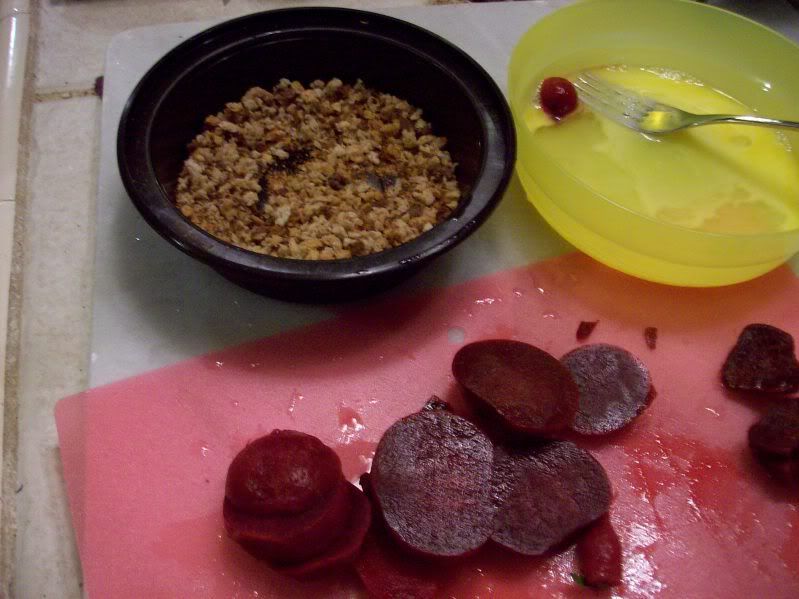
Wash and trim the ends off the beets. Boil for about 45 minutes, until soft. Let cool (under cold running water works nicely) until cool enough to handle, then rub the beets with your hands (or a paper towel if you don't care for red palms) to remove the skins. This should be easy. Slice the beets.

Beat the egg in a bowl.

Mix breadcrumbs (make your own: toast some bread, the pulse it in a food processor. Today we used the stale marble rye in the breadbox. Random, yes, but a good way to use it up) with spices, put in another bowl.

Dunk each beet slice in egg and then breadcrumbs. Saute in butter (unhealthy and delicious) for a couple minutes on each side, until crispy. Enjoy!


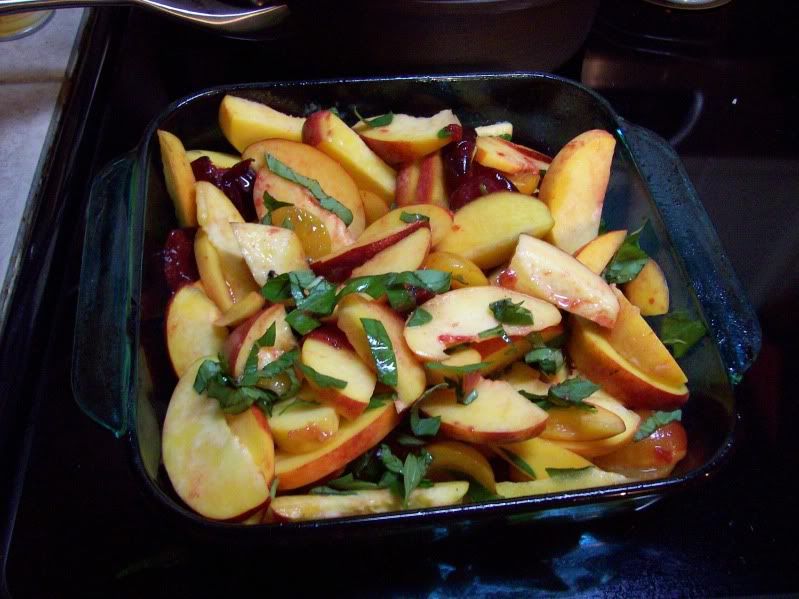
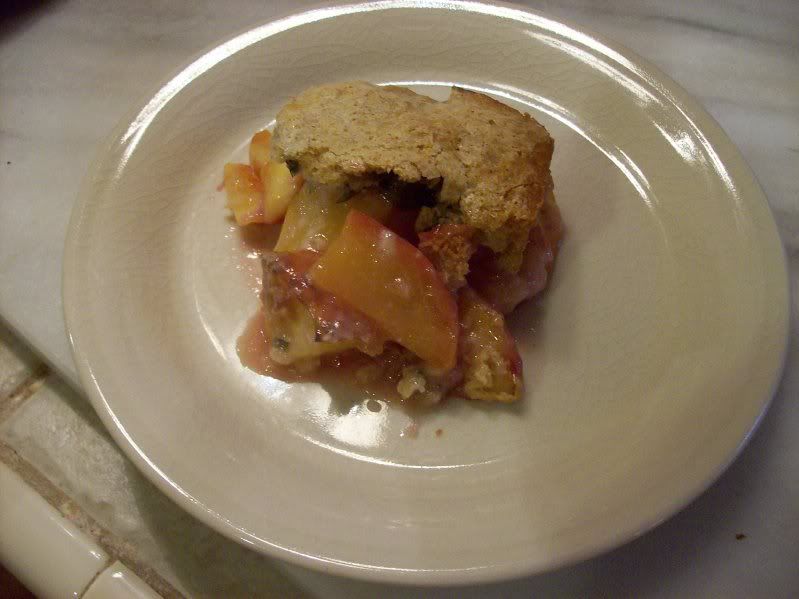
To end my CSA meal, I made peach cobbler. Unfortunately, the peaches were not from the CSA, but Big Y. However, they were 69 cents/lb. They were also as hard as a rock.

Now, I'm not going to give you details about the peach cobbler. Unfortunately. Why? Because the topping was pretty bad (big fat fail, Martha Stewart!). It was gloppy and flavorless, and when I the cobbler, I think nice biscuity topping. But the filling was good.

Find a good cobber topping recipe, and here's your filling:

8 peaches, sliced (I left the skin on)
1/4-1/2 cup sugar (depending on the ripeness of the peaches- more ripe=less sugar)
1T cornstarch
1T lemon juice
2T basil, chiffonaded (from the CSA!)

Mix all of that, put into a square baking dish. Top with a good topping (let me know if you find one), bake at 350 for about an hour.


Finally, I made aleecha, an Ethiopian veggie stew. Because Clint and I are primarily meat-eaters, a vegetarian meal has to be really hardy to please us (i.e. risotto, or a lot of bread and cheese). This meal didn't quite do it for us, but as a side, it's really good. If you tend towards vegetarian, you may enjoy it.

Aleecha, CSA-ed.

1T oil
1 small onion, diced
(original recipe calls for 10 cloves of garlic, I omitted)
2 cup carrots, diced
1.5 cup water or stock (veggie, chicken, etc)
1t turmeric, ground
1t berbere
1 hot green peppers, halved (I omitted)
1 lb cabbage, coarsely sliced (I threw in the bok choy as well, the two together were 1lb)
2 medium summer squashes
1T tomato paste
1t salt, to taste
1 lb potatoes, cut like french fries

In a large pan/shallow pot, saute onion, garlic and carrots for a couple minutes over medium heat. Add 1/2 cup water/stock and cook for 5 min. Add spices, peppers, cabbage/bok choy and squash. Cover and cook for 2 minutes. Add potatoes, salt and tomato paste and stir well, cook, covered, for 5 more minutes. Add remaining water/stock and cook until potatoes are cooked through, 5-10 minutes more.

Serve with inerja/pita/tortilla/ciabatta/whatever you have on hand, as a meal or a side.

Note: the primary reason I'm telling you about this recipe, even though we weren't so excited by it, is because the summer squash in this dish were phenomenal. Usually I steam them and sprinkle with salt and pepper, and they got the same texture here, but were so incredibly flavorful. I need to modify this for just the squash.

Cookies of Success

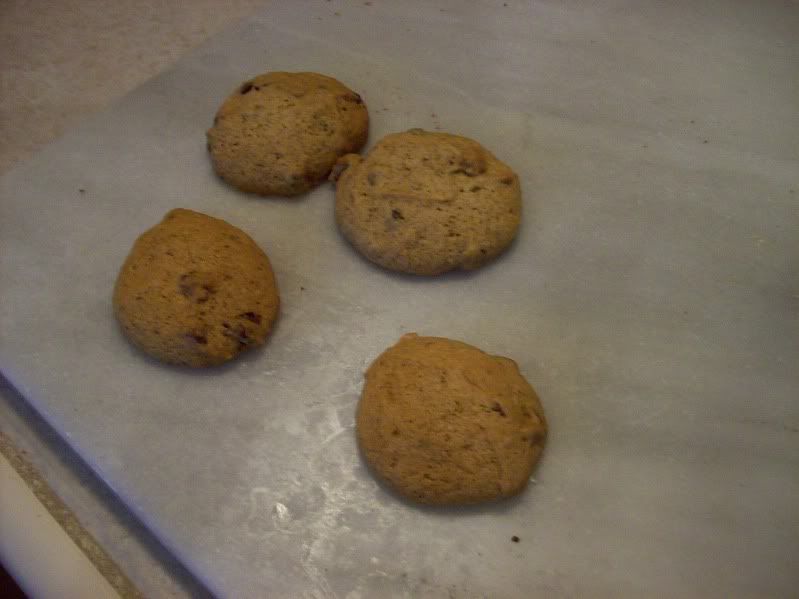
I need to find a name for these cookies. "Healthy Tastes Good Cookies"? "You'll Be Surprised Cookies"? Because against all odds, these were delicious. It only took 4 days for 8 people to devour 5.5 dozen.

I made these cookies because I was going away for a weekend o' fun with my friends, and leaving my husband all alone at home (he cleverly made plans with a friend to hang out, grill, and go to a minor league baseball game, so I suppose I didn't need to feel bad at all. Also, he had the cat.) I said to him, I will make you cookies so you don't feel sad I'm gone. He said, yay. I said, I will make them with flax seed meal instead of eggs. He said, yay! I said, what kind of cookies do you want? He said, chocolate chip.

I said, hrm.

Then I pondered, and since I wasn't sure about the flax seed meal in chocolate chip cookie form, I figured I'd go all out. I'd do the applesauce for butter substitution, something that has never been done in cookies before (oh, you know I lie, but it does say online, wherever Clint found the substitution info, that this is very not recommended for cookies. Whatev.)

And against all odds, these cookies were great. They're big, fluffy, soft pillows, very unlike the flat, chewy/crunchy cookie I normally prefer. The drawbacks: I actually don't like the chocolate chips in them, I'd rather have fruit and nuts. Luckily, that'll just make them healthier. Also, while you can eat the dough with no salmonella worries, I'd stay away from it. It's shiney and goopy and gluey, and doesn't taste good. I know, isn't that sad? However, as I found with the oatmeal/flax seed meal cookies, the flax seed meal for eggs substitution makes a delicious dough, so it's only the applesauce/oil for butter sub that adversely affects the dough.

The Cookienearly vegan (except for the chocolate chips), whole grain, low fat, no saturated fat, no cholesterol. The only thing bad is normal amounts of sugar. But really, if you take away the sugar and the fat, what are you left with? Pitas.

2T flax seed meal
1/4 cup + 2T warm water

stir to combine, set aside.

1/2 cup unsweetened applesauce
1/2 cup vegetable oil
(I do wonder how olive oil might be)
1 cup brown sugar

1/2 cup white sugar

1 and 1/2 t vanilla

Beat to combine.

Add the flax seed meal/water mixture, beat briefly.

Stir in:
1 and 1/4 cup whole wheat flour
1 cup all-purpose flour

1t baking soda

1t salt


Stir until combined.

Add
2 cups of:
chocolate chips
raisins

dried cranberries
nuts
diced dried fruit

any combination of the above.

Drop by tablespoonful onto a parchment-lined cookie sheet, bake in a 375F preheated oven for 14 minutes.

Cookies are best served at room temperature, but have a satisfying crust and soft middle when still warm.

Friday, July 30, 2010

The first of Picnic Sundays

The first, and hopefully not the last.

We volunteered at a small fair in CT on Saturday, but Sunday we had no plans. So when it turned out to be a beautiful day, we decided to head up to the winery for a picnic.

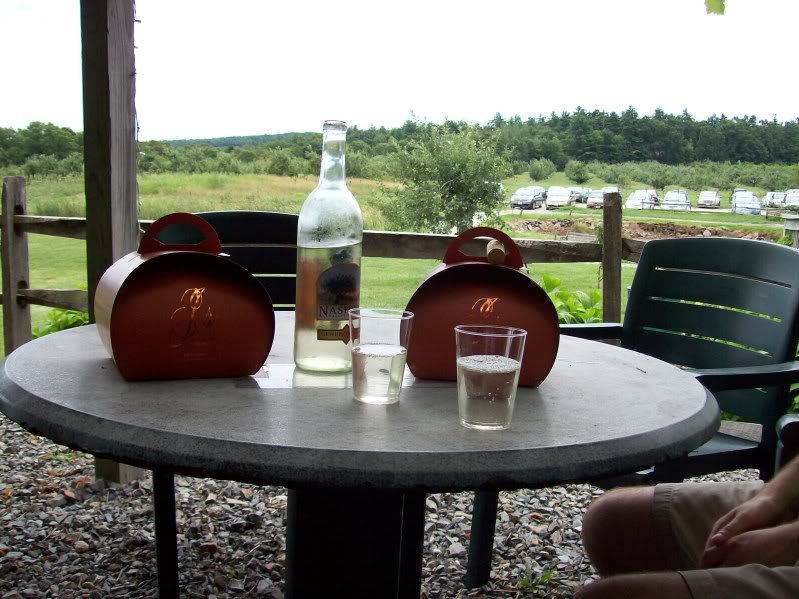
J's Restaurant at Nashoba recently started having a picnic lunch menu. We had no idea how it worked, so checked out the website: and it's really convenient. You simply order your lunch online, give it an hour (they emailed when it was ready to pick up- it took about 20 minutes), and then pick it up at the winery.

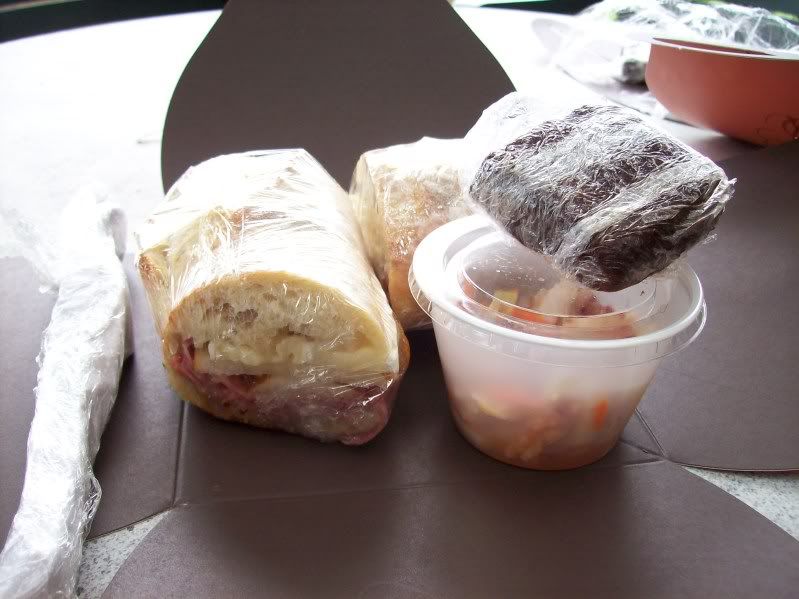
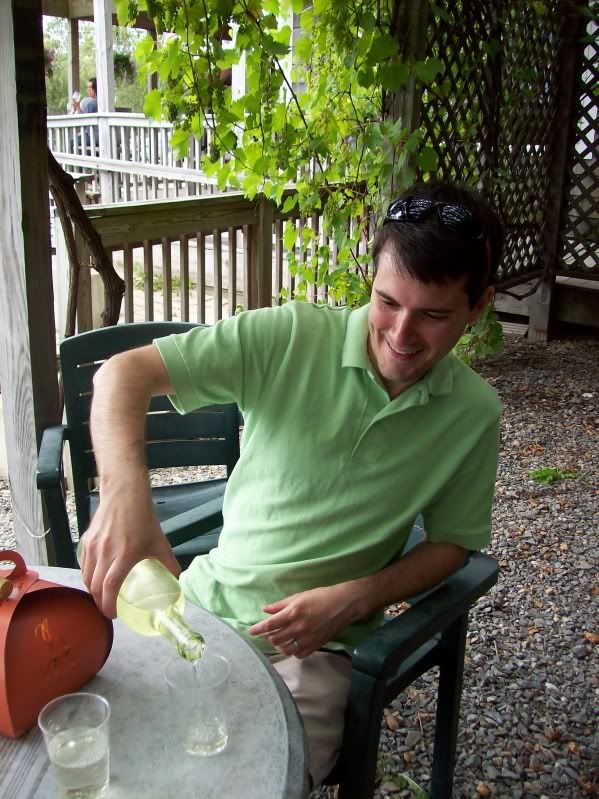
Each lunch was $10, came in this adorable little box, and consists of a sandwich (smoked turkey with cranberry apple chutney for Clint, salami with pears and brie for me), apple slaw (omg yum) and a brownie. We also bought a bottle of Gewurtztraminer from the wine fridge (I didn't even know Nashoba had a Gewurtztraminer), and ate under an arbor of grape vines.
We also would have watched a wedding, if only hadn't started to rain lightly. We think they moved the ceremony into the restaurant, where the reception was supposed to take place (according to the cute signs at the parking lot entrance).

So, all in all, we had a delicious little meal, a beautiful spot, and overall, a really enjoyable afternoon, all for the cost of a little drive and about $33.