Showing posts with label tomato. Show all posts

Saturday, October 16, 2010

CSA #18

Oh no, it's almost the end! super sad face.

This week we received:

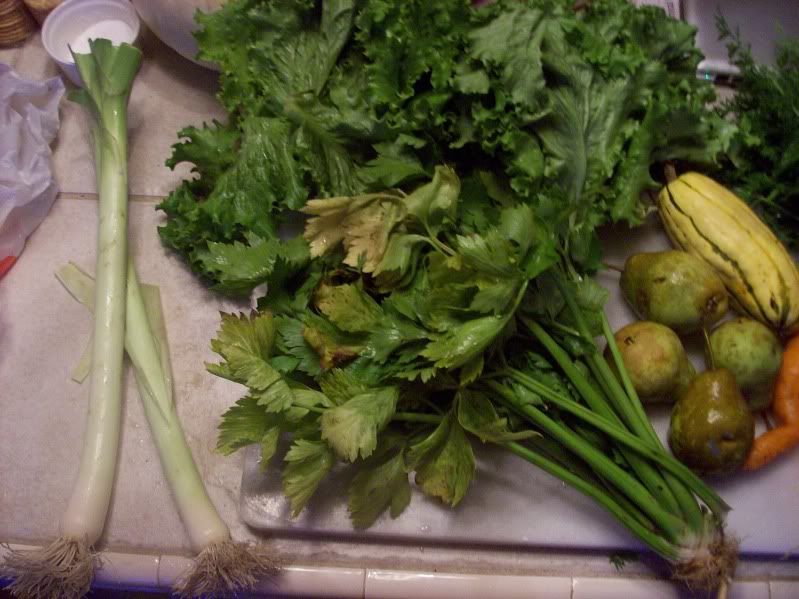
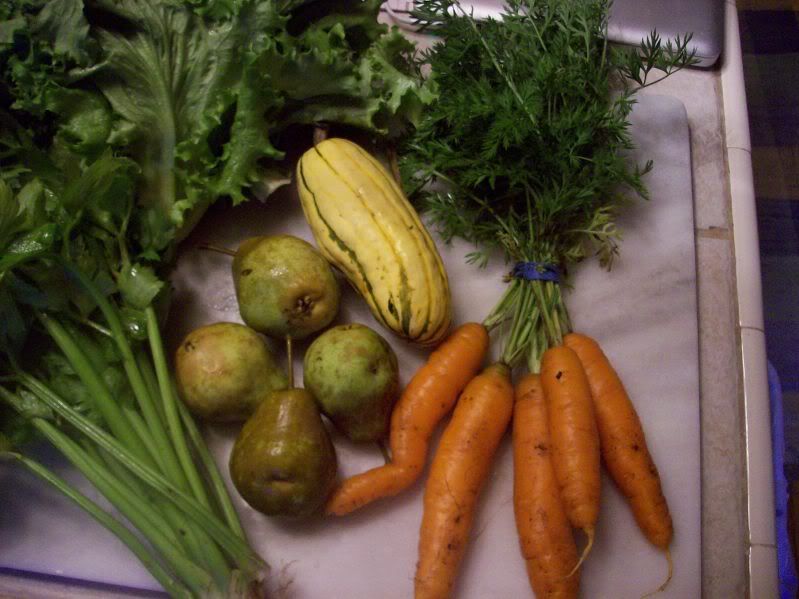
2 leeks, a bunch of very fragrant celery, 4 pears, a delicata squash, 2 heads of romaine lettuce,

a bunch of big carrots,
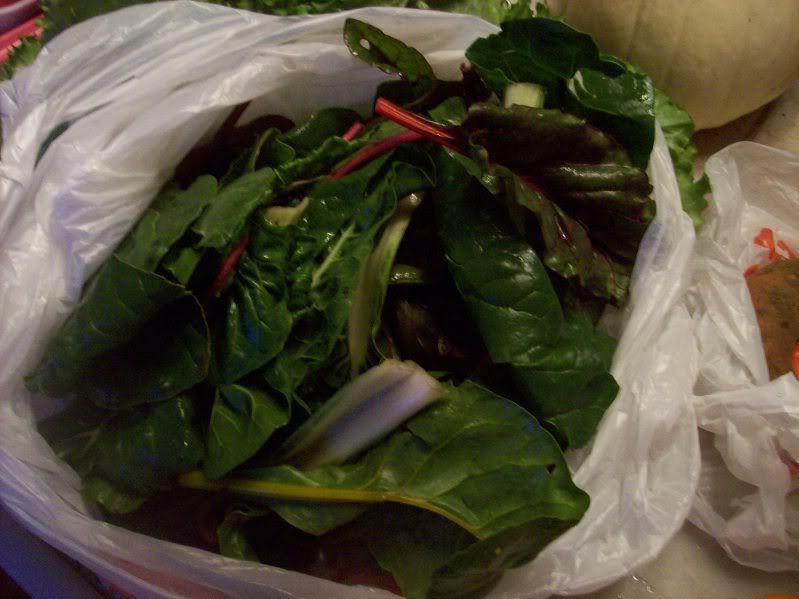
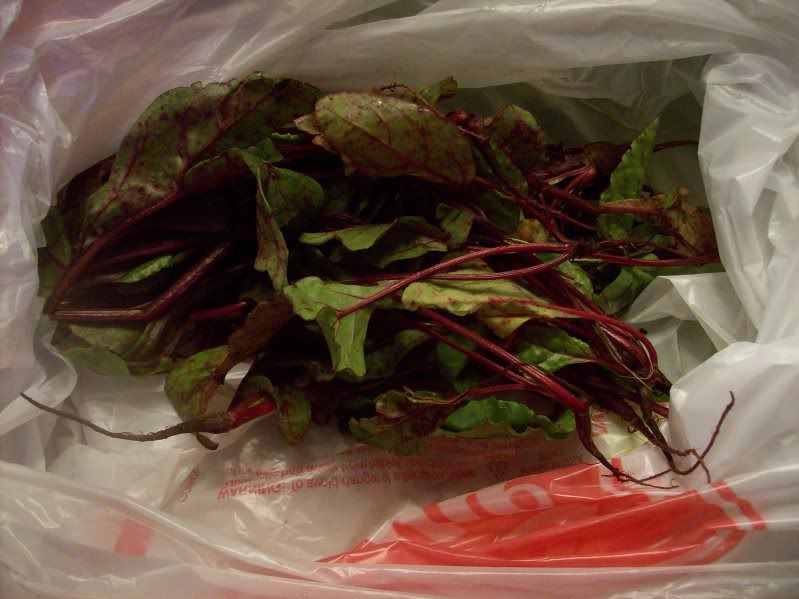
a big bag of chard,
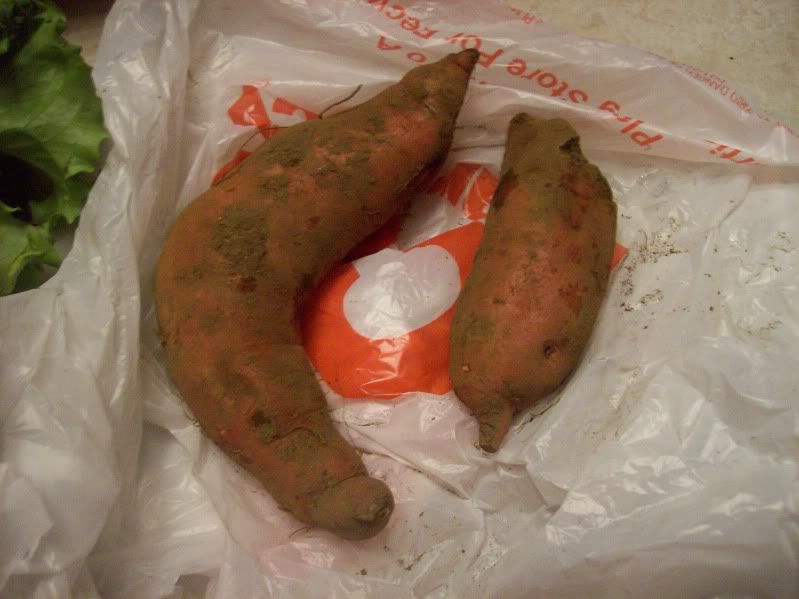
2 sweet potatoes,

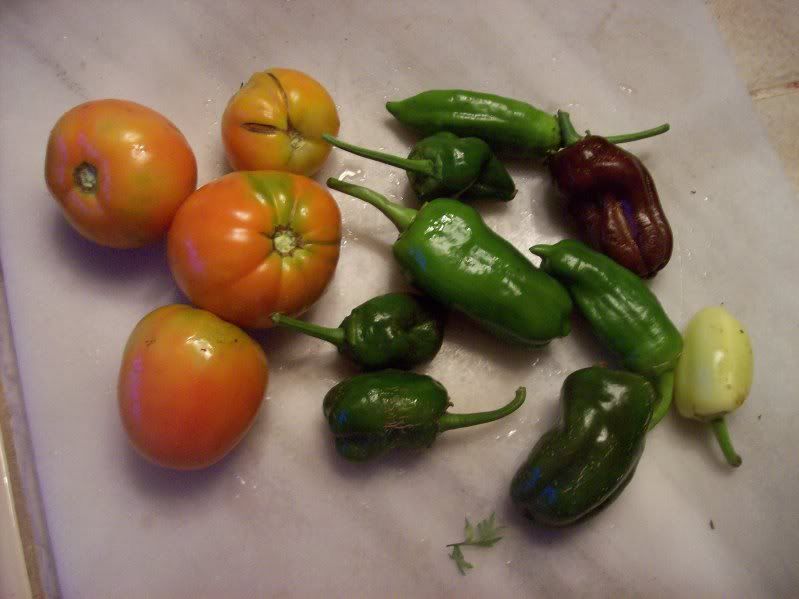
about 1lb of tomatoes and a whole mess of assorted peppers.

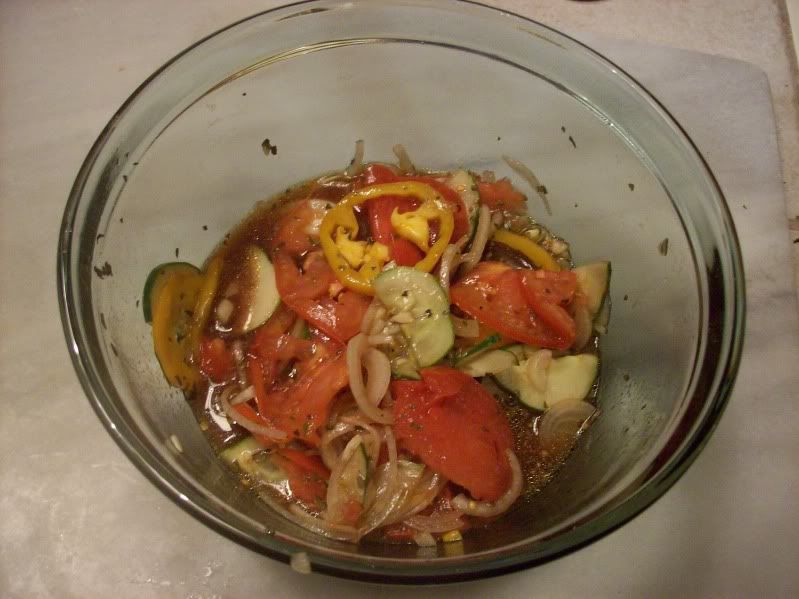
I waited several days for the tomatoes to ripen, and I made this fantastic tomato salad.
The recipe is the one used at the Biergarten in the Germany pavilion in Epcot Center, which we had when we were in Disney World last month. While we were at the restaurant, one of the women at our table (family style dining, we sat with 2 other couples) asked for the recipe for their apple streudel. The waiter brought it for her, and copies for everyone, and that made me wonder if a google search would yield any Disney recipes. And boy oh boy, did it!

Disney Recipes

I'm in love.

The first recipe I made (as yet, the only recipe, but that'll change) was the tomato salad.

Here's my reduced version. The original makes a restaurant buffet portion.

Tomato Salad,
adapted from Disney's Biergarten Tomato Salad

2.5lbs tomatoes, thinly sliced or cut into wedges, as preferred
1 medium onion (white or red), thinly sliced (by hand or on a mandolin)
3-4 cloves garlic, minced
3T white vinegar
1T balsamic vinegar
1T olive oil
1/4-1/1t salt (depending on how salty you like it, I liked 1/2t)
a few grinds of black pepper
1T fresh or 1.5t dried basil
(optional: 1/2 cucumber, thinly sliced into rounds or half rounds)

Mix everything together. Enjoy!

Wednesday, September 29, 2010

Attack of the killer tomatoes!

Does anyone else remember that show? It was so weird. It also came about when I was 10 or 11, so perhaps I was simply growing up and it was actually a decent show.

Regardless, I had a ton of tomatoes that needed to be used, or else my kitchen was going to get ugly.

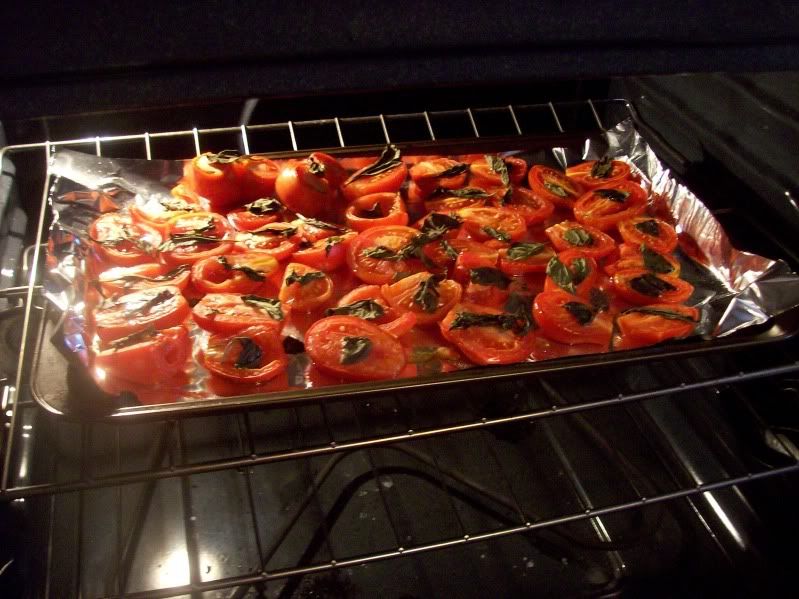
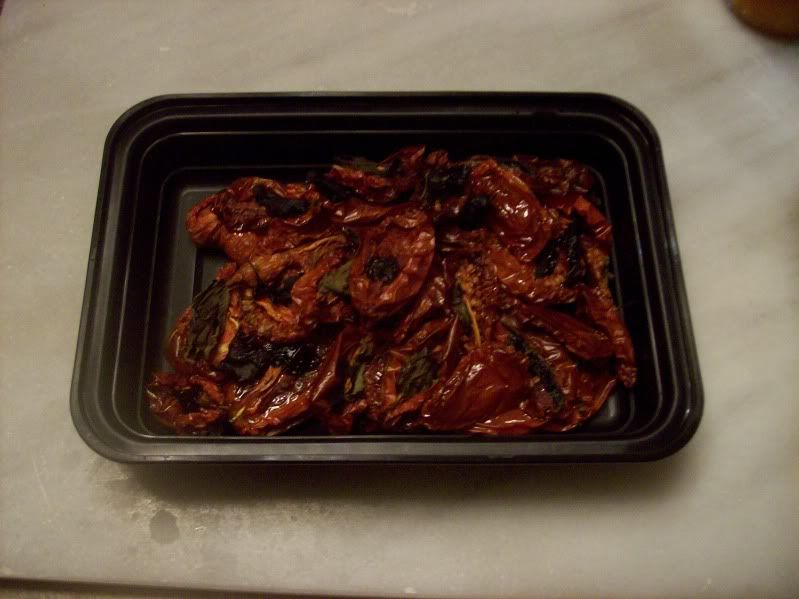
So I dried them! Super easy, very delicious.

Oven-dried tomatoes
taken from Cooks Like a Champion

Roma tomatoes (I had about 3lbs)
salt
olive oil
fresh herbs (I used basil, because I also had a ton of that, but any herbs you have would work great)

Wash tomatoes, slice in half and place skin-side down on a foil-lined and sprayed cookie sheet. Drizzle with olive oil (I was pretty stingy with the olive oil but I even wish I'd used less), sprinkle with salt and place the herbs so that each tomato has an herb on it.

Bake at 170F for a day. I baked for 6 hours, then took a 3 hour break to cook dinner, cooked 5 more hours, then cooked 5 more hours the next day. The original recipe suggested 8-12 hours, but this wasn't nearly enough for me.

Store in a sealed container in the fridge. (or freezer)

Use roma (plum) tomatoes for this. I threw in a few smaller round CSA tomatoes, just to use them up, and I had to give up on drying them, they were simply too thick to dry as much as the Romas did.

But now I have to find a good way to use roma tomatoes. Perhaps risotto, or on a salad?

Monday, September 27, 2010

How many chipotles does it take...

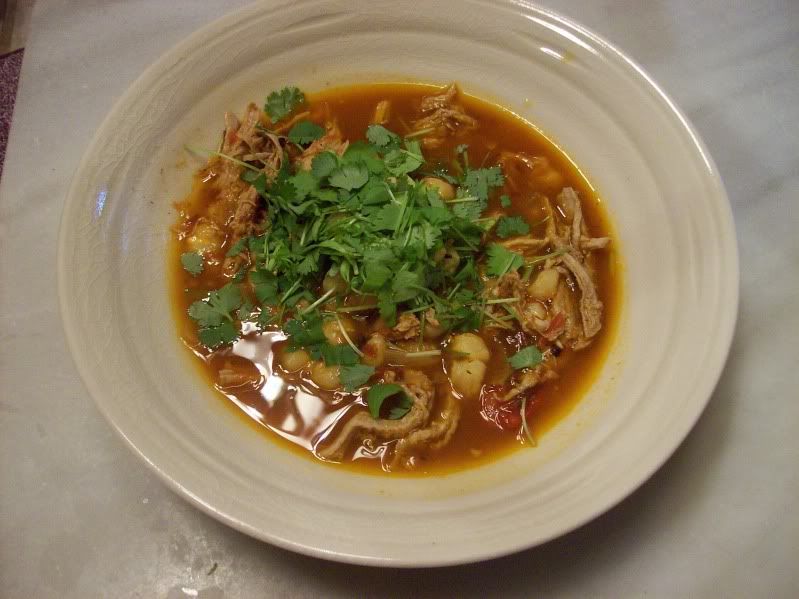
...to make posole?

Less than I used. gah, hot!

Hot, yet delicious. Just drink with milk (or be clever and use the recipe's suggested amount of chipotles)

For some reason, I have posole on my mind. I don't quite know why: I've never eaten it, I'd never even heard of it until it was in Cooking Light a month or two ago. But I read the CL recipe and immediately went out and bought hominy- another thing I'd never had (I tried to buy tomatillos too, but they didn't have any- they didn't even have an empty spot on the shelf where they might be). However, as luck would have it, a recipe for pork posole was featured in the newspaper's (otherwise meager) food section on this weekend. And we had all the ingredients on hand. So we decided that's what'd be for dinner the next night.

First, a note: lest you all get turned off by the spiciness of my first batch of posole, I must explain. I used over twice as much chipotles in adobo as the recipe said. Why? I apparently think I'm a little more macho than I really am. Well, and when I tried to transfer the rest of the can of chipotles to a tupperware container, they didn't all fit, so I decided to just add more to the soup. This was dumb. If this happens to you, just get a second container for the chipotles. Finding room for yet another container in your fridge is a better option than an overly fiery soup.

Chipotle Pork Posole
from the newspaper, originally from Fresh Flavor Fast, the new Everyday Food cookbook
makes 6 meal-sized bowls of soup

1T olive oil
1 pork tenderloin, about 1.5 lbs
salt and pepper
1 onion, chopped
2 garlic cloves, minced
1T chipotles in adobo, minced (or, you know, adjust according to your taste. 2T is pretty darn spicy)
3 cups homemade chicken stock (recipe follows)
3 cups water
2 cans hominy, rinsed and drained
1lb tomatoes, peeled (or 1 can of diced tomatoes)
1/2 cup cilantro, roughly chopped

Trim the pork of fat and the silver membrane thing. Season with salt and pepper, and heat 1T olive oil in a pot. Add the pork, brown on all sides (about 8min total). It will still be raw inside. Transfer to a plate and set aside.

Add the onion and garlic to the pot, cooked for 3-4 minutes, until softened. Add the chipotles in adobo, and stand back! The recipe said to cook for a minute, until it became fragrant, but what they really mean is that your eyes will water and you'll start sneezing. Your cat will go in the other room, and your sneezing husband will follow. However, it does smell amazing.

Then add the chicken stock, water, hominy, tomatoes to the pan, and the pork. Bring to a boil and then simmer, uncovered, for 15 minutes. (I wish at this point I'd added a dash of cumin)

Check that the pork has reached 150F, then remove the pork and begin to shred it (I just used 2 forks to pull it apart). Transfer the shredded meat back to the pot, mix around, and serve. Garnish with cilantro.

I've mentioned it's hot, but this soup is also really tasty. You can see from the instructions that it's very straightforward, and it doesn't take much time. I'm definitely making this again, possibly with chicken instead of pork (Clint likes to hoard all the pork so I can make the honey cumin chipotle glazed pork) and I will definitely use the recommended amount of chipotle instead of going crazy with the stuff.

Ok, a note on the chicken stock.

I made some! I froze it! I thawed and used it!
It was exciting.

Someone online mentioned crock pot chicken stock a while ago, and I was instantly intrigued. What was this? Why was it better than on the stove top? You wanna know why? Because it tastes amazing. My stove top chicken stock puts the canned stuff to shame, but the first batch I made in the crock pot makes my stove top stock look like greasy water. You must make this.

Even more exciting, I realized I can make chicken stock out of any chicken meat! I can get the "buy more, save more!" packs at Big Y!

Crock Pot Chicken Stock
adapted from The Way the Cookie Crumbles

4lbs chicken- I used legs and thighs, and took the skin off of all but 2 legs
1 large onion, quartered
2 carrots, cut into big chunks
2 stalks celery, cut into big chunks (I unfortunately omitted)
4 cloves garlic, peeled
3 bay leaves
enough water to fill the crock pot (and really fill it, it won't bubble crazily, and the water will evaporate over time)- about 12 cups for me
(I didn't add any salt- I figured I'd add that when it came time to use the stock)

Combine everything in the crock pot (mine's the standard large size). Cook on high for 2 hours, then turn to low and cook for another 20 hours.

Once cooking is done, remove all the solid bits. Save the meat of the chicken for something else (2 nights of chicken tacos, and 2 nights of chicken pizza for us). Discard the bones and veggies. Strain the liquid in a mesh strainer, transferring into Tupperware. Refrigerate overnight.

The next day, skim off all the fat (which has floated to the top and solidified). Now either keep the stock in the fridge for use in the near future, or (what I did) transfer 1 or 2 cup aliquots into smaller containers, and freeze to use as needed.

*When I use this stock in recipes, I dilute it: one part stock, one part water. It's not necessary, but the stock is so rich that I can stretch it this way without taking away any flavor. (I could probably dilute it 1:8 and it'd still be more flavorful than College Inn). This dilution is not mentioned in the posole recipe, so really I used 1.5 cups stock and 4.5 cups water.

Unlike stove top stocks, this stock did not became gelatinous, but it had a much darker, richer flavor and color than any stock I've made before. I highly recommend this recipe. The only drawback is that anyone home during the cooking portion will be hungry the entire time, after smelling the deliciousness.


Tuesday, September 21, 2010

CSA #14

Week 14 was kind of a big week, CSA-wise.

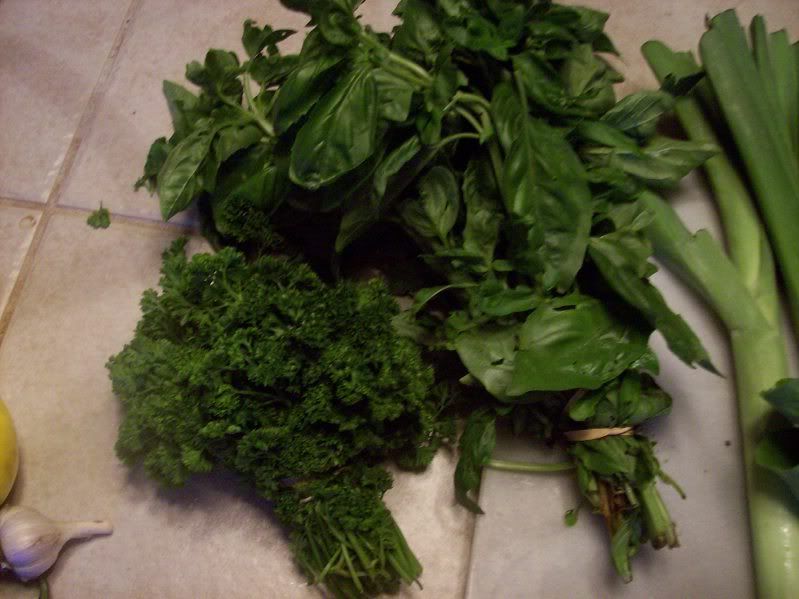
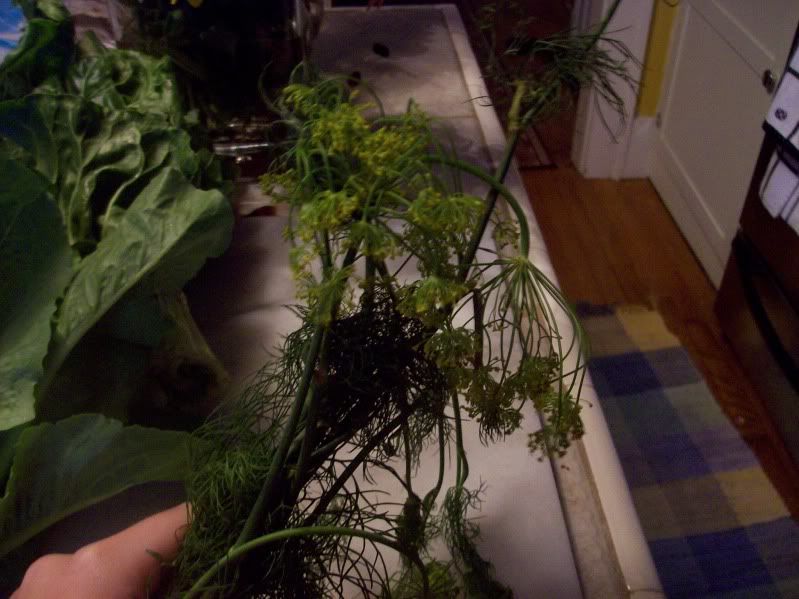
We got a big bunch of basil, and some curly parsley.We got this, which made me say, "why did we get Queen Anne's Lace?" Ha, no, it's dill.
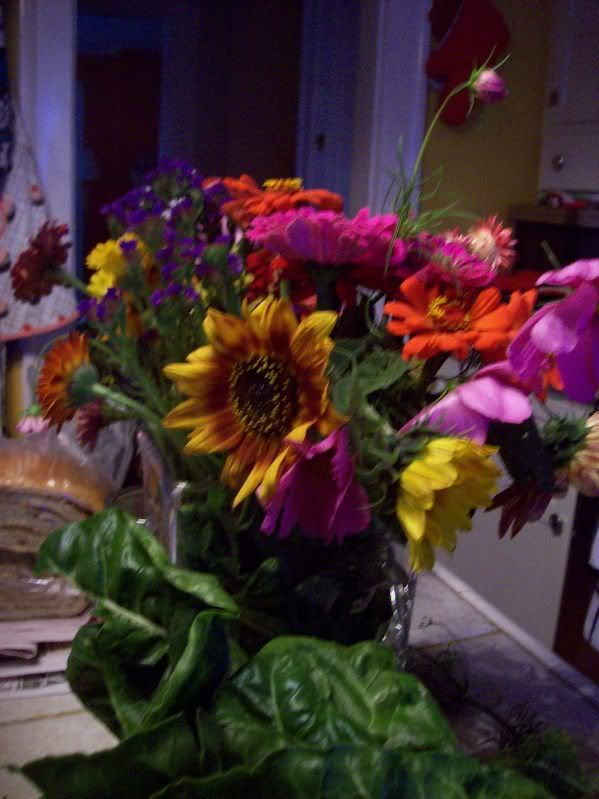
Some great flowers

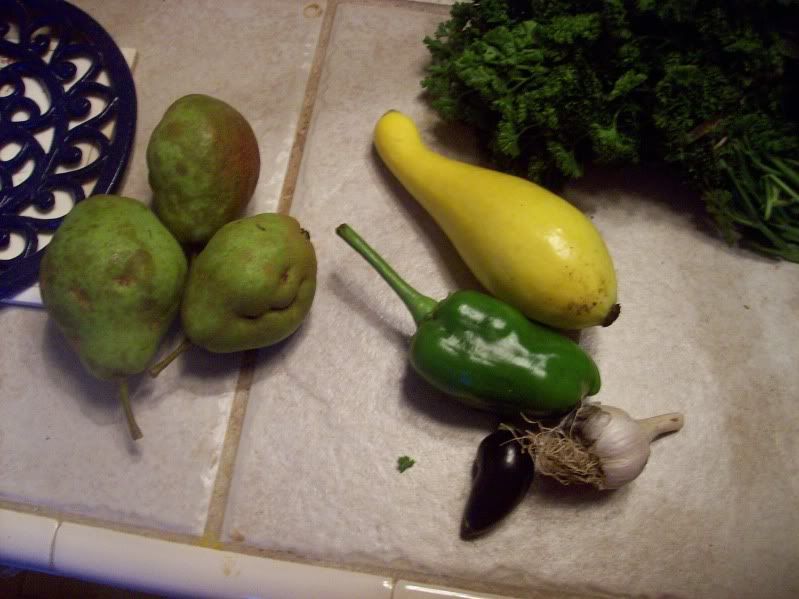
3 pears, a yellow squash, a green bell pepper, another little black hot pepper, and garlic
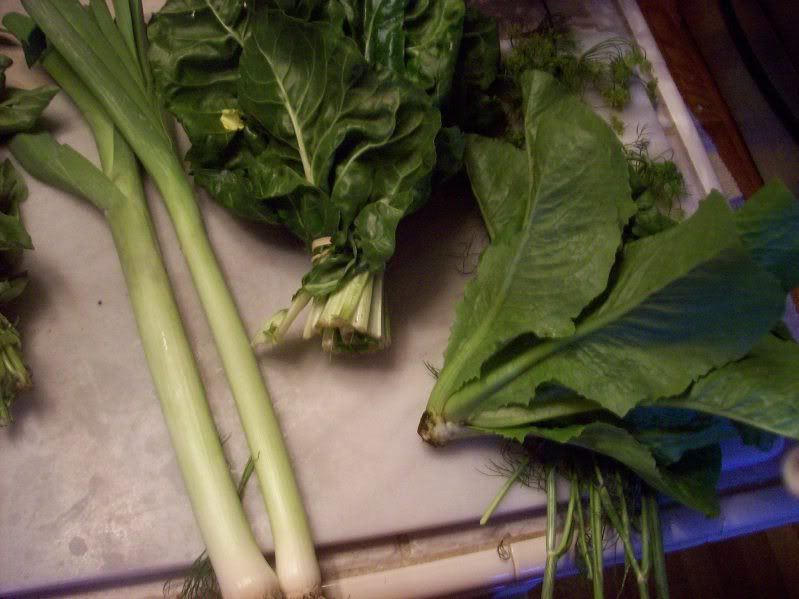
2 leeks, some chard and some romaine-like lettuce.
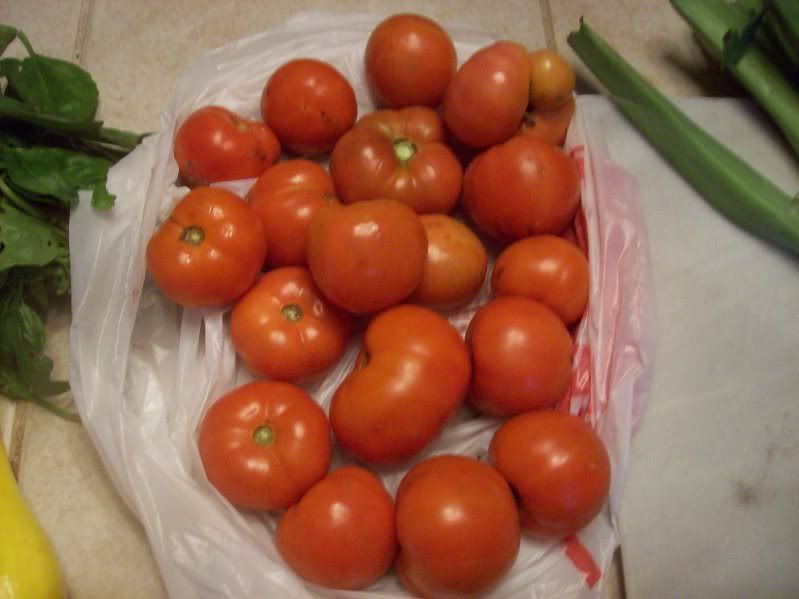
4 lbs of great-looking tomatoes!
and some salad greens
So, what did I do with it all?

The basil was used in 3 ways, which I hope to tell you about this week. Oven-dried tomatoes, delicious basil Sally Lunn buns, and basil ice cream. I froze the parsley and dill for later.

The lettuce and greens turned into salad. The leeks, squash, peppers, pears and garlic are waiting, but I think the pears will turn into an apple pear pie or crisp.

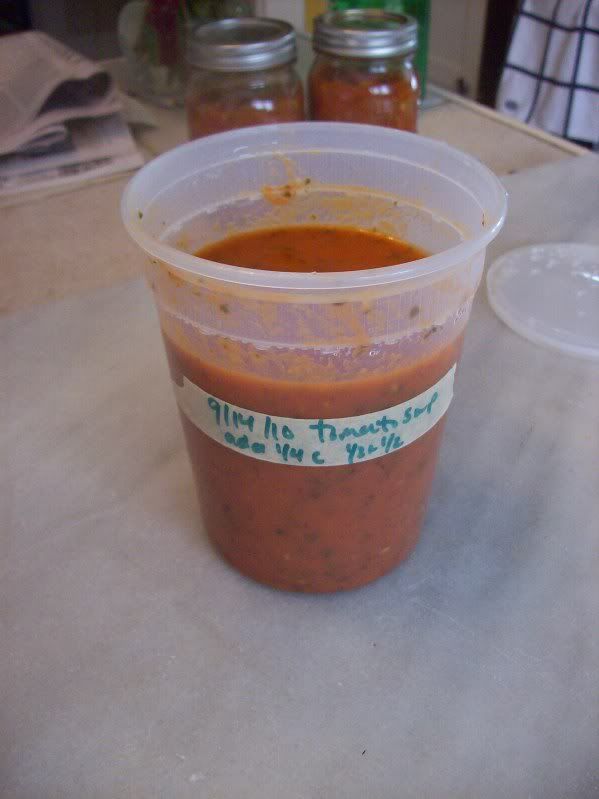
The tomatoes were combined with 2.5lbs of tomatoes from my cousin's garden and some became oven-dried tomatoes, some went into a pork posole (which is simmering on the stove right now) and the rest became this really tasty tomato soup, half of which we froze, and half of which never even made it to the freezer, since my husband, unbeknownst to me, really likes tomato soup. I totally thought this was my soup, but I'll just have to make more!
Roasted Tomato Soup
adapted from Cook Like a Champion

When I made this, half of the tomatoes were actually roasted using Molly Wizenberg's recipe, which is to halve the tomatoes, sprinkle with cumin and roast at 200F for 6 hours.

1.5lbs Molly Wizenberg-roasted tomatoes, see above
1.5lbs fresh tomatoes, halved
6 cloves garlic, peeled
1 medium onion, quartered
olive oil
salt and pepper for seasoning
4 cups (1 quart) chicken stock (I used 2 cups homemade chicken stock and 2 cups water)
2 bay leaves
pinch of chipotle pepper flakes
1/4 cup basil leaves, chopped
1/2 cup fat free 1/2&1/2

Roast the fresh tomatoes: place skin side down on a foil-lined (easy clean-up), sprayed cookie sheet, arrange onions and garlic among tomatoes. Drizzle all with olive oil, season with salt and pepper. Roast at 450F for 30 minutes. Remove from oven, transfer to a large pot and add stock, bay leaves and pepper flakes (I added the Molly Wizenberg tomatoes here).

Bring to a boil, reduce to a simmer and simmer for about 20 minutes. Add basil leaves and cool. Remove bay leaves and puree soup in a blender. Return to the pot and heat through.

If serving now, stir in 1/2&1/2. (I let the soup cool in the fridge overnight and then planned to freeze the next day, but Clint got to it first.) I added a splash of 1/2&1/2 when heating up each serving to eat.

I've made things with roasted tomatoes before, and the roasted flavor can sometimes really overpower the rest of the dish. That doesn't happen with this soup. It's fresh-tasting but has a little extra zing from the roasted tomatoes. This soup is great garnished with some garlic croutons, or eaten with a slice of toasted rye bread.

Thursday, September 2, 2010

CSA #12

And with that, we reach September. Where did the summer go? At least it's still oppressively hot, so we won't miss it too much.

CSA #12 brought us a nice stash, including one veggie I've never cooked before.
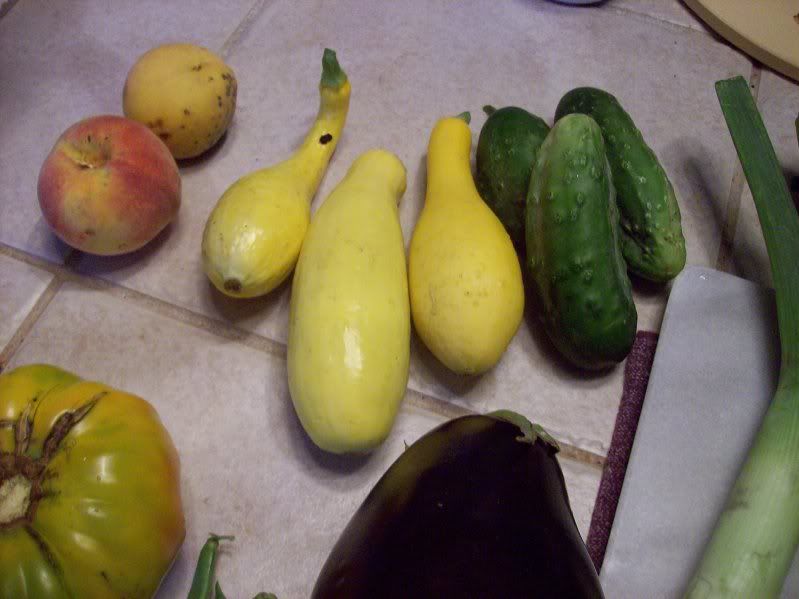
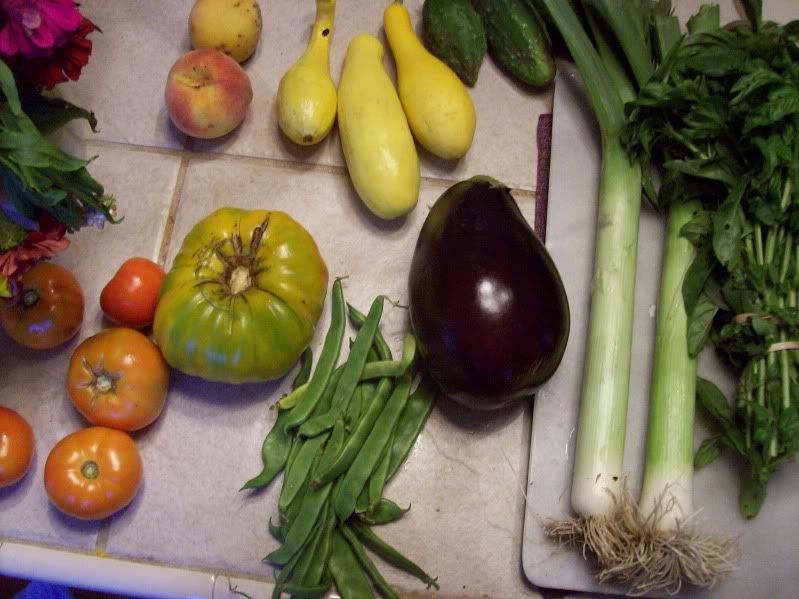
2 peaches, 3 summer squash, 3 cucumbers,
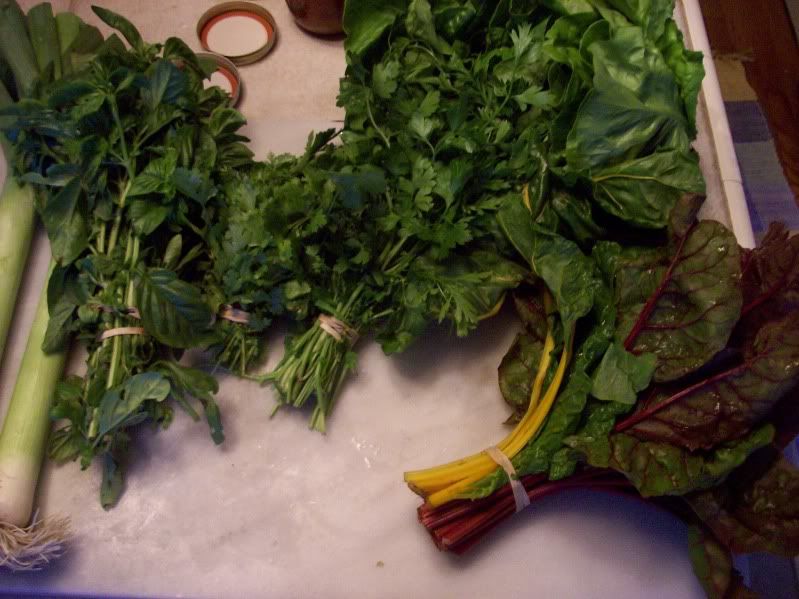
2 large leeks, basil, cilantro and parsley, 2 big beautiful heads of lettuce, some rainbow chard,
an EGGPLANT (oh my!), beans, and some awesome tomatoes,
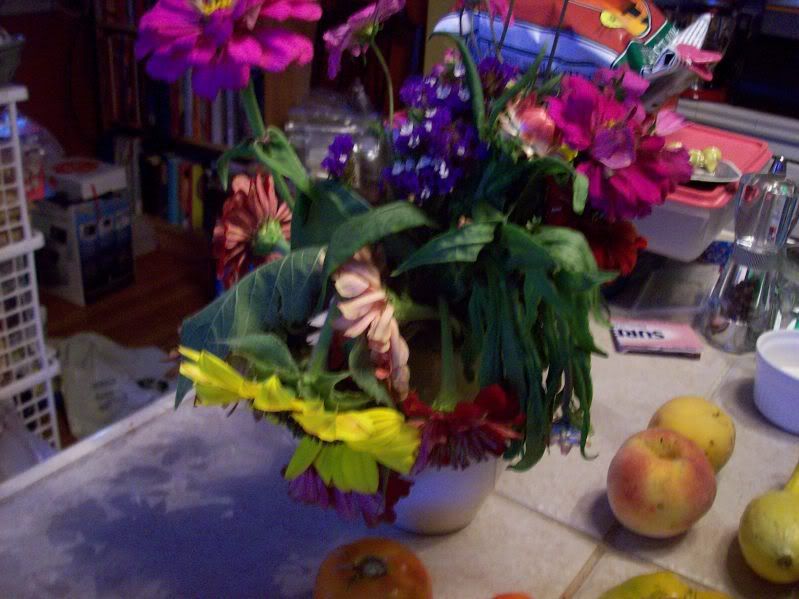
and flowers, which seem a little sad in this heat (it was nearly 100 here today, and apparently over 100 yesterday- poor flowers!)

What will I do with it all?

Well, salsa. I have to make more, of course! More pesto (which I haven't told you about yet, because I made and froze it, I haven't actually used it) with the basil and this time, with the chard. The lettuce is calling out "lettuce wraps!", the leeks will go in the crisper until chicken soup season begins, the squash we'll probably boil and eat, the peaches will be eaten plain, which leaves us with... the beans and the eggplant. I may freeze the beans, but I have no clue about the eggplant. I've never cooked an eggplant before, but I know there's quite the variety of eggplant uses out there, so I plan to have some fun with it.

Wednesday, September 1, 2010

I'm Never Buying Salsa Again

Why, you ask?

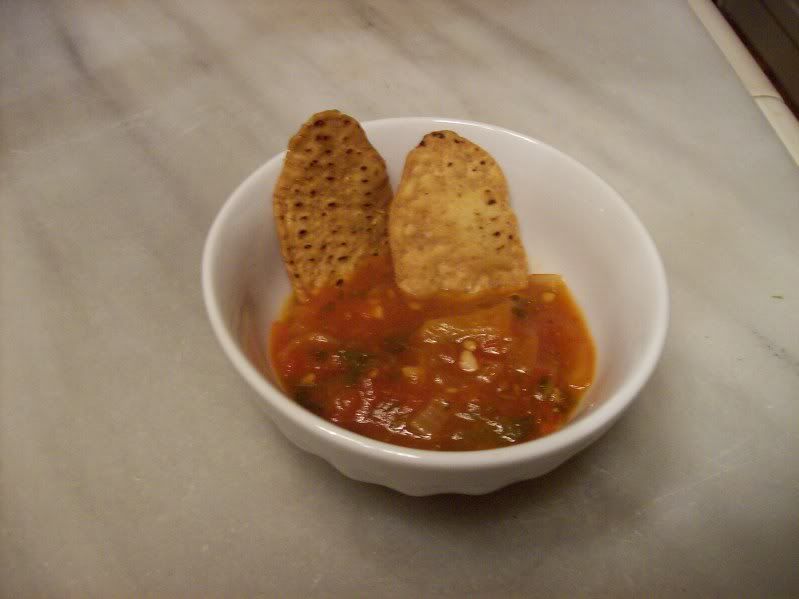
Because the salsa I made this week beats any other salsa I've ever had, and all I had to do was chop a bunch of veggies, throw 'em in a pot, and boil half an hour. That's it!

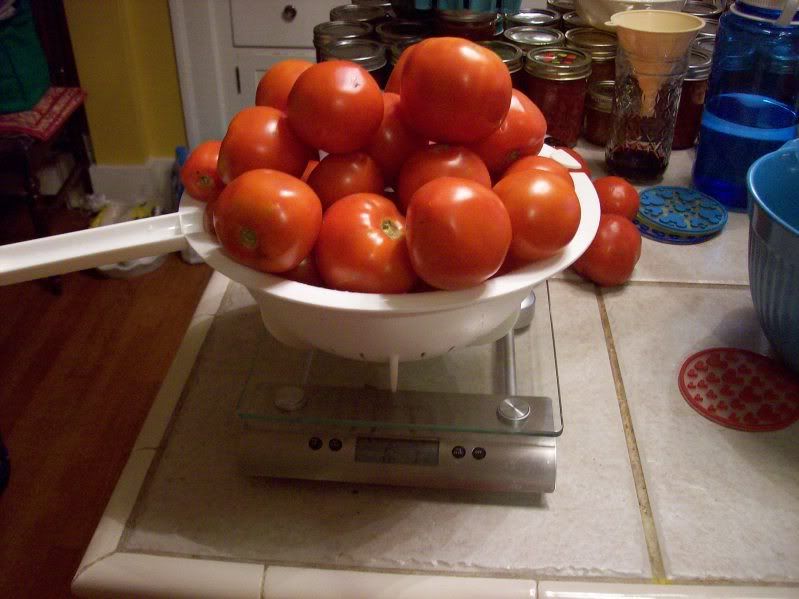
Remember when I had all those tomatoes? I turned 18lbs into tomato sauce, I made a few batches of gazpacho? Then my mom brought me 10lbs more. It ended up that this past weekend, I had just over 7lbs of tomatoes. I didn't want to make more sauce, at the time I'd just made a big batch of gazpacho that we were still working on, so I needed to find another use. And it dawned on me (or maybe Clint suggested it): salsa!

After a couple days of half-hearted searches, I found this recipe from Never Enough Thyme. Most salsa recipes are for eating immediately, and I wanted to preserve it.

Basic Salsa
from Never Enough Thyme

Since I pretty much copied her recipe exactly, and she has better photos than I do, I'll just point you to her blog for the recipe.

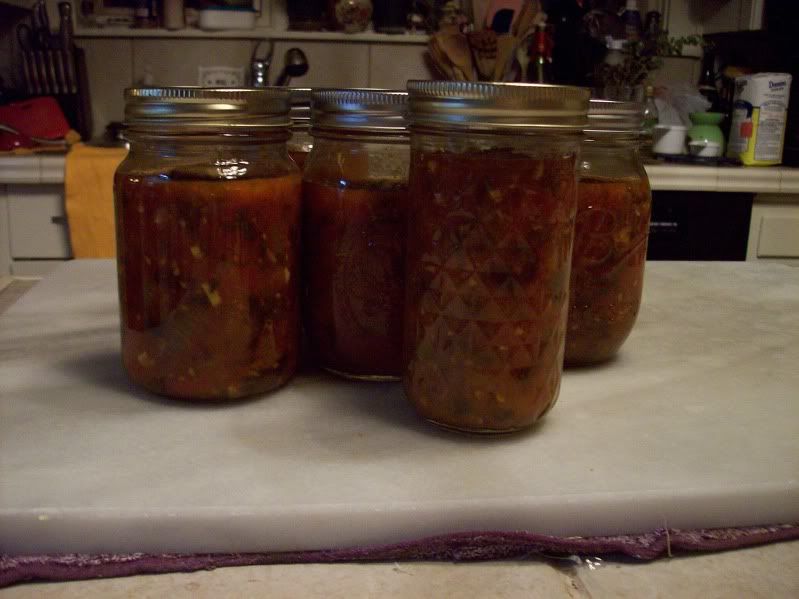
Essentially, you chop CSA tomatoes, CSA onions, jalapenos (I actually one 1 poblano pepper, since I had some I needed to use up), CSA garlic and sweet green pepper (which I skipped, this time) and throw it in a pot. Add tomato sauce (I used my homemade stuff!), vinegar (I used half red, half white), sugar, salt, cumin, CSA parsley and CSA cilantro (and I added 1t chipotle powder), and bring it to a boil, then reduce the heat to boil gently for about half an hour. And... that's it! Transfer to jars, process them (place in the giant pot of boiling water, bring to a rolling boil and boil 20 min, then turn off the burner and let it sit before removing the jars) and voila, salsa!

Monday, August 23, 2010

Loving Local Day 2: Canning, the savory kind

It's Day 2 of the Massachusetts Loving Local Blogathon/Farmer's Market week! Again, more of the participating blogs can be found here and here, and please consider donating to the MA farmer's markets!

I've been saying it all month: I love canning. Today I would like to amend that to, I love canning jam. Canning tomato sauce was kind of horrifying.

Don't get me wrong, I'm pleased with the end result (even if it is a little bland, it still has that super-fresh tomato taste). It's just that the process was so long and involved and just plain messy.

Tomato sauce in a nutshell: on Monday night, after a good 40 minute work out and dinner (leftovers), I started the dishwasher with all the jars, and started chopping tomatoes (with Clint's help). I got everything going, it seemed ok. Then I realized...
1. I didn't have enough big pots to process the filled/sealed jars of tomato sauce (important for avoiding botulism. I don't want botulism).
2. Step #5 didn't say "Bring to a boil,", it said "Bring to a boil. Reduce heat and simmer until volume is reduced by half, stirring to prevent sticking." Um. I started out with about 32 cups of sauce, do you know how long that will take to reduce by half?!?

So I called my mom for advice. We decided to just turn the burner off and put the lid on, and leave the sauce til the next night. It was going to boil a while anyway (2.5hrs, to be exact), so I shouldn't have to worry about anything weird going on in that pot. I also emailed my cousin (former housemate, who has just about every kitchen gadget/implement known to man) to borrow a giant pot.

And Tuesday night, I started phase 2.

All in all, I think tomato sauce took me about 6-7 hours, and ended with kind of a nerve-wracking giant pot of boiling water and sealed glass jars. I was scared. The worst thing that happened in the whole process was that boiling tomato sauced (from the uncovered pot) splattered all over one of the kitchen rugs, but we'd already decided that rug wouldn't last much longer, anyway. But tomato sauce just took forever. So I really don't blame you if you read this post and decide never to make tomato sauce. I will probably do it again, but then, I'm a little crazy and over-ambitious in the kitchen.

Tomato sauce with basil and garlic
(the two-day version)
notes: Do this on a day when you don't have any other plans. Start it early, not at 9pm. Also, this makes a mess. Wear either old clothes, or red clothes, and I really recommend lining the floor around your stove with newspaper- or else plan to throw out the rug you keep in front of your stove after this is over, which is what I did.
Ball has a really helpful canning tutorial here, I referred to it over and over throughout this process.

Ingredients:
20lbs of local tomatoes (I used 18lbs)
2 medium local onions, chopped
8 cloves of local garlic, minced
1T olive oil
1/4cup local basil, chopped
8-10T bottled lemon juice, 1T per jar
8-10 pint jars

Directions:
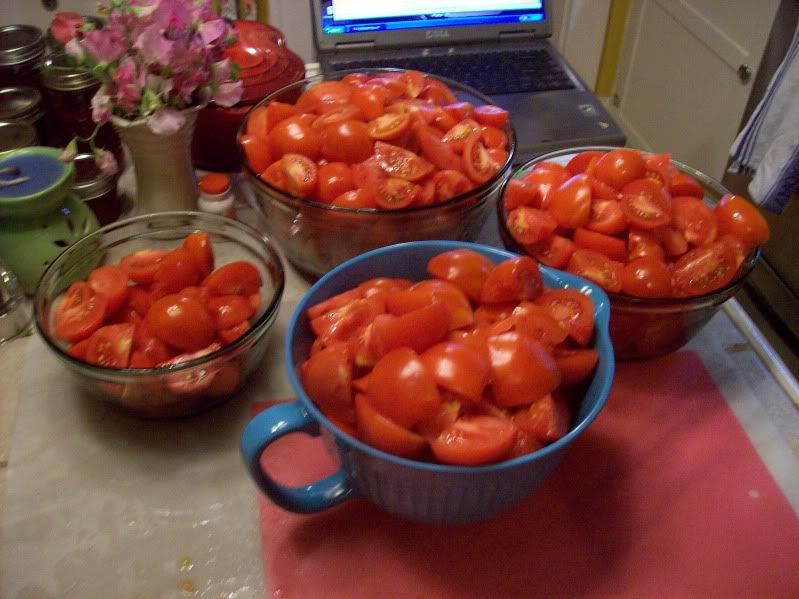
1. wash all the tomatoes, cut the blossom end out, and quarter. Set aside (note: 20lbs of tomatoes need about 4 bowls for setting aside).


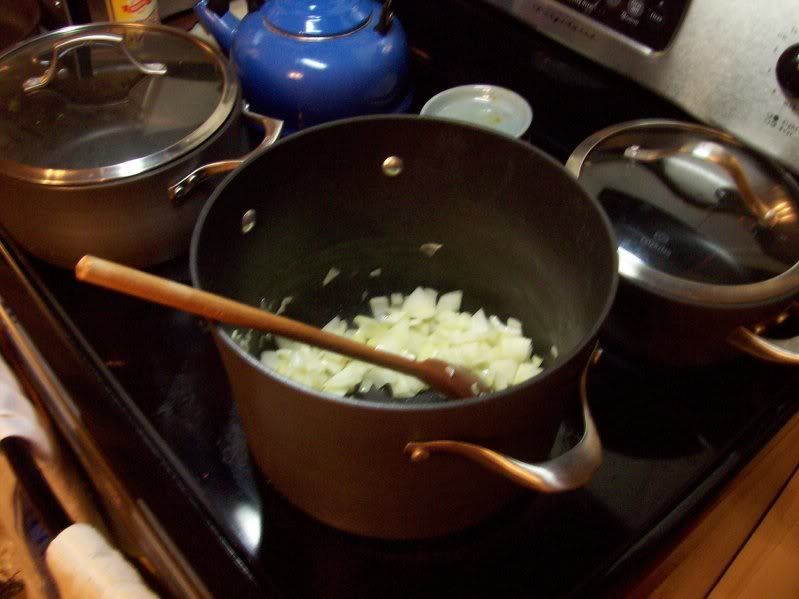
2. In a huge pot, saute the onions and garlic with the olive oil, until the onions are translucent.
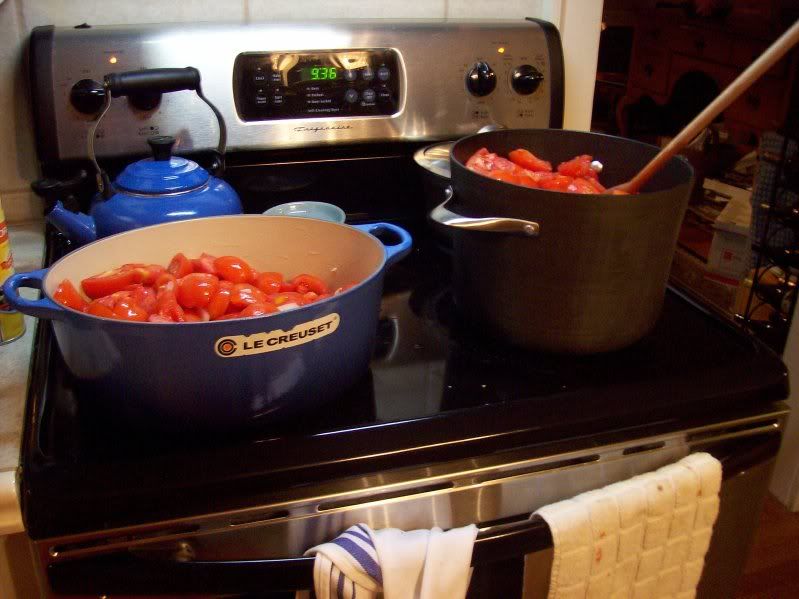
Add the tomatoes, bring to a boil. (When I added the tomatoes, I discovered my giant stock pot was not so giant... I had to split the tomato/onion/garlic mixture into two pots)
Simmer for 20 minutes, stirring occasionally.

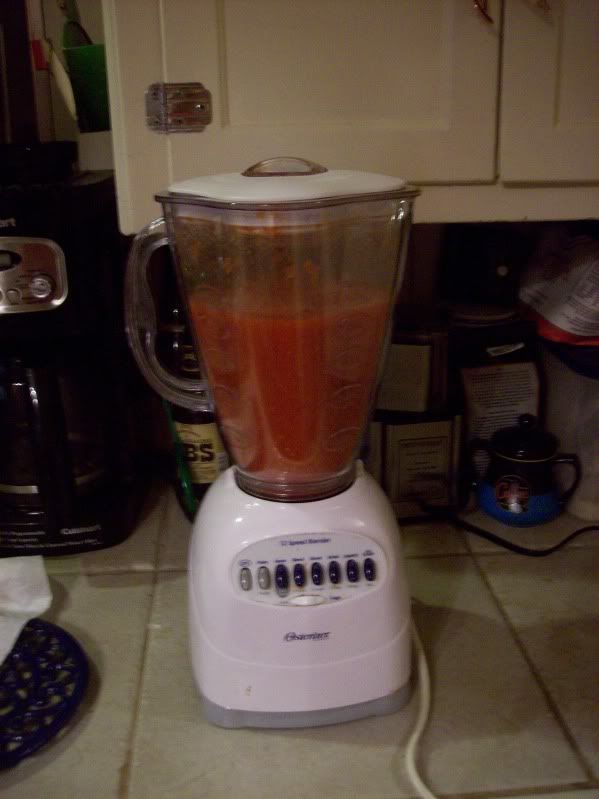
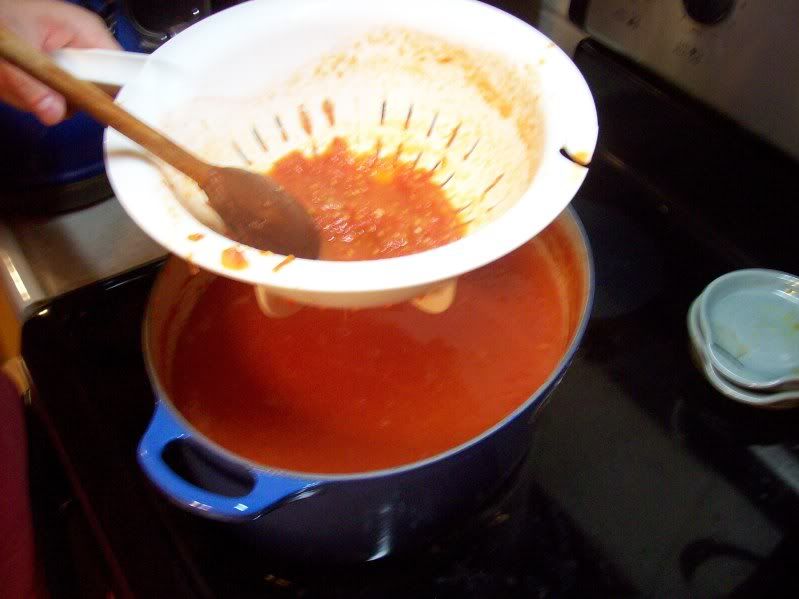
3. After 20 min turn off the burners and let the tomatoes cool a bit, for a few minutes. Puree in batches (7 batches for me) in a blender (or food processor, but I find a blender easier for something so liquidy). Strain to remove skins and seeds (my strainers were either too fine, or way not too fine- I choose the larger one, and ended up with a lot of seeds. Oh well.) Return to your giant pot.

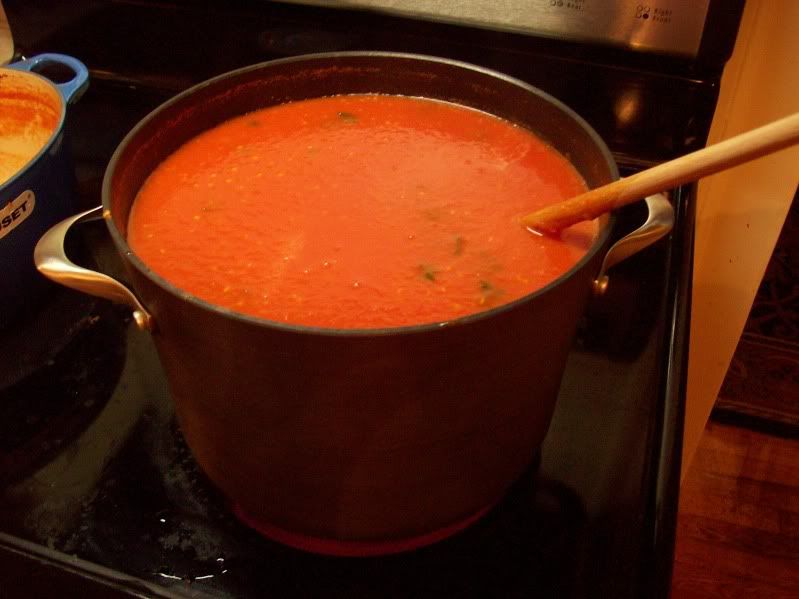
4. here's where I misread: Bring to a boil, and reduce by half. I reduced for 1/2hr the first night, and 2.5-3hrs the second night, although it took a good 30 minutes to start boiling that second night. I still may not have reduced it enough (but come on, it was 11:00, I was sick of the reducing and splattering and fogging up my glasses every time I stirred the pot). So, reduce (over medium-high heat, I did change it a lot if it started boiling a little too vigorously, or wasn't boiling enough) and stir every so often.
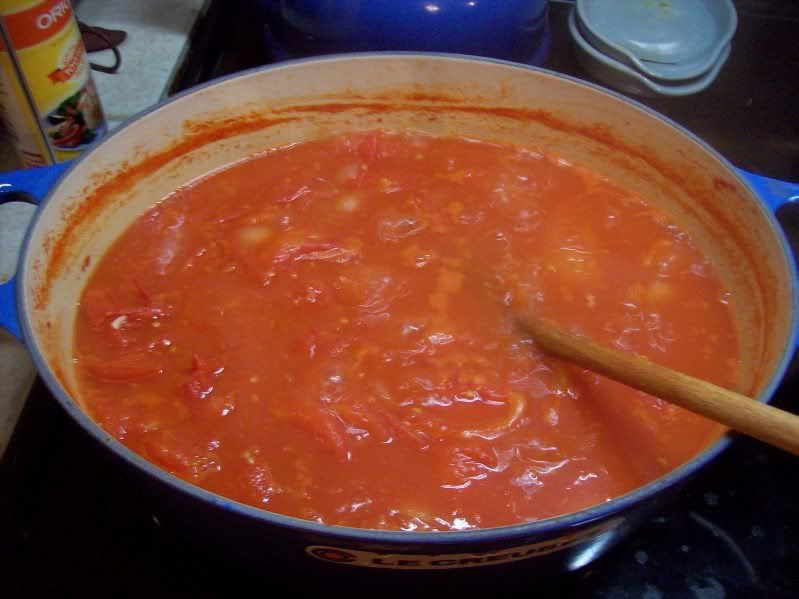
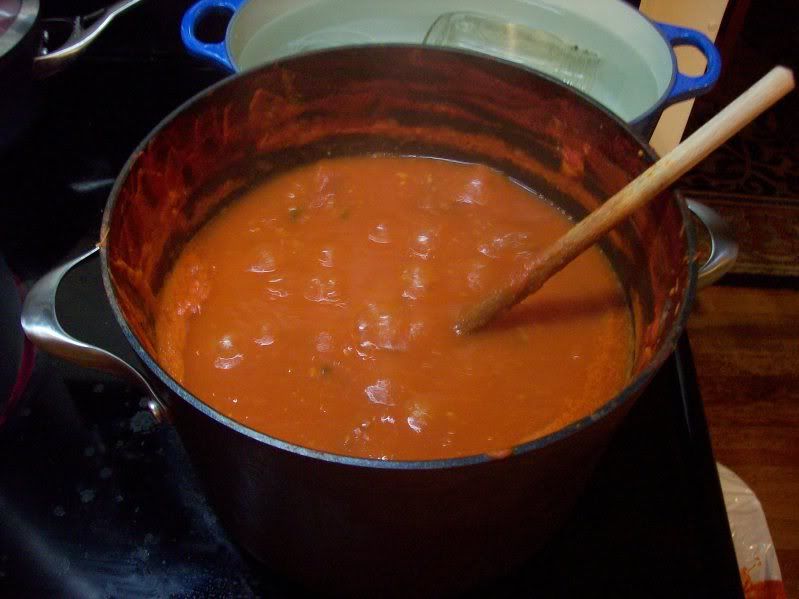
Before reducing:
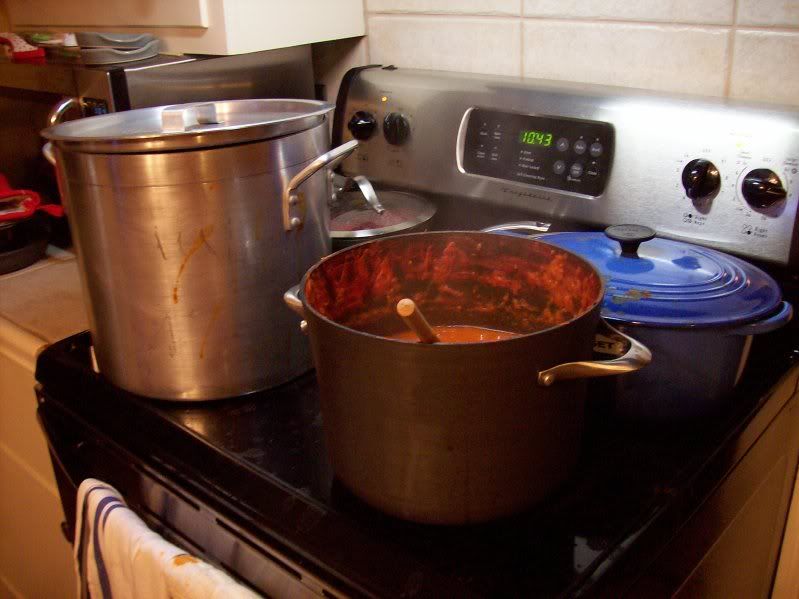
After an hour:At the end of reducing:Also, note my set up: beside the tomato sauce reducing pot, we have a giant pot for the jars, a smaller pot for the extra jars, and in the back corner, the small saucepan with the lids.

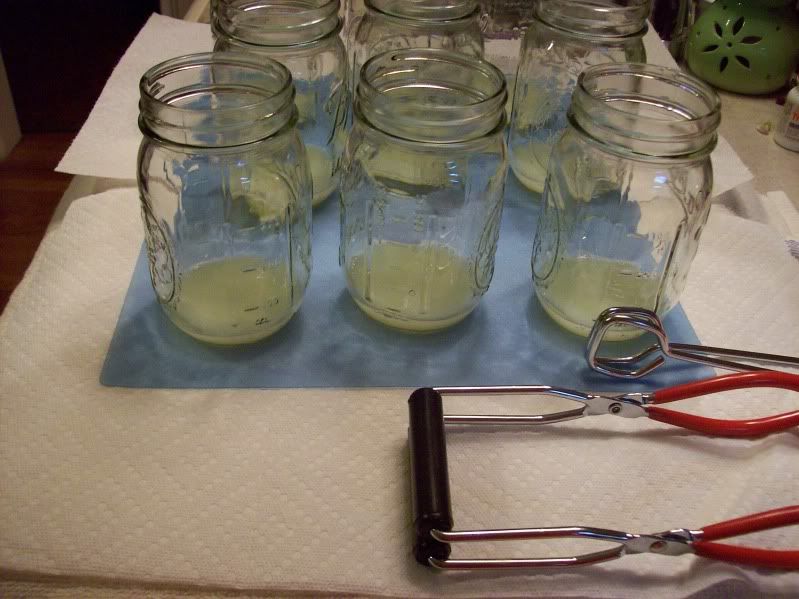
About 60-90 minutes into the reducing by half step, start prepping your jars. They should have already been cleaned (by hand or dishwasher, in hot soapy water). For this you need an enormous pot (I had to borrow one, thank you Rich!).

I don't have a proper canning pot, the kind that has a nice little rack that lifts all your jars out at once. Fortunately, I do have some jar tongs, from this set (the upper right hand tool). This allows you to lift the jar out of boiling water, either straight up, or while it's on its side. It also includes a wide mouth funnel (very useful!), two other sets of tongs (haven't used them much) and the magnet stick for the lids.
My make-shift canning pot had a perforated tinfoil pie dish, upside down on the bottom (I wasn't sure about placing the jars directly on the bottom, with that hot, hot burner on the other side of the stainless steel pot bottom). I stood all the jars on top of that, filled with enough hot tap water to have a few inches above the jar tops, and turned the burner on. I brought it to a boil, boiled it for a few minutes, then turned the heat to a simmer until I needed the jars. Once I took the jars out, I left the pot as it was, with all the water and the burner still on. I needed it later for processing.

As for the lids: the rings were just washed and set aside, on a clean towel. The lids were placed in a small saucepan and covered with hot water, and simmered on low for about 20 minutes. The lids should not be boiled, because it will damage the gummy part around the edge that's required for a proper seal.

5. Once it's reduced by about half (judging by the sauce being about halfway down the pot from the starting level), do a happy dance, turn off the burner, and commence filling the jars. Start by pouring about 1T lemon juice into each jar, and then pouring in the tomato sauce.

To fill the jars, I lined up all the hot, hot jars on a thick dishtowel on the counter (don't use your pretty new dishtowel, use the old ratty ones) and added the lemon juice. I'd tossed the wide mouth funnel in with the jars while they simmered, and placed that in the first jar. I had a clean bowl (fresh from the dishwasher) with a handle and a pour spout/lip that I dipped into the pot of tomato sauce, and then used to fill each jar, through the funnel. The jars should only be filled to a 1/2 inch below the top, this is necessary for the processing that will come later (I don't know why...). I quickly placed a lid on (using the handy magnet stick in the kit pictured above, so I didn't have to stick my hands in the hot lid-simmering-pot water), and placed the ring on, finger tight. I ended up with 8 full pint jars. However, you should always prepare extra- I prepared 12.

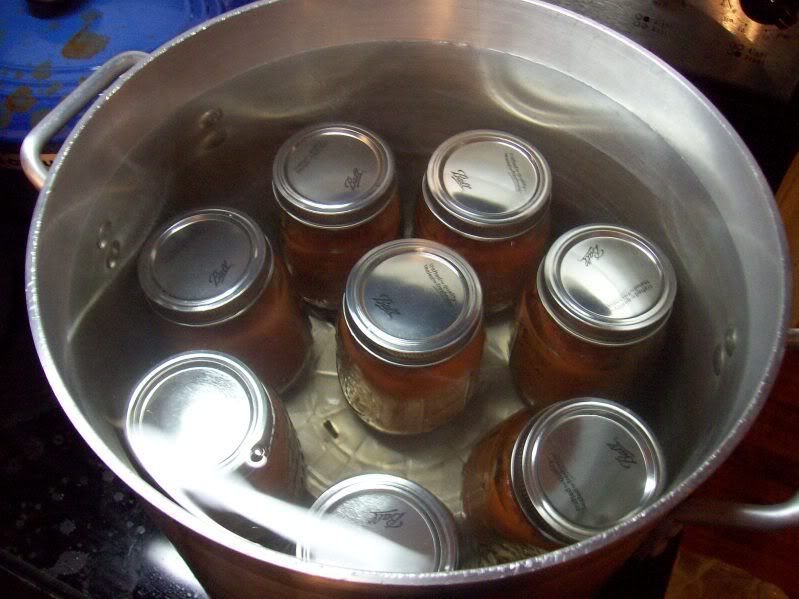
6. The scary part. All the filled and sealed jars now go into the huge pot that the jars were simmered in, standing straight up. This is the processing step. The water must be 1-2 inches above the tops of the jars (since before they were empty jars, I ended up with too much water, just dip a bowl in and take enough water out). Get all the sealed jars in, adjust the water level, put the lid on, and bring to a boil. Boil for 35 minutes, then turn off the burner and let the pot cool. I let it cool for the length of a DVD episode of House (42 min- the one with the mob guy from season 1), and then I took all the jars out with the big jar tongs, and placed them on a thick towel. Don't place them directly on the counter, they need some sort of temperature-absorbing cushion so they don't crack from a temperature difference. Leave them alone for a day (12 hours for me).

7. After 24 hrs, all the lids should be popped down. If any are still up, these haven't sealed properly and should be processed (35 min in boiling water) again (or eaten immediately).

8. Sit down and have a glass of wine- you deserve it after all this work! I don't recommend drinking until after the sauce is done, you need your wits about you for this.


I didn't season this with salt and pepper, because the recipe didn't say to. I don't know if it's better for preserving not to do this, but I plan to season heavily with something when we actually use this sauce. It's good- nice and fresh-tasting, but really boring, despite all that basil. I'd like to make this pizza sauce recipe with my tomato sauce.