Showing posts with label fail. Show all posts

Wednesday, November 24, 2010

Pumpkin Party: Main dishes, part 1

I'm only 3 weeks behind on posting.

You may have guessed, but yes, stuff is going on in real life. Stuff interferes with blogging, with baking, even with exercising (sigh!). Hopefully stuff will improve soon, but in the meantime, we all have to eat, and I have plenty of recipes saved up to try (I know, that doesn't help you at all).

Back to the pumpkin party. November, and even December, is still pumpkin season, so these are still good for making now.

At the pumpkin party, I served pumpkin chili with pumpkin cornbread, as well as pumpkin gnocchi, pumpkin pizza, and my favorite, pumpkin, spinach and leek quiche.

Let's quickly start with the gnocchi.
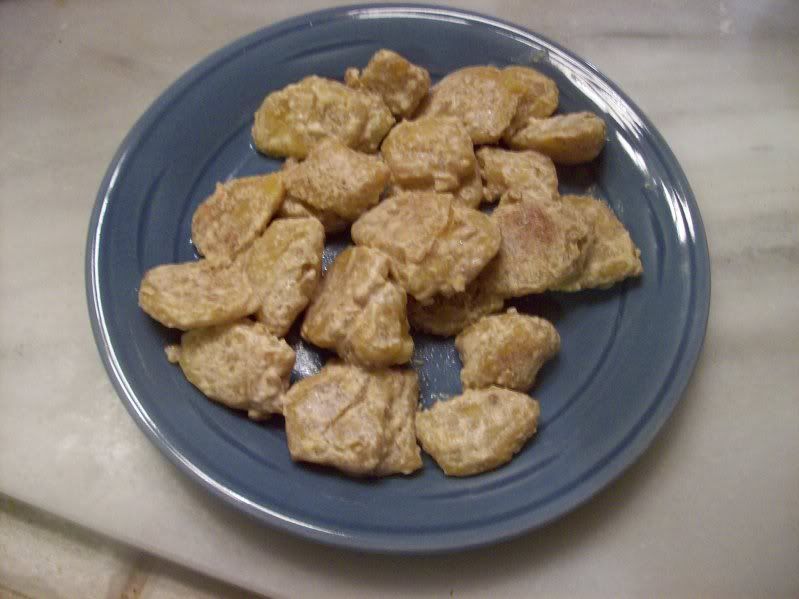
Oh, man. This was my first time making gnocchi- even my first time eating gnocchi. So I didn't quite know what I was doing. I followed this recipe, which I found on taste spotting and chose because the blogger is Italian, and of course, an Italian would undoubtedly know how to make gnocchi. I think the Italian knew more than I did and either lost info in translation, or makes assumptions I don't know about, but this was a huge recipe fail. I wish I'd used Lidia Bastianich's recipe from a recent issues (October 2010, perhaps) of Bon Appetit- next time.

However, we do have a silver lining: the cinnamon walnut cream sauce (inspired by the suggestions of a Nestie) was delicious and almost saved the dish. The cream sauce was made by making a roux of 1T butter and 1T flour (melt the butter in a saucepan, then whisk in the flour and cook a couple minutes), then slowly adding about 3/4 cup of fat free 1/2&1/2, cooking til thickened (a few minutes- I really wasn't paying full attention) and then sprinkling in about 1/2t cinnamon and 1/4 cup crushed toasted walnuts.

Moving on.

The pumpkin chili was a huge success in comparison. It was like a standard chili of ground turkey and beans and the standard spices (lots of cumin, oregano, cilantro and chili or chipotle powder), but had a nice subtle pumpkin undertone. Love, love, love.
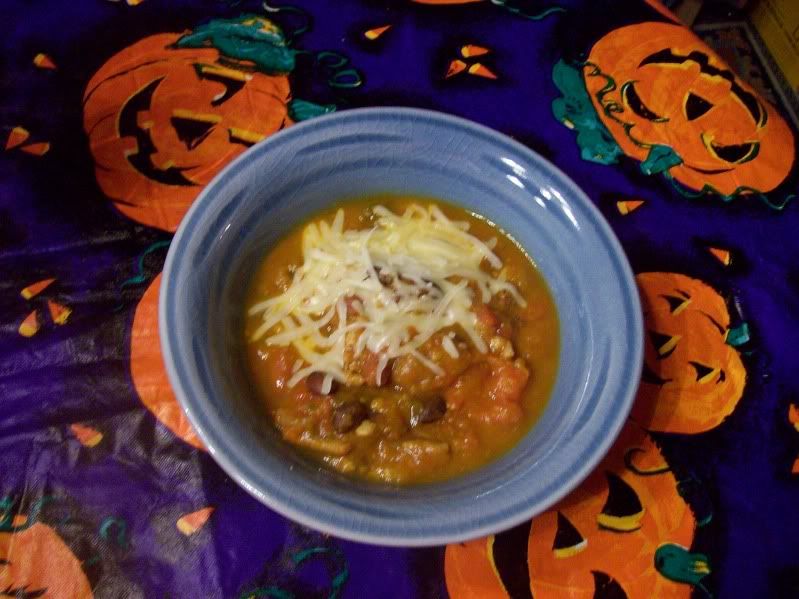
Pumpkin Chili,
adapted from The Family Kitchen

1-1.5 lb ground turkey
2 15oz cans beans- I used red kidney and black beans
4 cups pumpkin puree (canned or fresh, I used 2 15oz cans)
56oz tomatoes (the original recipe calls for 2 large cans of diced tomatoes, but I used 1 14oz can and 48oz peeled tomatoes that I'd frozen over the summer)
4 cups chicken broth (if using canned, choose low sodium- you know I used my homemade stock)
1 large onion, diced
2 cloves garlic, minced
1T cumin
1t chipotle powder
1t salt
1t black pepper
small handful of fresh cilantro, or 2t dried
2t dried oregano

In a large pan/pot, brown the meat. When it's about half cooked, add the diced onion. Transfer to your crock pot (or, alternatively, you can leave everything in the large pot and cook on the stove top). Add in all the rest of the ingredients. Cook on low for 6-7 hours, or high for 4 hours. (or on the stove top, bring to a boil, reduce to a simmer and cook 2 hours).

Serve! Garnish with cheese and sour cream, and whatever else you like on your chili.
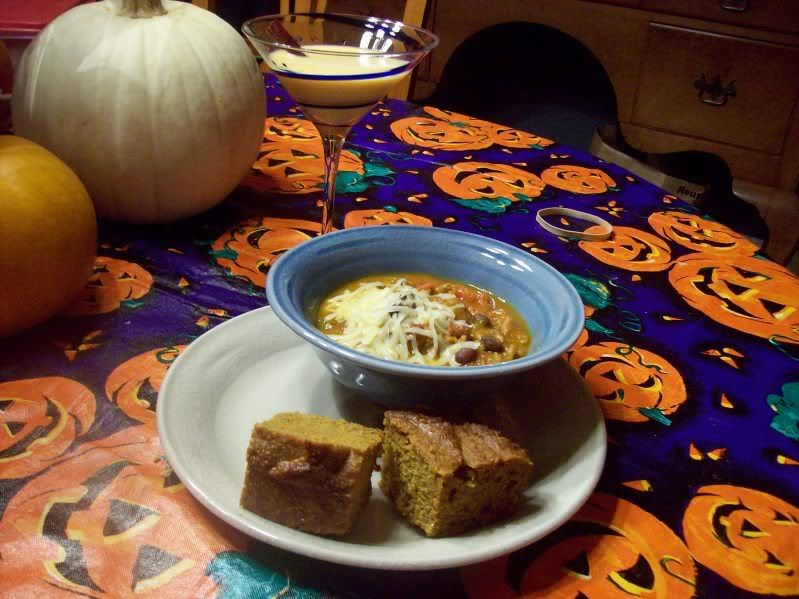
To pair with your chili, make some pumpkin cornbread. Now, I have to admit, this wasn't as huge a success as the chili itself- mostly because the cornbread was simply too sweet. It was more like cornmeal cake for dessert than something to have with chili, so next time I will reduce the brown sugar by half or more.

Pumpkin Cornbread,
taken from Recipe Girl

1/2 cup all-purpose flour
1/2 cup whole wheat flour
1T baking powder
1t salt
1/2t ground cinnamon
1/4t ground nutmeg
1 cup cornmeal
2 eggs
1 cup pumpkin puree
2/3 cup brown sugar (I'd go 1/3 cup or less, maybe even just 2-3T)
¼ cup canola oil
1T molasses

Combine dry ingredients (flours, baking powder, salt, spices, cornmeal). In a separate bowl, beat the eggs, then add the pumpkin, brown sugar, oil and molasses, whisk together and then add to the dry ingredients- stir just until combined, don't overmix. Pour batter into a greased 8x8 pan, and bake for 30-35 min at 400F.

Saturday, July 17, 2010

Food Disasters


Hello, my lovelies! Sorry for the terrible lack of posts- I'm on the second-to-last night of a rather long road trip. I'm finally back in the eastern time zone after hanging out with family, family friends, and Old Faithful. I have some food tales from my trip to share, but today, we were watching Julie and Julia in the car (I know, finally!) and one scene reminded me that I never shared this story, from the end of May- where Julie make some sort of raspberry thing for dinner where the guest never shows, decides to bring it to work, and the bag gives way on her way to work and the dessert ends up all over the sidewalk.

I made my mom a birthday cake, as I tend to do. I make everyone a birthday cake, to be honest. Birthdays are a valid excuse to bake fancy things.

Mom said she would like something with Aunt Gertie's chocolate frosting (a fudgy chocolate buttercream, with my favorite instruction: "beat like hell"). Since I'd recently discovered dulce de leche and figured out how I could make it all by myself, I used a batch of that as the filling. The cake itself was my great grandma Anna's vanilla cake recipe (the same cake as our wedding cake). And it was lovely. I made the mistake of watching the season finale of Grey's Anatomy (you remember, where everyone got shot) while making the cake and neglected to sufficiently spray the parchment-lined cake tins, so the layers had some issues coming out of the tins, but I got everything to stick. And it frosted beautifully.

See how nice?

Then we drove it from Worcester, MA to Westbrook, CT, a 90 or so minute trip on essentially 2 highways and one country road. We got a great parking space, right at the end of the walkway towards my parents' timeshare condo, and since we were only staying with them one night, were able to bring everything in in one trip. Only...


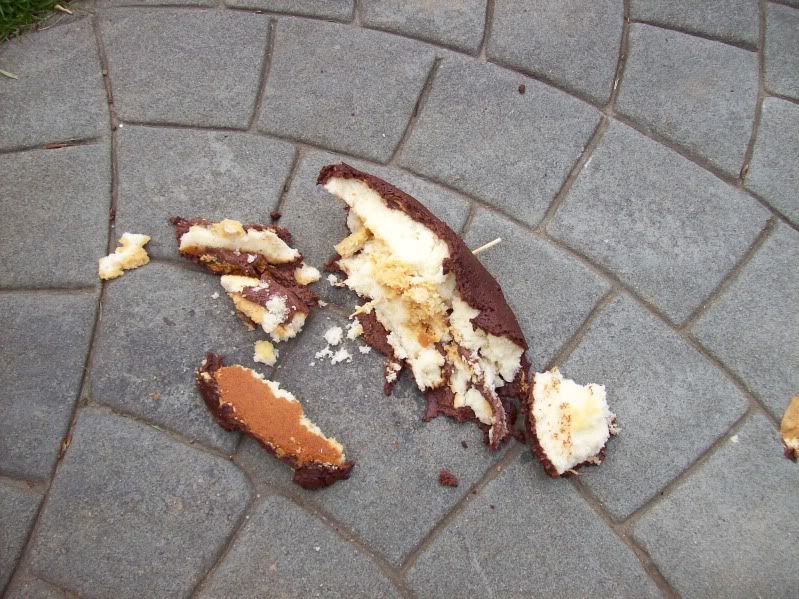
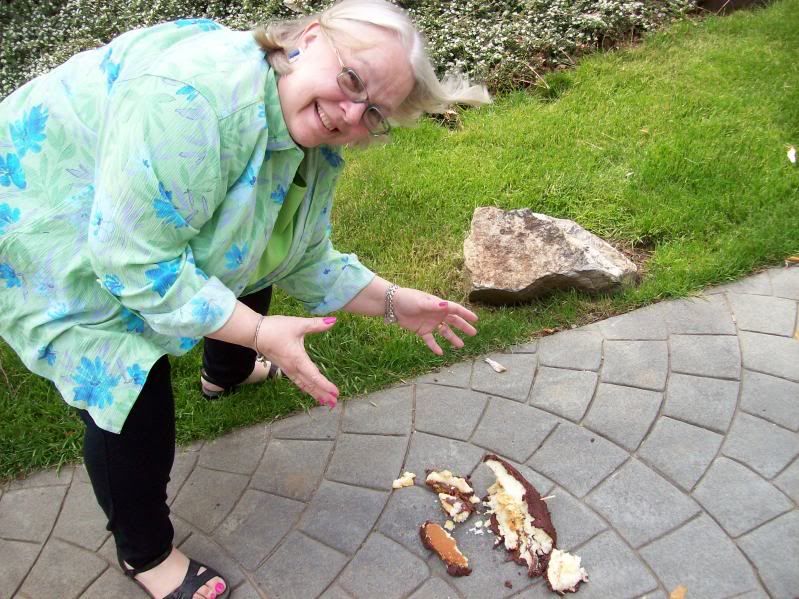
my caketaker is apparently worthless. The bottom clips on to the top, and the handle is on the top. With 3 other bags to carry, I couldn't support the caketaker from the bottom as I would prefer to do, and one of the two clips came undone, possibly from being jostled as I walked.

Fortunately, I'd stuck 3 bamboo skewers in the cake to prevent the layers from slipping (dulce de leche is pretty runny, and I've had many problems of transporting cakes filled with something other than frosting in the car), so the cake held together after landing, the only problem was that half of it was on the sidewalk. So I picked it up, got the still-clean half, and 6 of us celebrating mom's birthday enjoyed that for dessert.


The cake was good, and 2 months later, we're still laughing about this food horror story.

Wednesday, March 17, 2010

Candied Citus Peel: A Saga

In January, my husband bought me 2 cases of grapefruit: one white, one red. As I ate grapefruit after grapefruit (one of my very favorite fruits), I was sort of sad that I ended up with all these grapefruit rinds in the garbage. Is there any way to use these? (short of composting, I mean, there are too many wild animals in our neighborhood to make me comfortable with a compost heap in our tiny backyard)

Well, yes, there are things to do with citrus rinds. The first thing I never got around to making, but I still think it's a cute idea: cupcakes baked in orange rind "wrappers".

The second thing is to candy the peels. I like this idea. I've wanted to candy a number of things for a long time (citrus peels, violets, basil), but I never had.

Thus started the grand experiment. This is a blog post 2 months in the making.

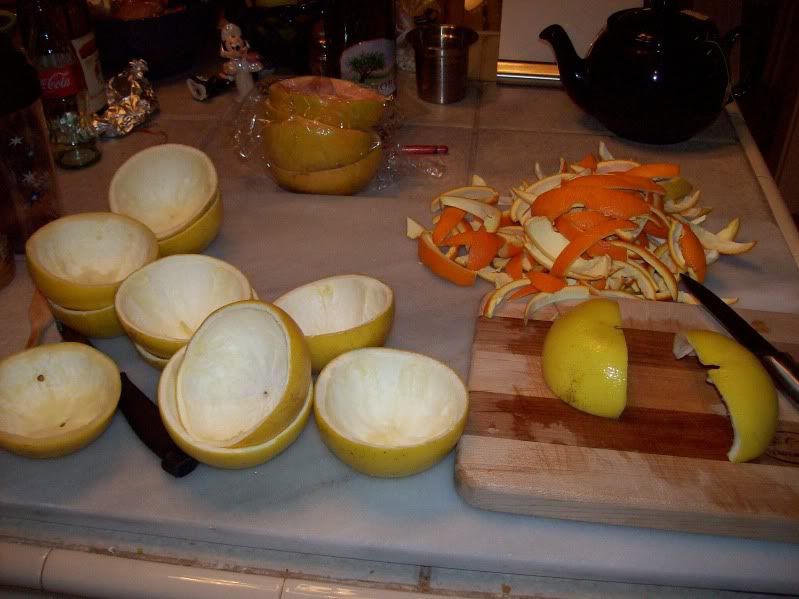
First, I cut up all my grapefruit and orange peels. You don't want to know how many I had, let's just say each individual batch had the rinds of 15-20 fruits, and we're currently (as of March 17) on batch 4, with at least 1 more batch to go. Yes, we eat a lot of citrus. The funny part is I used to have a citrus allergy- either I outgrew it or I fought it and won, because after years of allergic reactions, I get nothing from 4 grapefruits a day. (I simply adore grapefruit.)

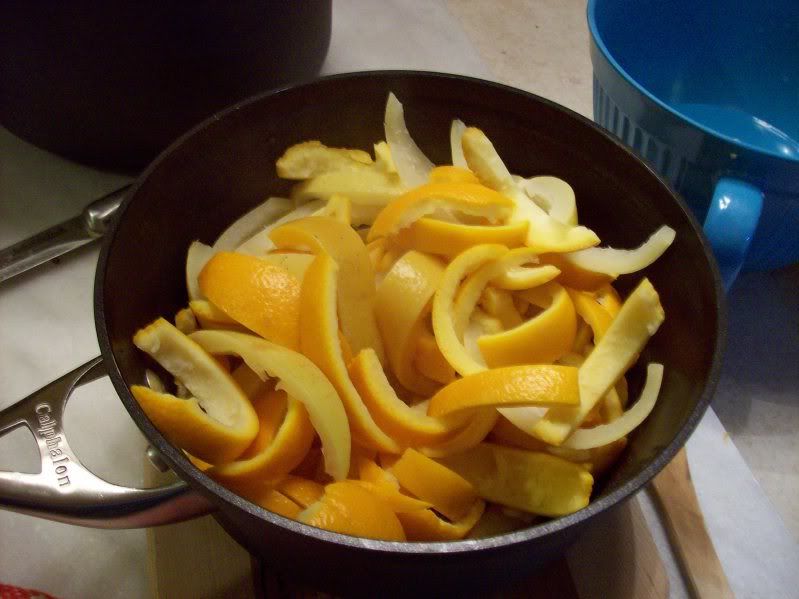
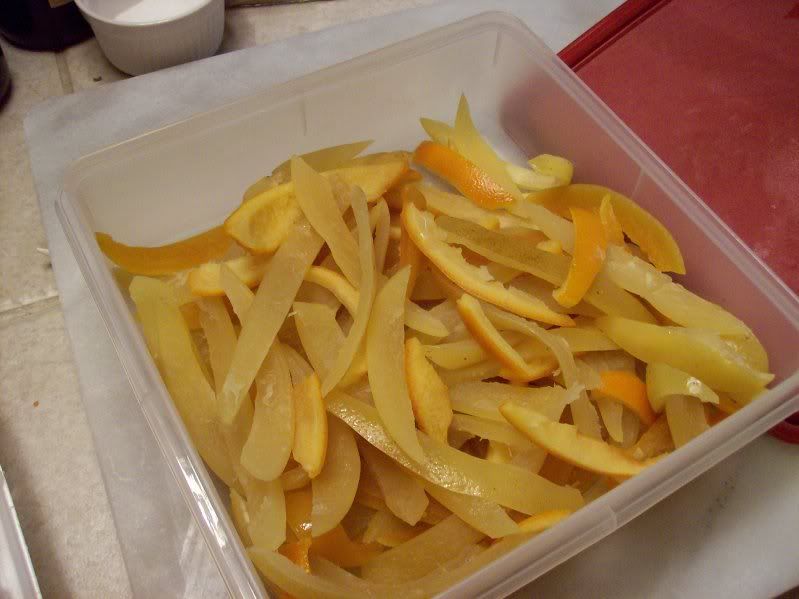
I cut the rinds first into halves, then quarters, then each quarter into 3 or 4 long strips.

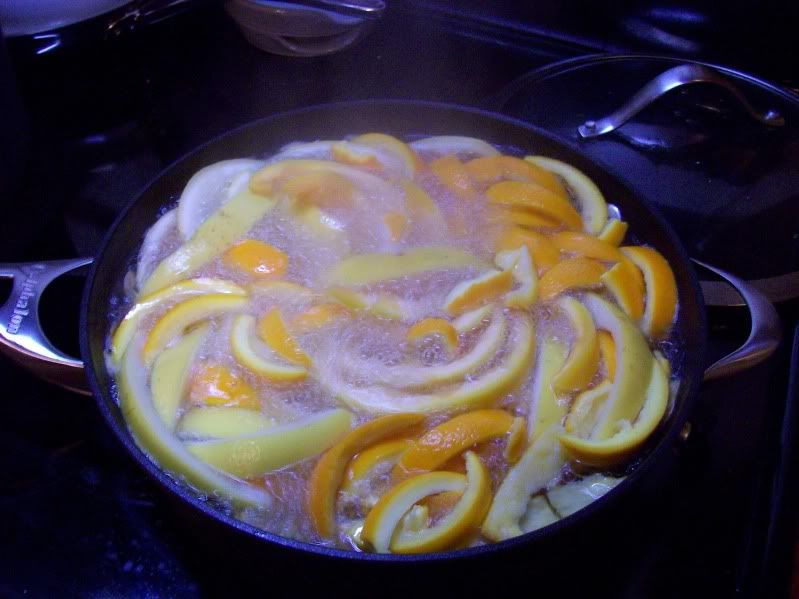
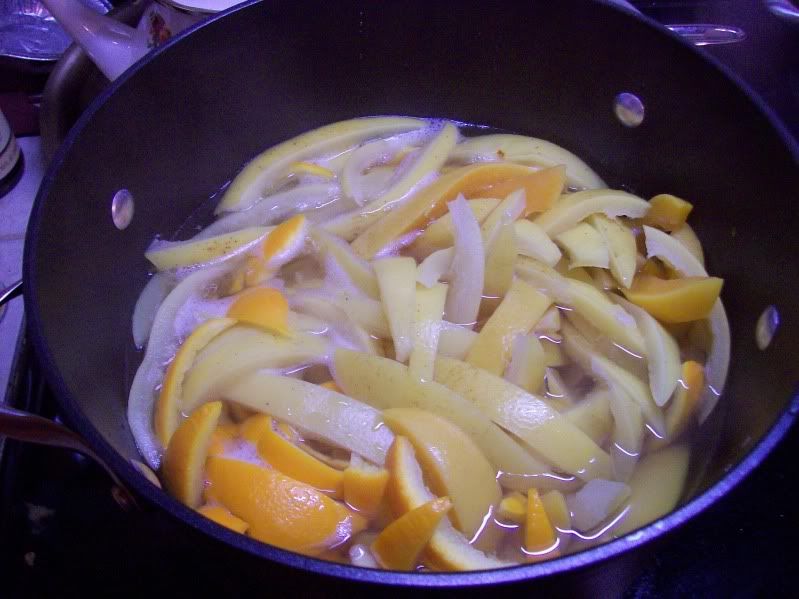
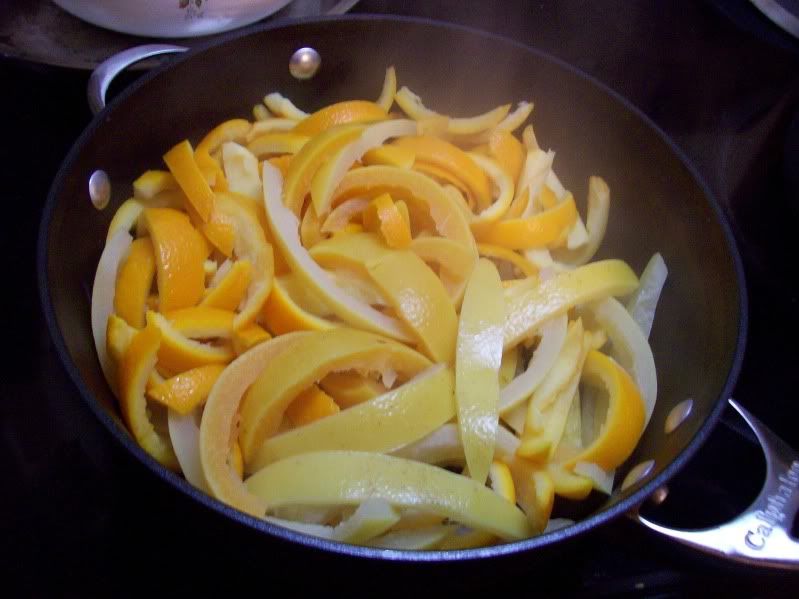
Then you boil them. Throw as many strips as will fit into whatever pot you have, cover with cold water, and bring to a boil. Boil for about 5 min, drain, fill with fresh cold water, boil again. Then do this once or twice more- the point of this (while probably getting rid of the residue covering the outside of the peels as well) is to make the peels less bitter.
Boil 1

Boil 2
Boil 3.

This next part is where I got into trouble. Martha says to combine 1.5 cups of sugar with 1 cup of water and bring to a boil over medium heat (no temperature recommended, but they says it takes about 3 min for the sugar to fully dissolve) and throw in the peels. Boil about 12 min, then turn off heat and let the peels sit in the syrup for about an hour. Drain the syrup (save for sweetening iced tea or other drinks- good point, citrus bellini, anyone?) and use the peels.

However, what it doesn't say is that there are several types of candied peels out there. The ones I'm thinking of are generally dipped in chocolate and are dry and solid. There are also the sticky candied peels, commonly used in fruitcakes. Martha's are the second kind, which are soft and basically wet/sticky. But I didn't know that.


So I consulted another recipe that had essentially the same recipe, but ended with drying the peels spread out on a rack 4-5 hours, then coating them in granulated sugar. I tried this.

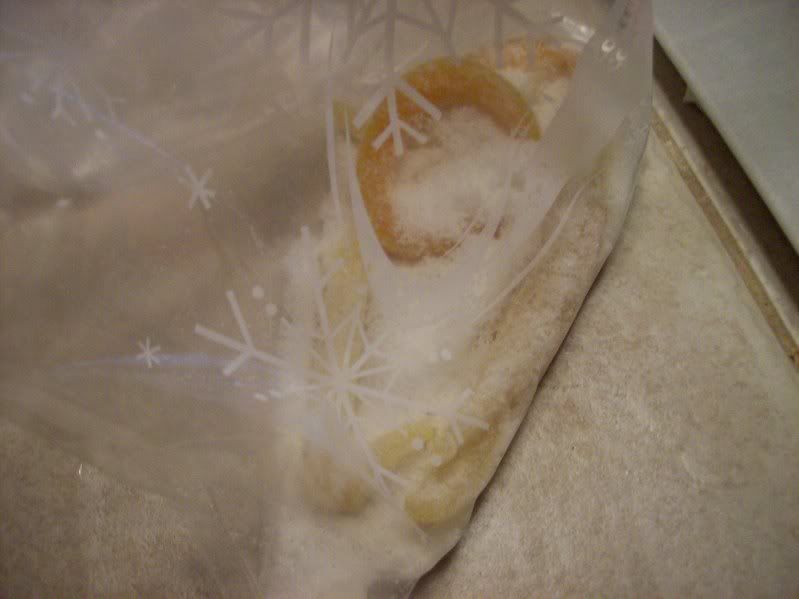
I let them sit overnight, I was tired. I coated them in sugar, and let them sit longer.

And you know what? After a few hours, they were soaking wet. They were so waterlogged from the candying process that all the sugar coating them basically melted into a sticky goo.
So I tried drying them. In the oven, at 250oF, for an hour. I coated them in sugar, and left them alone (inside the turned-off oven) for 48 hrs.

They were still soaking wet.

And I despaired a bit. I had a ton of grapefruit peels waiting to be candied, and I was failing miserably at it.

So I found a new recipe. I boiled all those wet, sugary peels in another round of water, and followed the new candying process.

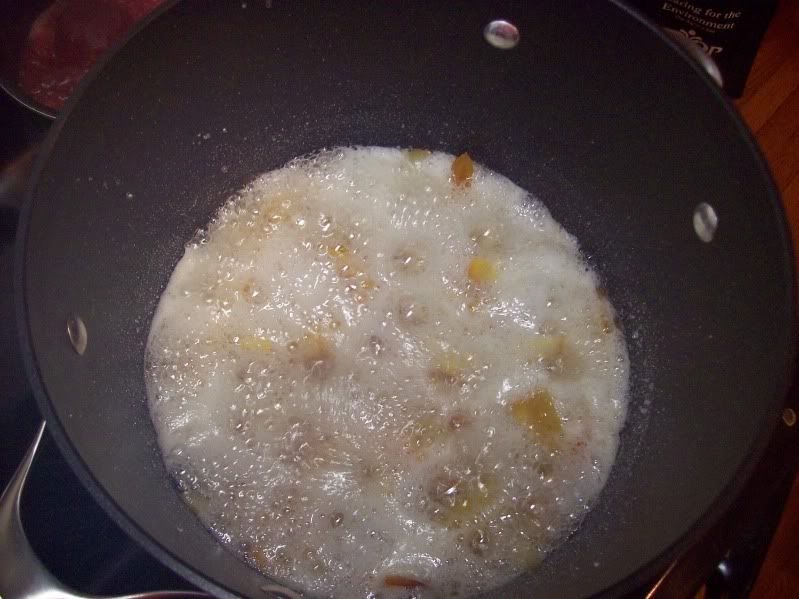
I combined 1.5cups water with 4.5cups sugar in a large pot over high heat, until it reached 230oF (took about 10 min on my electric stove, 15-20 min on my parents' gas stove). I added the peel, stirred a bit to make sure all the peels were coated in the syrup, and ignored it for 45 minutes.


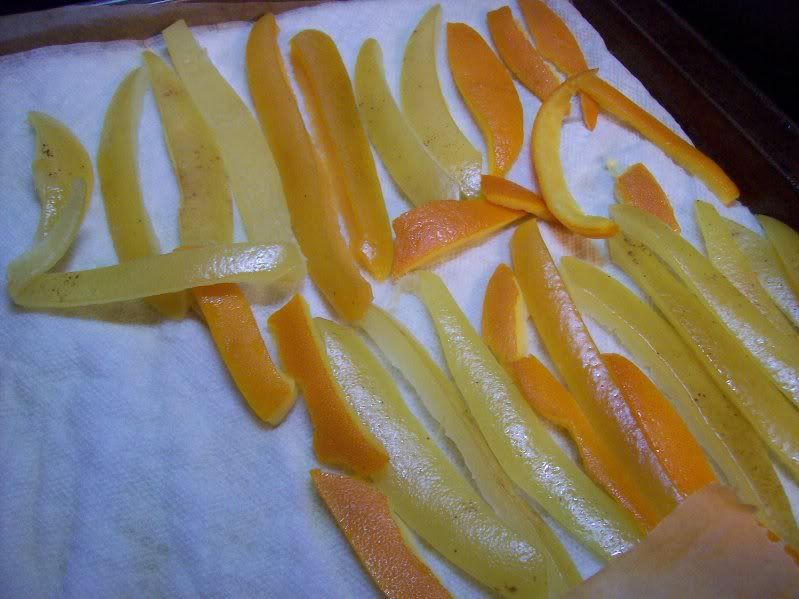
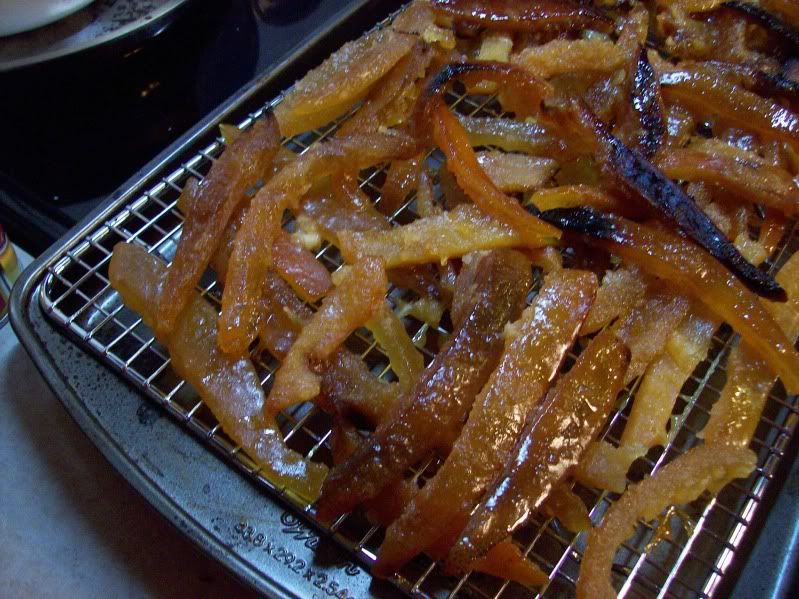
The result was a mass of solid, slightly stuck-together peels, coated in sugar of a maple sugar candy hardness- solid, but not rock-hard.
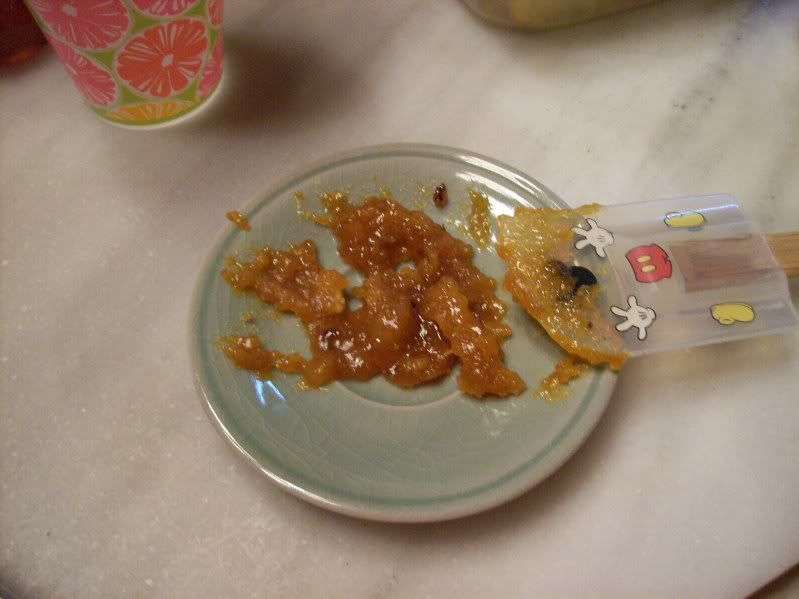
The leftover syrup, which I was told would make a nice simple syrup for iced tea, was a mass of maple sugar candy-like citrus-flavored substance (actually quite tasty). I also burned the bottom layer of peels, oops.
However, this was more of the consistency I was looking for.

The next batch were boiled in the syrup for only 30 minutes, instead of 45. I did not burn any peels, the leftover syrup was still pretty solid, and the peels had exactly the texture I was looking for- very similar to candied pineapple you can buy.

Phew! I seem to have figured this out.

The third batch I made was at my parents' house, where I actually reread the recipe.... and noticed that you're supposed to turn the burner down to low after adding the peels to the boiling sugar. Oops. So I tried that, and ended up with a much softer peel that's still wet after 3 days.

So, now I can say I've figured out how to do this.

Boil your peels. Use 6-8 fruits' worth of peels for a manageable batch. Boil them 3-4 times as described in the beginning. Combine 1.5cups water with 4.5cups sugar, bring to a boil in a large pot over high heat. Boil until temp reaches 230oF. Add the peels, and bring to a boil, and then reduce heat to medium-high. Boil for 35-40 minutes, stirring gently a couple times during the process, so the peels on the bottom don't stay there the whole time and burn. Remove the peels, spread out on a rack to cool and dry.

And that should work.

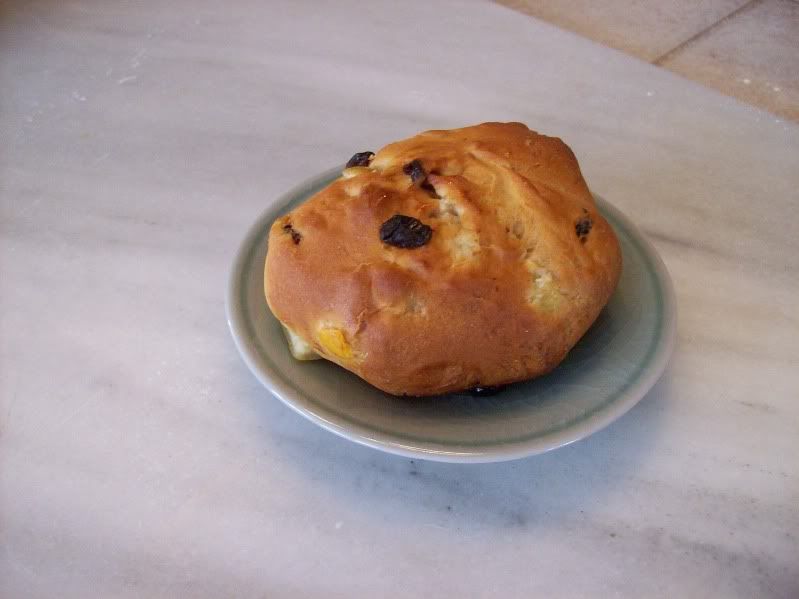
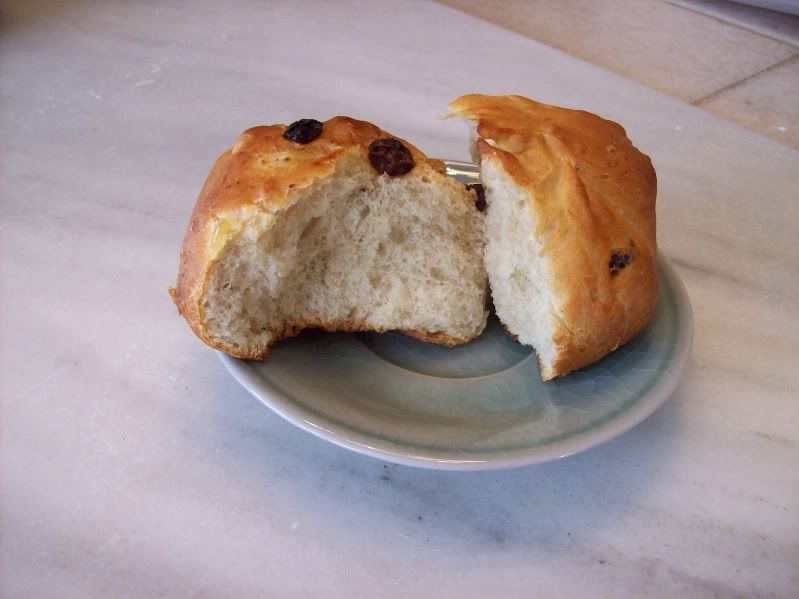
What did I do with the wet peels from the third batch? Why, I incorporated them into Bread Sunday #8.
Hot Cross Buns with candied grapefruit peel and flame raisins

Normally I would give you a King Arthur Recipe, but honestly (and this is probably the only time I'll ever say this, I'm such a loyal KAF girl), I don't really care for their HCB recipe. They're kind of dense and dry. I've made them for many Easters now, but this time I branched out, with great success.

Combine 1 envelope/2.25t of active dry yeast with 1t sugar in 1/2cup warm water. Let sit for awhile (10-15min). Note: do this in the bowl you plan to make your bread in, to save you from washing multiple bowls unnecessarily.

Whisk together 2cups flour, 1/2t allspice, 1/2t cinnamon, 1/2t salt, 1/2cup sugar. Add half of that to the yeast. Add 5T softened butter and 1 egg, mix well. Add a second egg, Mix. Add the remaining flour.

Knead for a few minutes, until dough is smooth and elastic. This dough is pretty soft.

Let rise in a warm place, about 2 hrs (I let it sit for 4, and it was enormous- very fun.)

Knead in your fruit of choice: I used about 1/3cup each of flame raisins and finely chopped grapefruit peels. Divide dough in half, roll each half into a snake/log, and divide each log in half and then into thirds (12 pieces total), and roll each piece of dough into a ball. Spread out on a parchment-lined cookie sheet, cover with plastic wrap/a towel and let rise for another 45 minutes. Quickly slice an X into the top of each bun with a sharp knife. Bake at 400F for 10-12 minutes.

Optional (and I didn't do it, but will next time I make these): when buns are cool, make a milk/powdered sugar glaze (mix 1t milk and 1/2cup powdered sugar, stir until lumps are gone) and drizzle over the buns (or in an X shape on the tops).


Monday, July 28, 2008

Cookies, and consequences of a broken printer

Cookies!

I came across a chocolate chip cookie recipe on ravelry.com that everyone was raving about. I've recently been trying to obtain a recipe for chewy chocolate chip cookies, and I made up my own recipe using honey and brown sugar, but they weren't much chewier than the Nestle's Tollhouse recipe I've been using since before I could say "cookie". I decided to try this recipe.

At first glance, this recipe, which was published in the New York Times at some point in the recent past, looks similar to Nestle's cookies. The egg:everything else ratio is low- 2 eggs, but everything else is bumped up. See:

2 cups minus 2 tablespoons (8 1/2 ounces) cake flour

1 2/3 cups (8 1/2 ounces) bread flour

1 1/4 teaspoons baking soda

1 1/2 teaspoons baking powder

1 1/2 teaspoons coarse salt

2 1/2 sticks (1 1/4 cups) unsalted butter

1 1/4 cups (10 ounces) light brown sugar

1 cup plus 2 tablespoons (8 ounces) granulated sugar

2 large eggs

2 teaspoons natural vanilla extract

1 1/4 pounds bittersweet chocolate disks or fèves, at least 60 percent cacao content (see note)

Sea salt.

Only.... our printer's broken, so I just jotted everything down. Only..... I didn't do such a good job.

Well, ok, I'll walk you through what happened. I combined the butter and sugars, beat for 5 min, added the eggs, one at a time, and the vanilla, and then I just dumped all the dry ingredients in there and mixed by hand. (I used all-purpose flour instead of cake and bread). Here's the funny part: I missed that whole part about 1-2/3cup cake flour. I added 2cups minus 2T of flour. And the dough was soft, more like batter. (Finally I added in 1 12-oz bag of chocolate chips- 1.5bags would have been better.)

Now, on ravelry with all the raving and recommendations for this recipe, there was a discussion of refrigerating the dough, and why and how necessary and how long, etc. I think they concluded it's so the flavors can combine and just make it yummier. Well, my practically flour-less batter definitely needed some hardening, so I thought, maybe that's why you fridge it.

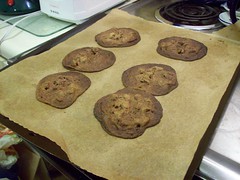
But... me being me, I had to bake some! The dough was so tasty, I needed to eat the cookie, just one. So I baked 6 (1-T balls of dough/batter, 350 for 18-22 minutes, per the recipe).

After 15 minutes, I smelled over-done cookies. I went to investigate.
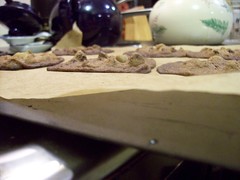
Um.... they're kinda spread out.

Um... they're kind flat.

Well, they never got refrigerated. That must be it. But the next morning, they came out exactly the same, as they did after 24 and 36 hours in the fridge. Hmm. How odd. They also seemed extremely greasy, and the butter:flour ratio was incredibly high. That seemed problematic- but everyone else was so impressed with the recipe! I did not understand.

Then.... I went back to the website. And discovered that I'd forgotten the part about 1-2/3 cup of cake flour (i.e. all-purpose in my kitchen- I would like to try this with part cake and part all-purpose, though). So, I added in more flour to the remaining batter, accounting for what I'd taken out to bake, and baked the cookies.
That's better. Cookie-shaped and chewy. These really are good cookies.

One thing, though- there's part about sprinkling these with sea salt, which seems like a cool concept. I actually think they're salty enough on their own (and I was using unsalted butter), and I like salty things. Try them and see what you think about that.