Showing posts with label farmer's market. Show all posts

Wednesday, August 17, 2011

My Love-Hate Relationship with Fish Tacos

It's very easy to explain. Up until last week, I hated fish tacos. At first, I thought fish tacos were like normal tacos, with fish (i.e. a can of tuna) cooked up with the regular taco spices and cheese and tomatoes and lettuce. Can you blame me for thinking that's gross? Then I saw them on the food network once or twice, and saw that the add-ins were different, with lots of lime and cilantro. Well that's yummy, but then I thought the fish was like fish and chips fish, with a thick beer-battered breading. Still unappetizing.

Well, this past weekend my girls and I went to Maine for a long weekend, and at The Front Porch (warning: their website plays music) on Shore Rd in Ogunquit, I saw fish tacos. I was debating getting a lobster roll, or the caprese stack (although honestly, when in Maine, one must get seafood), and then I saw the fish tacos. When the waiter came, I ordered them. I don't know what made me do that; it might have been the sangria. Anyway, they came and they were ridiculous. The fish was perfectly cooked with a very, very light and thin crust of cornmeal and deliciousness (probably just the perfect ratio of salt:pepper:cornmeal) and the slaw was super limey with just enough cilantro, and there was this crazy chipotle aioli, the kind of thing that makes your eyes water and your nose run from the spice, but is still SO GOOD you can't stop smearing it all over the taco. All at once I couldn't believe I'd EVER hated fish tacos. Seriously? What was wrong with me?!

Side note: everything we had at the Front Porch was crazy good, especially the drinks. Going to Ogunquit? Stop in there for dinner. Many thanks to my cousin Rich for recommending it!

So I came home, I got the urge to cook, and the first thing I had the urge for was fish tacos. Mine weren't as good as at the Front Porch, but I'm still ready to make them again tonight!

Fish Tacos
serves 4-6
composed of:
fried fish
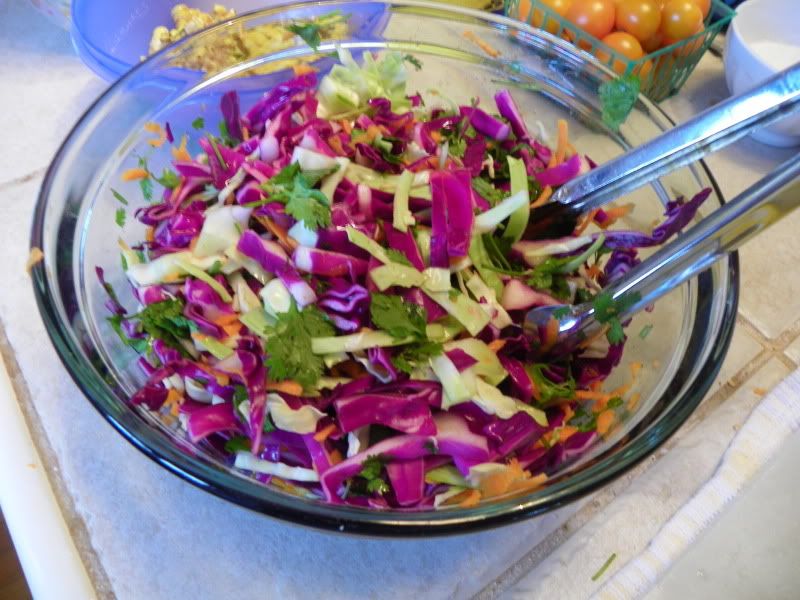
lime cilantro slaw
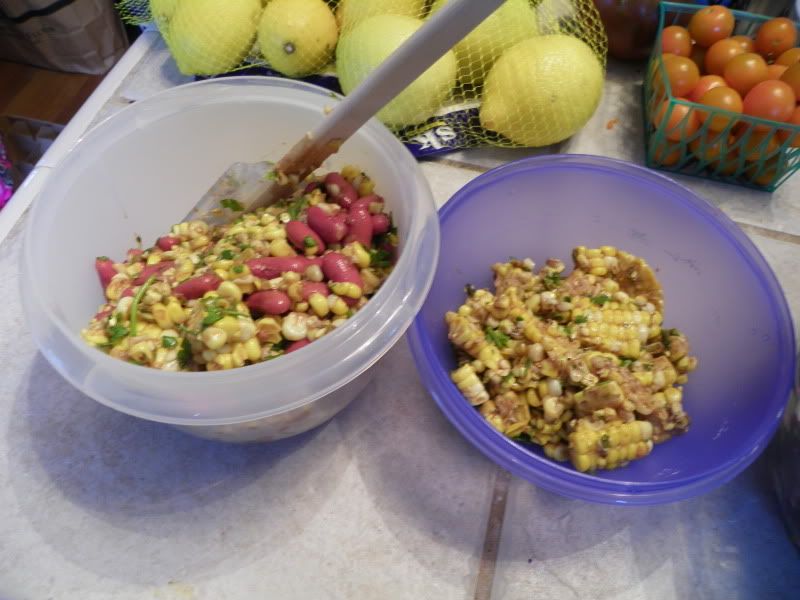
corn and bean salad
tortillas

Fried Fish
no recipe, I made it up as I went

1lb of tilapia (3 filets)
1/4 cup cornmeal
salt
1/4t cumin
1/4t chipotle powder
oil, for frying

Whisk together the cornmeal, salt and spices. Pat the fish mostly dry, cut into strips (I got 4 per filet) then dredge in the cornmeal mixture. Heat the oil in a large frying pan over medium heat, and fry 1-2 min on each side, until the cornmeal crust is crispy and the fish is opaque and flaky. Remove from pan and place on a paper towel-lined plate to soak up the excess oil.

Lime Cilantro Slaw
adapted from Cory Anthony's recipe

1/2 head purple cabbage, sliced as thinly as possible
1/2 head white cabbage, sliced as thinly as possible
1 carrot, grated
2T chopped cilantro
1-2T lime juice
dash of salt
1/2t chipotle powder

Mix all that together. Voila!

Corn and Bean Salsa
adapted from My Baking Addiction

3T balsamic vinegar
2t olive oil
1/2t salt
1/2t sugar
1/2t ground black pepper
1/2t cumin
1/2t chipotle powder
1/2t thyme
1/2t oregano
2T chopped fresh cilantro
1 (15 ounce) can black beans, rinsed and drained (I used kidney)
2 cups corn kernels
1 jalapeno, seeded and diced (I actually used 2t dried chopped jalapeno)

Whisk together the first ingredients through the oregano in a small bowl. Add the rest of the ingredients to a larger bowl, stir/toss to combine, and then add in the liquids and stir/toss to coat evenly.

I made two versions, I made this without the beans, and then took half of it and added back the beans. Someone in our house doesn't like beans.

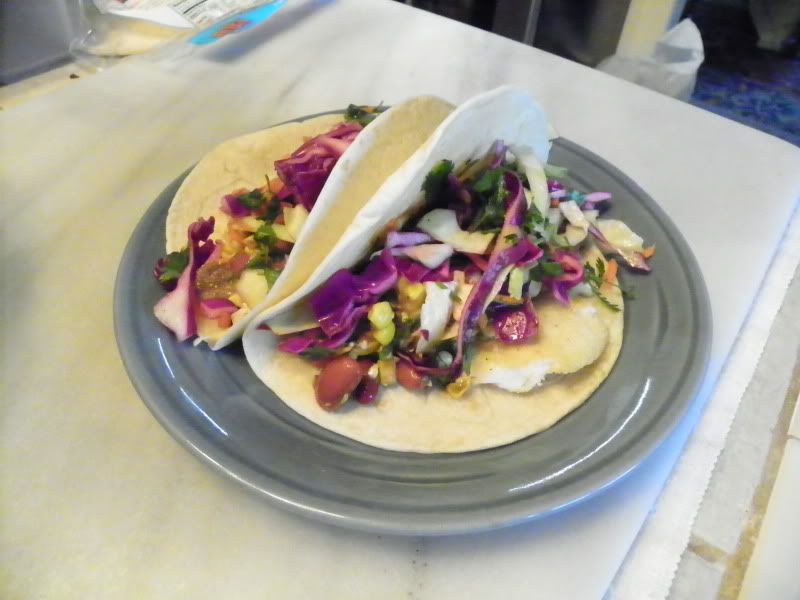
To assemble the fish tacos, place 2 pieces of fish in the middle of a tortilla, top with the corn salsa and the slaw, and enjoy. As you can see from my picture, I seriously overstuff my tacos.

Next time, I think I'll make some sort of chipotle mayo/aioli. I'm on the hunt for a good recipe.

ps. all the produce except the carrot was brought to you by my local farmer's market!

Monday, August 23, 2010

Loving Local Day 2: Canning, the savory kind

It's Day 2 of the Massachusetts Loving Local Blogathon/Farmer's Market week! Again, more of the participating blogs can be found here and here, and please consider donating to the MA farmer's markets!

I've been saying it all month: I love canning. Today I would like to amend that to, I love canning jam. Canning tomato sauce was kind of horrifying.

Don't get me wrong, I'm pleased with the end result (even if it is a little bland, it still has that super-fresh tomato taste). It's just that the process was so long and involved and just plain messy.

Tomato sauce in a nutshell: on Monday night, after a good 40 minute work out and dinner (leftovers), I started the dishwasher with all the jars, and started chopping tomatoes (with Clint's help). I got everything going, it seemed ok. Then I realized...
1. I didn't have enough big pots to process the filled/sealed jars of tomato sauce (important for avoiding botulism. I don't want botulism).
2. Step #5 didn't say "Bring to a boil,", it said "Bring to a boil. Reduce heat and simmer until volume is reduced by half, stirring to prevent sticking." Um. I started out with about 32 cups of sauce, do you know how long that will take to reduce by half?!?

So I called my mom for advice. We decided to just turn the burner off and put the lid on, and leave the sauce til the next night. It was going to boil a while anyway (2.5hrs, to be exact), so I shouldn't have to worry about anything weird going on in that pot. I also emailed my cousin (former housemate, who has just about every kitchen gadget/implement known to man) to borrow a giant pot.

And Tuesday night, I started phase 2.

All in all, I think tomato sauce took me about 6-7 hours, and ended with kind of a nerve-wracking giant pot of boiling water and sealed glass jars. I was scared. The worst thing that happened in the whole process was that boiling tomato sauced (from the uncovered pot) splattered all over one of the kitchen rugs, but we'd already decided that rug wouldn't last much longer, anyway. But tomato sauce just took forever. So I really don't blame you if you read this post and decide never to make tomato sauce. I will probably do it again, but then, I'm a little crazy and over-ambitious in the kitchen.

Tomato sauce with basil and garlic
(the two-day version)
notes: Do this on a day when you don't have any other plans. Start it early, not at 9pm. Also, this makes a mess. Wear either old clothes, or red clothes, and I really recommend lining the floor around your stove with newspaper- or else plan to throw out the rug you keep in front of your stove after this is over, which is what I did.
Ball has a really helpful canning tutorial here, I referred to it over and over throughout this process.

Ingredients:
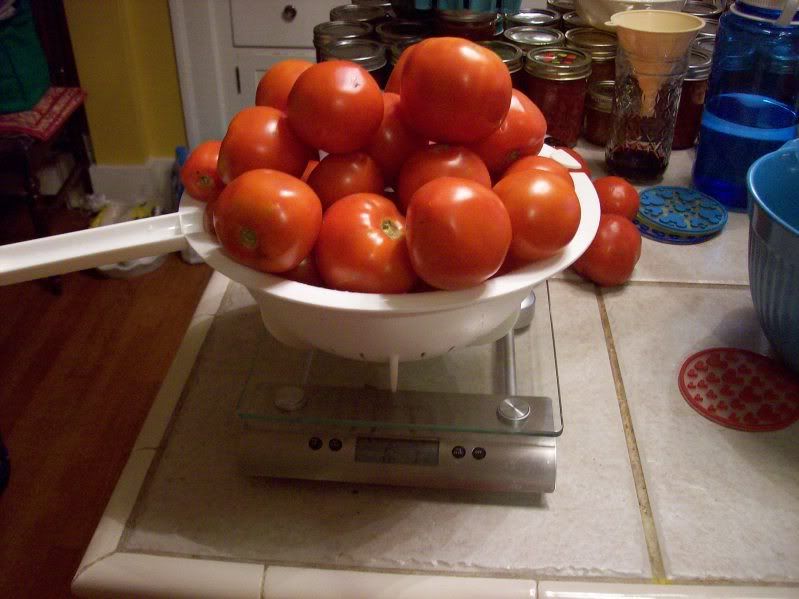
20lbs of local tomatoes (I used 18lbs)
2 medium local onions, chopped
8 cloves of local garlic, minced
1T olive oil
1/4cup local basil, chopped
8-10T bottled lemon juice, 1T per jar
8-10 pint jars

Directions:
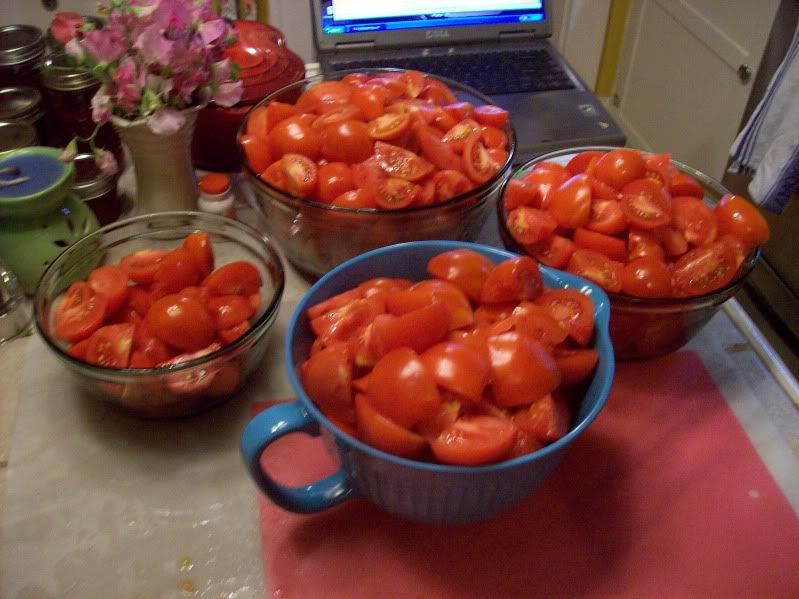
1. wash all the tomatoes, cut the blossom end out, and quarter. Set aside (note: 20lbs of tomatoes need about 4 bowls for setting aside).


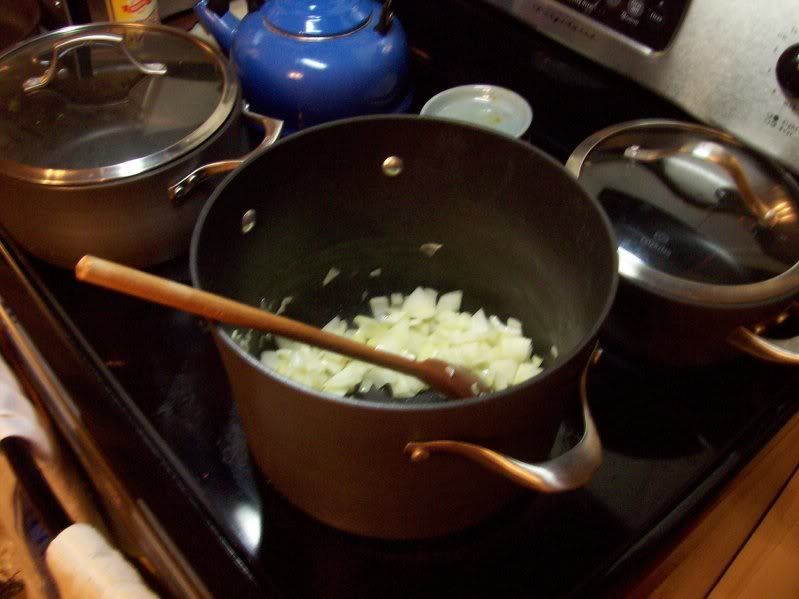
2. In a huge pot, saute the onions and garlic with the olive oil, until the onions are translucent.
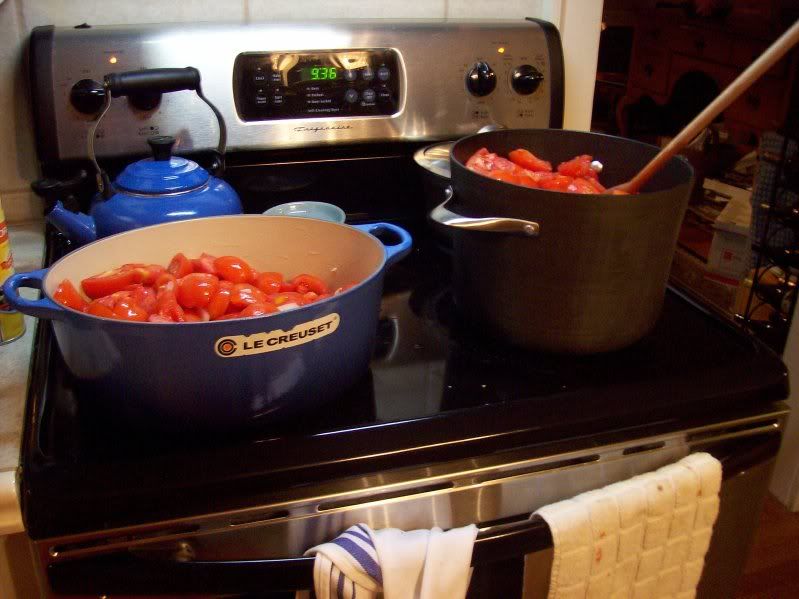
Add the tomatoes, bring to a boil. (When I added the tomatoes, I discovered my giant stock pot was not so giant... I had to split the tomato/onion/garlic mixture into two pots)
Simmer for 20 minutes, stirring occasionally.

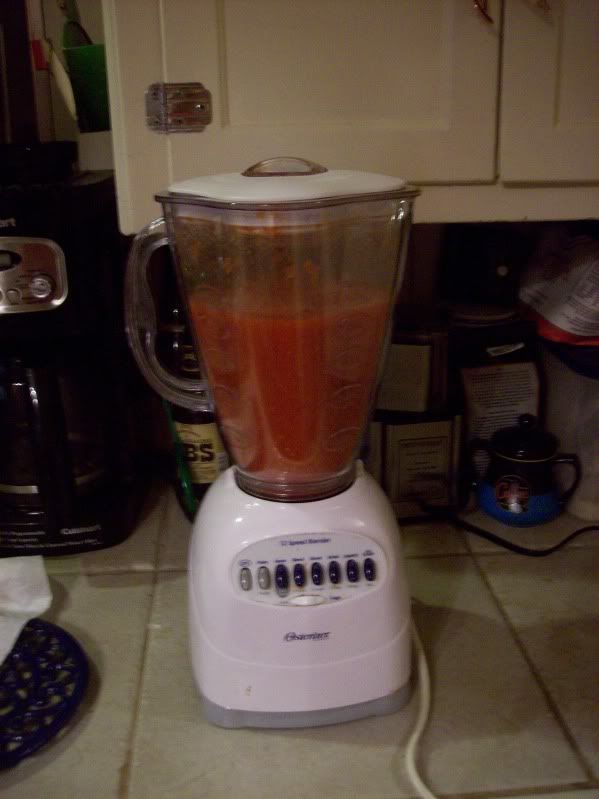
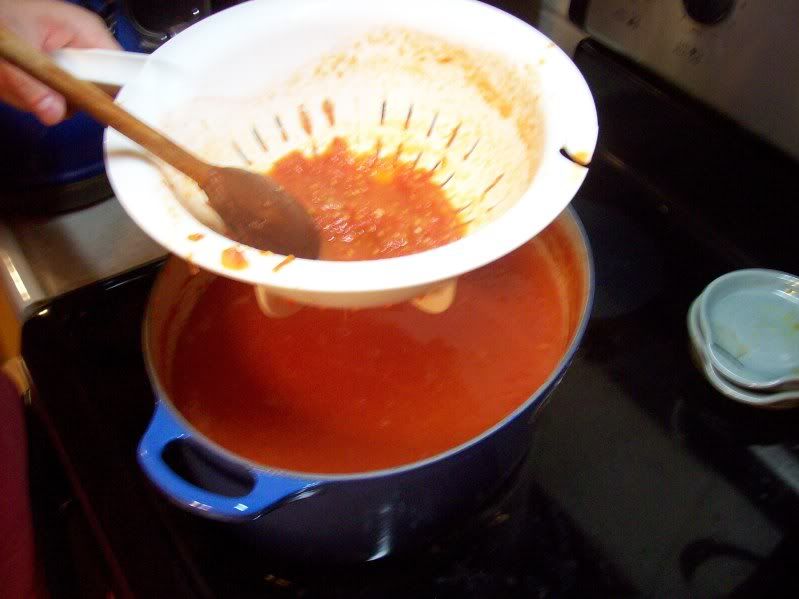
3. After 20 min turn off the burners and let the tomatoes cool a bit, for a few minutes. Puree in batches (7 batches for me) in a blender (or food processor, but I find a blender easier for something so liquidy). Strain to remove skins and seeds (my strainers were either too fine, or way not too fine- I choose the larger one, and ended up with a lot of seeds. Oh well.) Return to your giant pot.

4. here's where I misread: Bring to a boil, and reduce by half. I reduced for 1/2hr the first night, and 2.5-3hrs the second night, although it took a good 30 minutes to start boiling that second night. I still may not have reduced it enough (but come on, it was 11:00, I was sick of the reducing and splattering and fogging up my glasses every time I stirred the pot). So, reduce (over medium-high heat, I did change it a lot if it started boiling a little too vigorously, or wasn't boiling enough) and stir every so often.
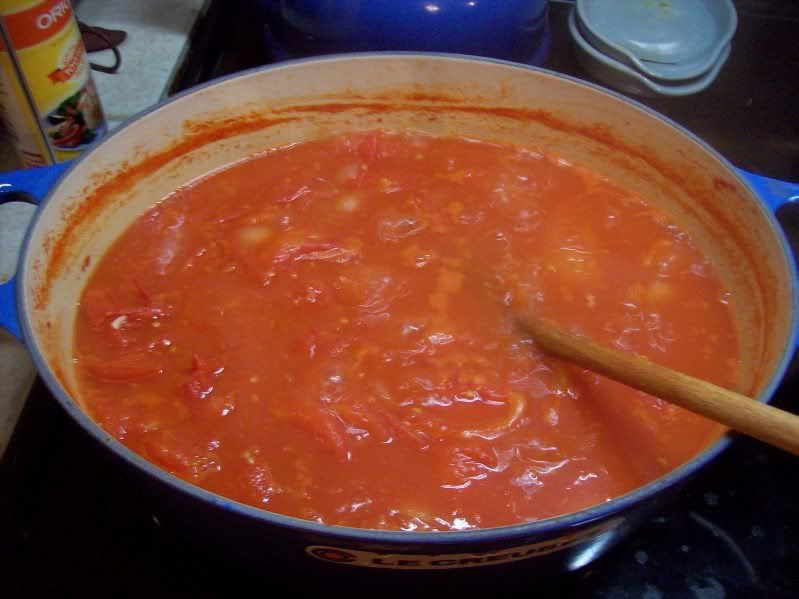
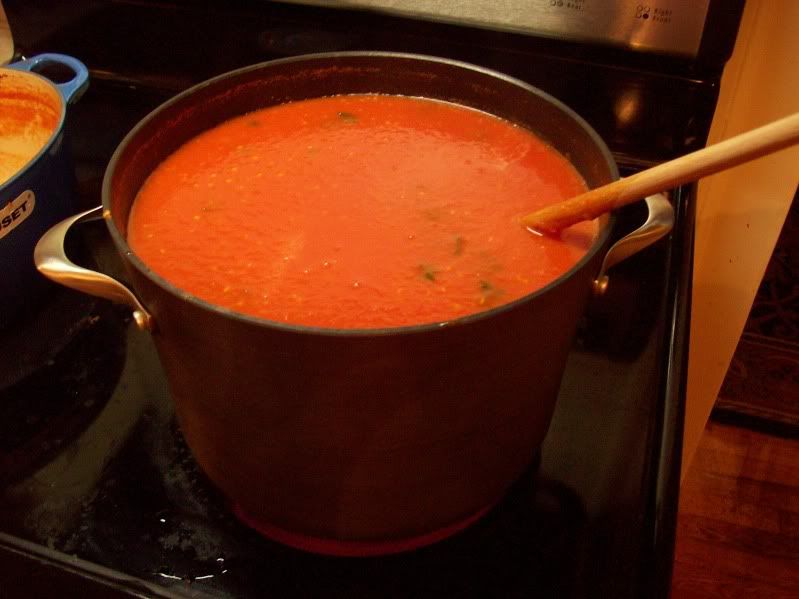
Before reducing:
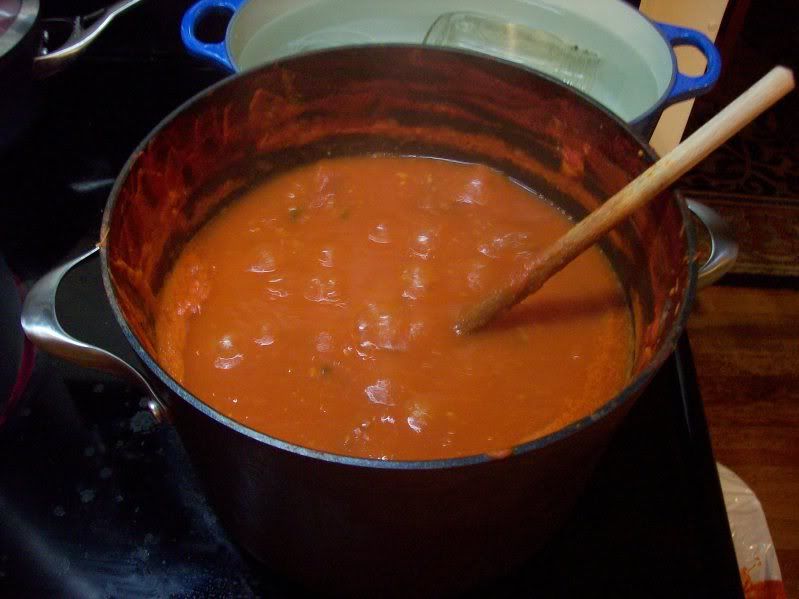
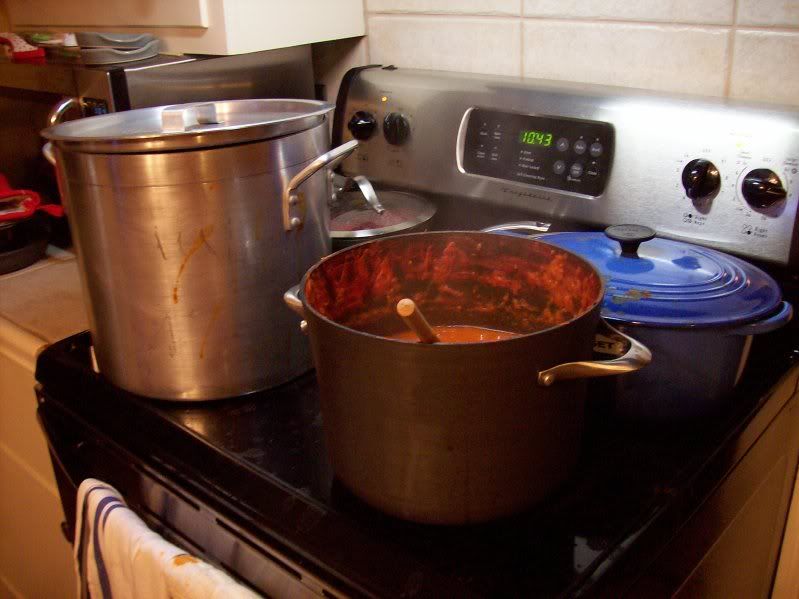
After an hour:At the end of reducing:Also, note my set up: beside the tomato sauce reducing pot, we have a giant pot for the jars, a smaller pot for the extra jars, and in the back corner, the small saucepan with the lids.

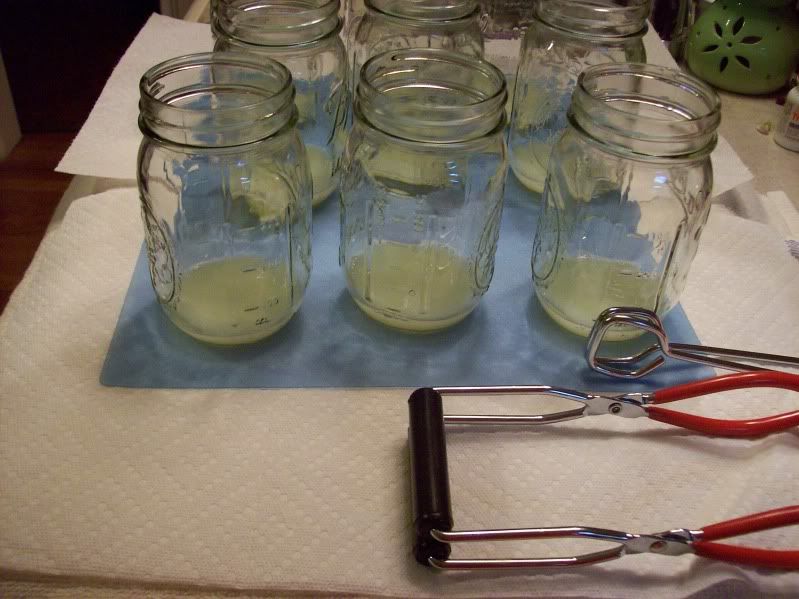
About 60-90 minutes into the reducing by half step, start prepping your jars. They should have already been cleaned (by hand or dishwasher, in hot soapy water). For this you need an enormous pot (I had to borrow one, thank you Rich!).

I don't have a proper canning pot, the kind that has a nice little rack that lifts all your jars out at once. Fortunately, I do have some jar tongs, from this set (the upper right hand tool). This allows you to lift the jar out of boiling water, either straight up, or while it's on its side. It also includes a wide mouth funnel (very useful!), two other sets of tongs (haven't used them much) and the magnet stick for the lids.
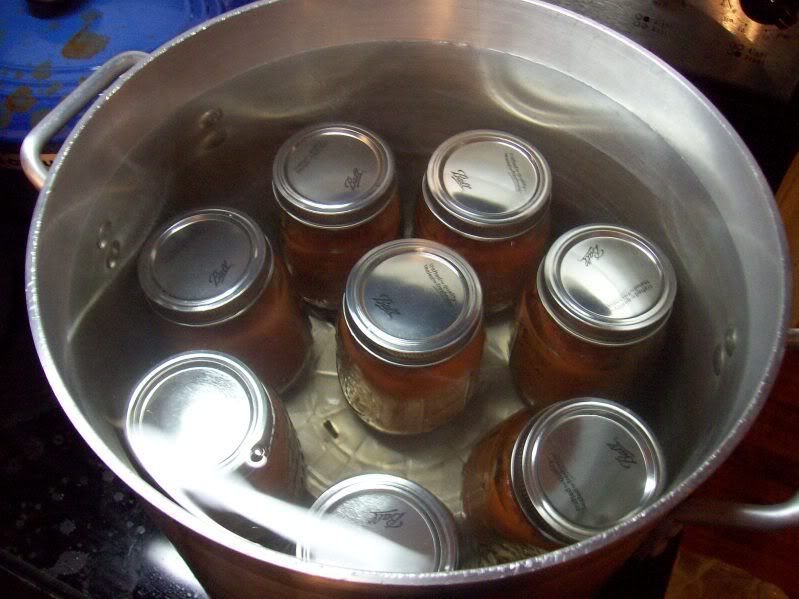
My make-shift canning pot had a perforated tinfoil pie dish, upside down on the bottom (I wasn't sure about placing the jars directly on the bottom, with that hot, hot burner on the other side of the stainless steel pot bottom). I stood all the jars on top of that, filled with enough hot tap water to have a few inches above the jar tops, and turned the burner on. I brought it to a boil, boiled it for a few minutes, then turned the heat to a simmer until I needed the jars. Once I took the jars out, I left the pot as it was, with all the water and the burner still on. I needed it later for processing.

As for the lids: the rings were just washed and set aside, on a clean towel. The lids were placed in a small saucepan and covered with hot water, and simmered on low for about 20 minutes. The lids should not be boiled, because it will damage the gummy part around the edge that's required for a proper seal.

5. Once it's reduced by about half (judging by the sauce being about halfway down the pot from the starting level), do a happy dance, turn off the burner, and commence filling the jars. Start by pouring about 1T lemon juice into each jar, and then pouring in the tomato sauce.

To fill the jars, I lined up all the hot, hot jars on a thick dishtowel on the counter (don't use your pretty new dishtowel, use the old ratty ones) and added the lemon juice. I'd tossed the wide mouth funnel in with the jars while they simmered, and placed that in the first jar. I had a clean bowl (fresh from the dishwasher) with a handle and a pour spout/lip that I dipped into the pot of tomato sauce, and then used to fill each jar, through the funnel. The jars should only be filled to a 1/2 inch below the top, this is necessary for the processing that will come later (I don't know why...). I quickly placed a lid on (using the handy magnet stick in the kit pictured above, so I didn't have to stick my hands in the hot lid-simmering-pot water), and placed the ring on, finger tight. I ended up with 8 full pint jars. However, you should always prepare extra- I prepared 12.

6. The scary part. All the filled and sealed jars now go into the huge pot that the jars were simmered in, standing straight up. This is the processing step. The water must be 1-2 inches above the tops of the jars (since before they were empty jars, I ended up with too much water, just dip a bowl in and take enough water out). Get all the sealed jars in, adjust the water level, put the lid on, and bring to a boil. Boil for 35 minutes, then turn off the burner and let the pot cool. I let it cool for the length of a DVD episode of House (42 min- the one with the mob guy from season 1), and then I took all the jars out with the big jar tongs, and placed them on a thick towel. Don't place them directly on the counter, they need some sort of temperature-absorbing cushion so they don't crack from a temperature difference. Leave them alone for a day (12 hours for me).

7. After 24 hrs, all the lids should be popped down. If any are still up, these haven't sealed properly and should be processed (35 min in boiling water) again (or eaten immediately).

8. Sit down and have a glass of wine- you deserve it after all this work! I don't recommend drinking until after the sauce is done, you need your wits about you for this.


I didn't season this with salt and pepper, because the recipe didn't say to. I don't know if it's better for preserving not to do this, but I plan to season heavily with something when we actually use this sauce. It's good- nice and fresh-tasting, but really boring, despite all that basil. I'd like to make this pizza sauce recipe with my tomato sauce.
Friday, March 5, 2010

Hamantaschen

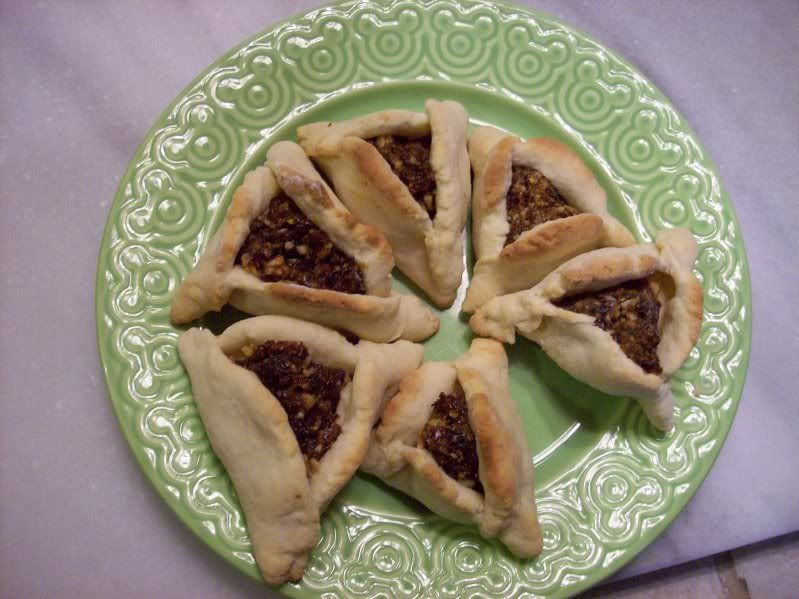
There's a bakery in White River Junction, VT, that say they specialize in bagels (and a good bagel is hard to find in the great white north), but really, their specialty is cookies. They make some of the best hermits I've ever had, and they sell them, so conveniently, at the Norwich farmer's market, every Saturday between May and November. They also sell delicious danishes, pies, mini pies, muffins, and hamantaschen. I never really knew what hamantaschen were, I just knew this bakery sold these great triangular cookie/danish things filled with gobs of pureed prunes.
And then a blog I recently discovered, Honey Never Spoils (who's going through her grandmother's recipe box, such a sweet idea) had a post all about grandmother's hamantaschen, and I learned that hamantaschen are traditionally eaten at Purim. I've always had them whenever the farmer's market is in session, which is definitely not around Purim- the field's still covered in snow right now! But anyway, long story short, I found a recipe for hamantaschen and I made them. And we ate them, and we're happy.

Recipe, taken from Honey Never Spoils, with some minor adaptations.

Dough
Cream together 2 sticks of softened unsalted butter and 6oz (3/4 a package) of cream cheese. Add 1.5cups of sugar, and 4 eggs, 3t vanilla, and 1/2cup of milk. This is a pretty runny batter.

Then slowly add 5 cups of flour (recipe calls for cake, I used all-purpose), 6t baking powder and 1/2t salt. Add an additional cup as needed, so that the dough isn't too sticky to handle.

Then refrigerate the dough- I baked half after 3 hours in the fridge, and the rest the next evening.

Meanwhile, make the filling. I took some liberty with my fillings. The prune is just as the recipe said.

Prune filling:
In a food processor, combine 1.5 cups of walnuts, 18oz prunes and the zest of one orange. Pulse until pureed- this will be sticky.

Apricot filling:
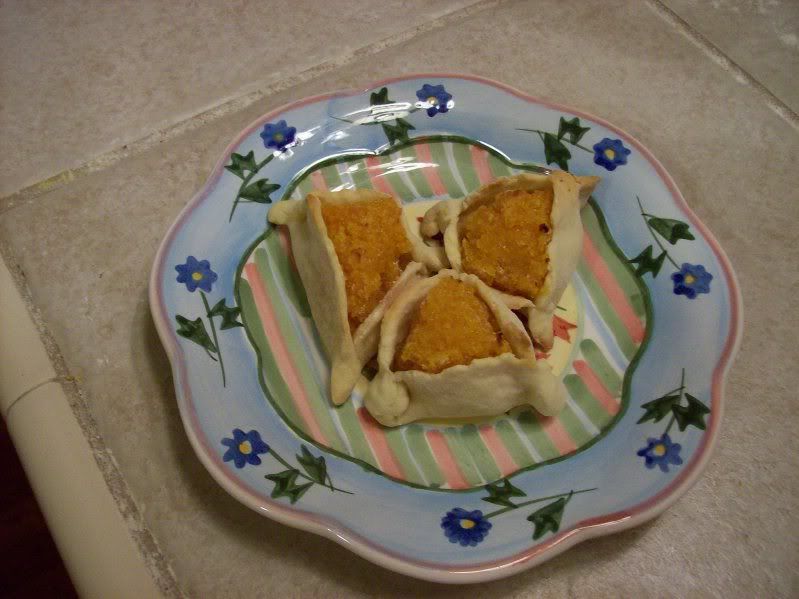
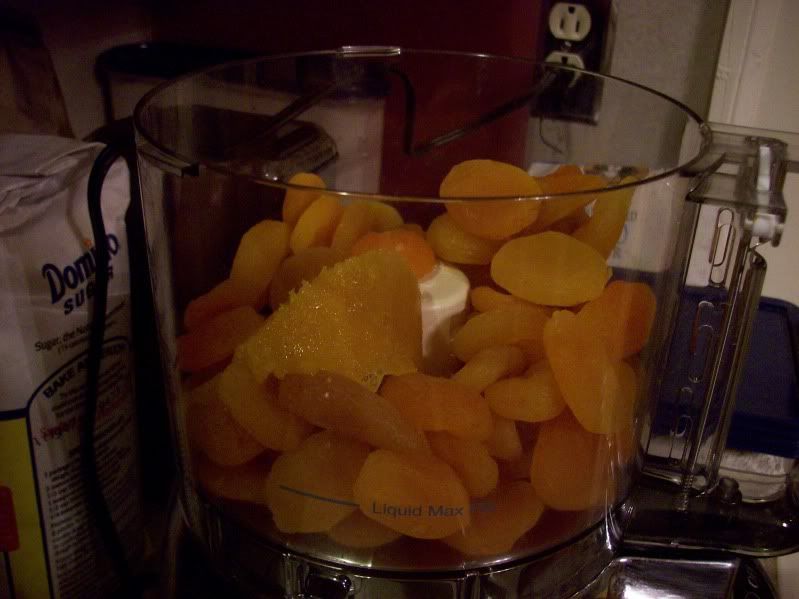
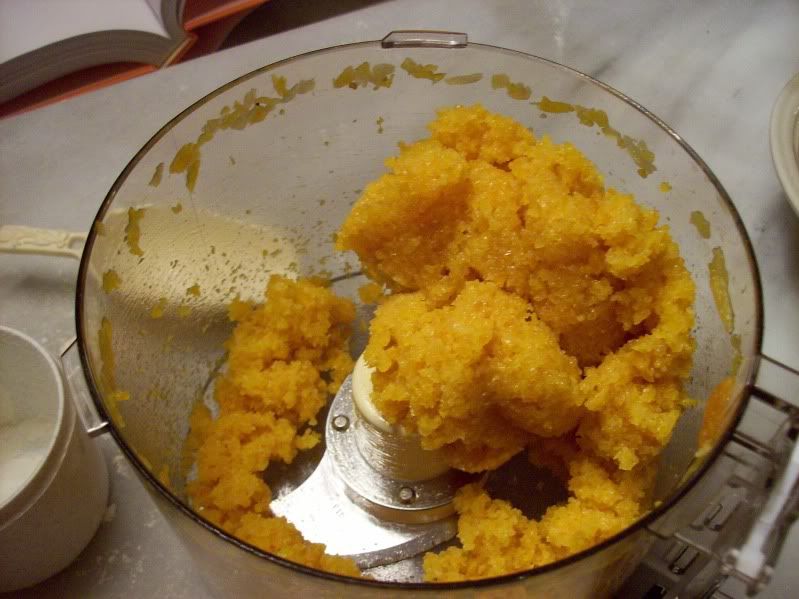
Same process, with 18oz apricots and 3T orange juice concentrate (Sandra Lee's trick, for those that don't always have orange juice on hand)

Cranberry filling:
1.5cups of dried cranberries, 1T orange juice concentrate. These didn't puree as well, the cranberries came out more finely chopped than pureed.

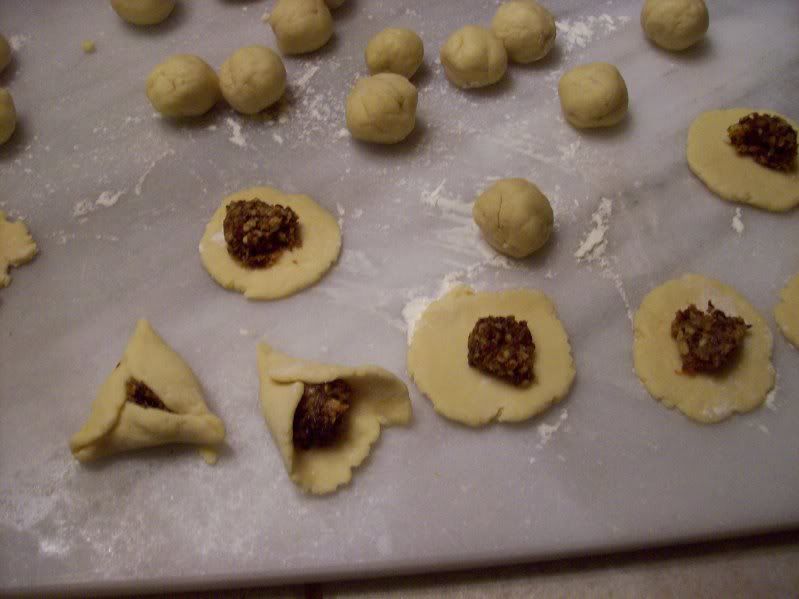
Back to the dough: With your hands, roll out walnut-sized balls of dough. Roll each out with a rolling pin, to make a circle (this is so much easier than rolling out the dough and cutting with a circular cookie cutter!). Fill each dough round with about 1T filling of your choice. Then fold up the sides of the circle to form a triangle. Pinch each of the corners well (I folded over twice) so they don't come open while baking.

Bake the ocokies for about 15 min at 375oF.

I think one reason I really like these is that the dough really has very little sugar in it, compared to other cookies, so most of the sweetness comes from the fruit filling. It's a lot easier to convince yourself you're eating something healthy than with a chocolate chip cookie. ;)

Tuesday, September 30, 2008

Appley goodness!

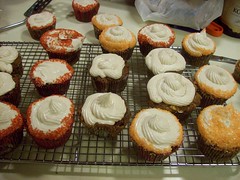
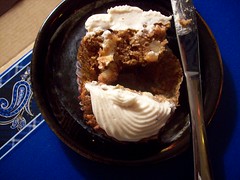
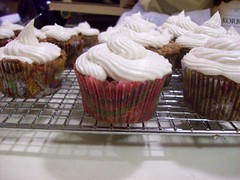
I finally made those apple cupcakes I've been dreaming of! Yesterday was terribly unproductive in terms of thesis, so I decided to do what non-thesis things I would have done on Sunday if Sunday'd been less productive. And voila, cupcakes. These are good.

The recipe: I used apples that were unlabeled (my grocery store loves to get apples from the local orchards, but they never say what they are. I grabbed a bag from the Mac/Cortland table, and maybe they're macs, but I think they taste better- they're juicy, sweet apples, anyway), peeled them with my lovely apple peeler/corer, shredded them with a fun new grater I got at TJ Maxx over the weekend, and basically followed the recipe, no changes.

The batter's delish, it's much richer than I would expect. I didn't shred the apples finely, so there are nice chunks of apple throughout.

I frosted them with some cinnamon cream cheese frosting:
1 stick RT butter
1 8oz package RT cream cheese (I used the neufchatel kind, maybe the frosting's a little softer than if I used full fat, but whatever, it's still good)
some vanilla
a lot of cinnamon- maybe 1T
3-4 cups of confectioner's sugar, until it's stiff enough.

Beat and pipe. Then have a spoonful of frosting, it's quite good with coffee, and it'll kick start your morning. :)


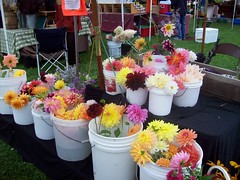
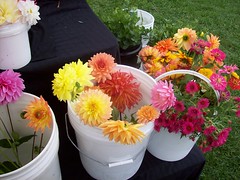
On Saturday we went to the farmer's market, and our friend Emily was there with her dahlia stand.

She has nice flowers.

Tuesday, May 13, 2008

Misc. tasty things

A recipe:
Fennel slaw with pistachio pesto
This caught my eye: I like pesto, I like fennel. I also never really know what to do with fennel. One of my labmates once suggested putting it in stew/soup, but I'm not a stew/soup maker. I've also done prosciutto-wrapped veggies as a simple and quick appetizer, and used fennel as one of the veggies, but it's a bit boring. So when I saw this one on Everyday Italian with Giada DeLaurentiis, I said, ooh.

Make pesto: toast 3/4cup of pistachios, then add them to a food processor with 2cups flat leaf parsley, 1T fresh thyme (I used a 1/2T of provence herb blend I found in my mom's cabinet, that was fine), 3 garlic cloves and blend until finely chopped. Then run the food processor and slowly pour in 3/4cup olive oil, and voila, pesto.

In addition to the herb change, I skipped the olive oil and replaced it with about 1/2cup lemon juice. I don't really like oily foods, so I usually either drastically reduce the amount of oil I add or cut it altogether. I'm also trying to lose weight at the moment (or realistically, cut down on other things so I can enjoy my baking, which is what I'd rather eat than anything fried or potato-y or with oil, anyway). At first, the lemon pesto was quite lemony, but when I coated the chopped fennel (into bite-sized pieces) with it, the mild licorice flavor of the fennel went really nicely with the somewhat overly-citrusy pesto, and was good. Also, the pistachios give it a great flavor, much more interesting (in my opinion) than pine nuts.

I made this recipe for a potluck luncheon. I also made a simple tomato/basil/mozzarella salad. I reduced balsamic with figs (see previous entry), starting with 1 cup of balsamic vinegar, and added that to a bowl containing 5 medium tomatoes cut into wedges, a bunch of chiffonaded basil, and a pound of small mozzarella balls. Mix it all together, and make sure you grab a serving for yourself before it's all gone! You can add olive oil, but again, not my thing. This recipe is completely fat-free if you avoid the mozzarella, and I believe that's not a very high-fat cheese, anyway (as cheeses go).

Non-recipe good food:
Boyfriend and I went to the farmer's market on Saturday. Since we live in a fairly rural area (at least compared to where I lived before), the farmer's market is big, a big deal, and popular. One should really arrive early, although the stand that used to sell out before 11am (except for the plain croissants) now has a bakery here in town, so their stuff lasts a bit longer.

Boyfriend got some elk sausage from an elk ranch relatively nearby. They have quite a variety, and since this was our first farmer's market of the season, he chose our favorite, the celtic stout sausage. It's good. They put Guinness in it, and I'm not sure what else, but slap those babies on the grill and the result is extreme goodness. He also grilled some sweet potato wedges and made a salad, and after my long day in lab (an on a Saturday, so I was a bit bitter), it was heaven.

I'm currently reading The Omnivore's Dilemma, by Michael Pollan. A labmate lent it to me, and praised it. It took me a while (about 6 months) to finally begin it, since I'm not usually a non-fiction kind of reader, but while it's slow going, it's really interesting. Last week I read the section on the pastoral farm, which, in a quick summary, is about how animals that eat grass are healthier and produce better food (meat, eggs, etc- probably milk too, but I don't think that was specifically mentioned) than their corn-fed counterparts. (Incidentally, feeding cows corn is terrible for their health, and the only reason they can survive on it is because they're slaughtered younger than their grass-fed counterparts.) By "better", I mean healthier for us, as well as tasting better- "more chickeny" was a common quote from people interviewed. Anyway, so I'm thinking about fresh eggs- not necessarily eggs from grass-fed chickens (cage-free and grass-fed are not the same thing, and free-range chickens don't always range freely. They're given the choice, but, being creatures of habit, don't always take advantage of the foreign outdoor range offered to them) because this seems to be hard to find, but fresh eggs. So, I found one stand selling eggs from their farm, and I bought them. Added bonus: they were cheaper than at the grocery store. Jumbo eggs were 14cents less, and large eggs were 69 cents less. Eggs are outrageously-priced right now in my area, $3.39 for the jumbos, $3.19 for larges.

So, the eggs. They don't look fresh when you crack them in a pan, the whites are runny, a sign of old eggs. However, they weren't refrigerated (which is fine, they just last longer in the fridge, and once you fridge them, they need to stay fridged), so maybe that affects the whites in ways I'm not familiar with. However, they're quite huge (the farm jumbos make the grocery store jumbos look like mediums) and they do have a richer taste. And, they're cheaper. So that's nice.

This week I have 3-4 hour rehearsals tomorrow on, with a choir concert on Saturday, so I won't be cooking at all after tonight, when I probably won't cook anyway because I'll need to sleep to get myself ready. I will probably make a pina colada smoothie tonight, my favorite post-gym meal/heavy snack, so if that's good, I'll tell about it. I'm planning another farmer's market trip on Saturday, when I have people in town for my concert and no Saturday morning rehearsal, so I'm hoping some veggies might start coming out. I'm not really in tune with vegetable seasons, unfortunately, aside from asparagus and citrus.