Thursday, October 14, 2010

Healthy cookies, the pumpkin edition

Remember the healthy cookies I made a while ago? They were based on the classic Nestle's Tollhouse recipe, but just about everything had a substitution. The only thing I left alone was the baking soda and salt.

I used the well-known applesauce-for-butter substitution, which in my original healthy cookie batch, gave a nice apple flavor... that didn't play well with the chocolate chips (in my mind, everyone else seemed to like them). I loved the raisin and spice version, and I kept thinking that if applesauce subbed for butter like that, what about other fruit purees? The most obvious was pumpkin, but now I'm considering beet puree... it could be good. I definitely plan to try it at some point. Plus, the cookies would be naturally pink, and that's just plain awesome.

Oh, and today's healthy cookie is even healthier- greek yogurt instead of oil.

Pumpkin cookies
an original recipe
1 and 1/3 cup whole wheat flour
1 and 1/3 cup AP flour
1t baking soda
1t salt
1t cinnamon
1t ginger
1/2 t nutmeg
1/4 t cloves

Whisk these together, set aside.

2T ground flax meal
6T warm water

Stir together, set aside.

1/2 cup pumpkin
6T nonfat plain greek yogurt
2T oil
1 cup brown sugar
1/2 cup granulated or turbinado sugar
1t vanilla

Beat that together. Then add the flax meal and water mixture.

Stir in the dry ingredients.

Add:
1 cup raisins
1 cup chopped walnuts

Drop a tablespoon of dough on a parchment-lined cookie sheet. Bake at 375F for 12-15 minutes, bake only until the cookies are just barely browned.

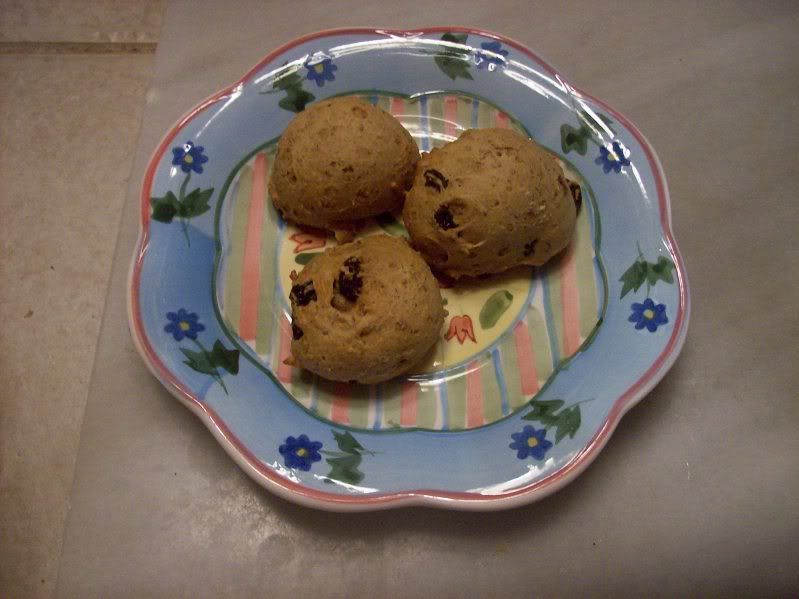
I love that these cookies are like little pillows- these is only because I use a cookie scoop to drop the dough on the cookie sheet and the dough comes out nicely rounded on top. The cookies themselves are very fluffy and light, almost like a little cupcake. I love that they aren't greasy at all, I don't feel the need to wipe my hands after picking one up like I do with standard cookie recipes. However, you can tell they're healthy, they're not a perfect substitute for a higher-fat pumpkin cookie. But when I have an urge for a bite of carb, these are great.

The stats:
per cookie, 68 calories, 1.6g fat, 14.2g carbs, 0.8g fiber, 1.3g protein.

Wednesday, October 13, 2010

Let's bake some pumpkin!

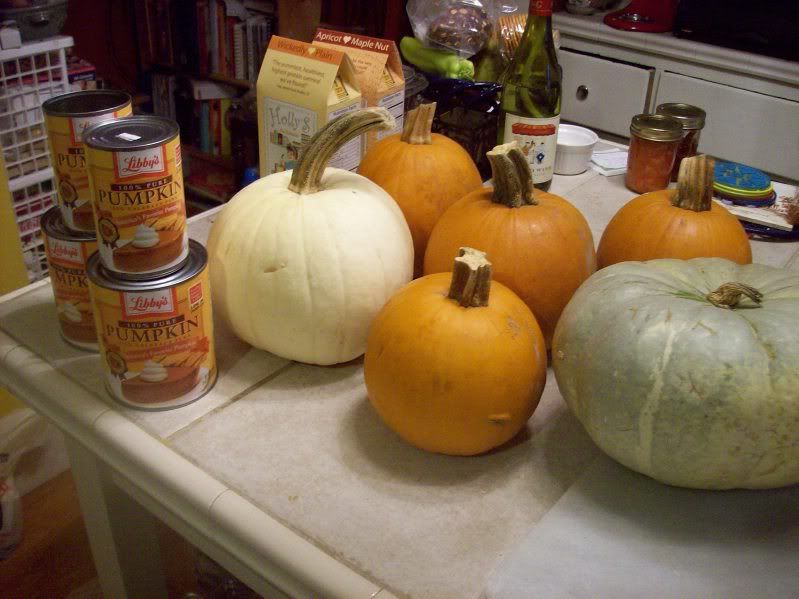
It's fall! The massive quantities of tomatoes I've had all summer are tapering off, but we've started getting all sorts of squash! And last week when I went to the grocery store, I saw one of my favorite sights: lovely, round orange pumpkins lining the front of the store! So I bought some. Then I bought some more, and then... well, they are heavy, you can't buy all these at once. (And I haven't even photographed all our squash yet)

Above are some cans of pumpkin (apparently very precious, we're still in a pumpkin shortage. And because everyone always trades this info, I bought these 4 cans at my regular grocery store, here in central MA, for $2.25 (small cans) and $3.19 (large cans). I got one white pumpkin, which I assume (but don't know definitely) is a cooking pumpkin. 4 sugar, or pie pumpkins, 2-4lbs each. These are much more flavorful than carving pumpkins, which are mostly bred for their size. So, if you carve a pumpkin and feel guilty about not eating it, don't. You wouldn't want to eat it anyway. Finally, I bought a jaradale (I think) pumpkin at Davidian Bros this past weekend, just because it was there, and it looked cool.

To use for cooking, the fresh pumpkins will be quartered, seeded (seeds saved and roasted/toasted) and then the flesh will be roasted, then cooled, pureed and drained. I'll freeze that to use later. The cans will be opened (much easier, and also, cheaper- I've read that from 4 small pie pumpkins (about 8 lbs) you get 2 cups of puree. At my store, 4 pie pumpkins are $7.96, and 1 can of pumpkin is $2.15, for 1.5 cups. But using fresh pumpkin is more fun.)

For my first pumpkin recipe of the season, I opened a can. it was easiest, and I hadn't planned to bake anything, really.

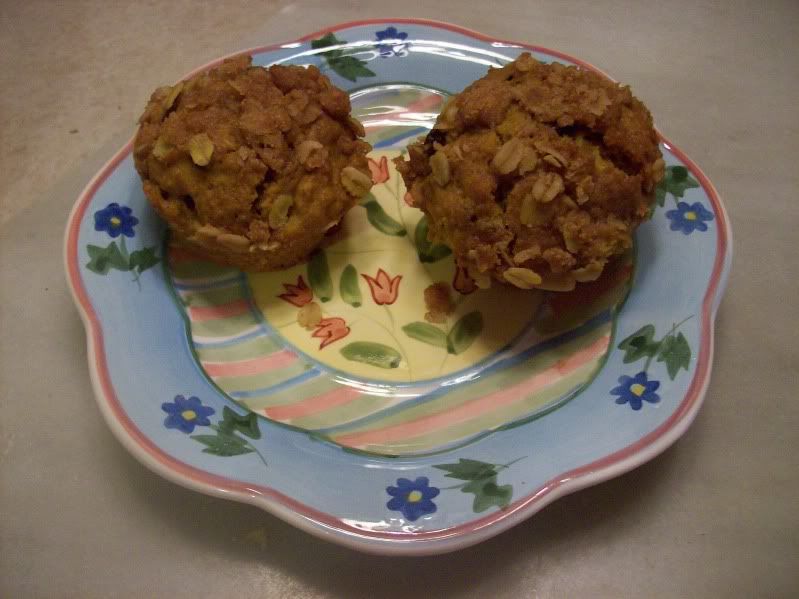
What happened was like when I made that pork posole a few weekends ago: I opened the Sunday paper to the food section, and a recipe caught my eye. This time it was "Fall Harvest Muffins," muffin with pumpkin, apple and all the good spices in pumpkin pie. And a streusel topping.
Fall Harvest Muffins
from the Worcester Telegram and Telegraph, it appears to be an original recipe by Alison Ladman

Ingredients:
for the muffins:
1 cup AP flour
1 cup whole wheat flour
1.5 t baking powder
0.25 t baking soda
0.5 t salt
1 t cinnamon
1 t ginger (I would love to try crystallized ginger in this recipe)
0.5 t allspice
0.5 t cardamom
0.25 t cloves
10T butter (original called for 12 T)
1 cup brown sugar
2 eggs
1 t vanilla
1 cup pumpkin
3/4 cup apples, grated (2 small apples)
1/2 cup chopped, toasted nuts (I used hazelnuts)
1/2 cup dried cranberries (or raisins)

Whisk together the dry ingredients (flours, baking powder/soda, spices, salt).

Beat together butter and sugar. Add eggs, then vanilla and pumpkin. Combine well. Add the dry ingredients, stir til just combined. Add apple, then nuts and cranberries.

Scoop batter into 18 greased (or cupcake wrapper-lined) muffin tins (the original recipe said it made 12 muffins, but their muffins must have been enormous). Top with streusel topping, recipe follows- just spoon a bit of streusel onto each muffin, and press in gently.

Bake at 375F for 20-25 minutes.

Streusel Topping:
2T butter, melted
1/4 cup brown sugar
1/4 cup sugar
1/4 cup flour
1/2 cup oats
1/2 t cinnamon

Whisk dry ingredients together, stir in butter, and press with fingers or a fork until combined. (Note: I used far less streusel topping than this for my 18 muffins)

We found these muffins to be rather delicious. The apple flavor is kind of hidden, but I love the combination of these spices. They do have a lovely pumpkin flavor, perfect for a chilly October morning. The only drawback is that the streusel topping gets soggy after a few days.

Good news: I finally discovered a nutritional info calculator for recipes (yes, I'm pretty oblivious). Per muffin: about 245 calories, 10.2 g fat, 43g carbs, 2.5g fiber, 3.5g protein.

Monday, October 11, 2010

Local Ingredients: from the side of my grandma's house

I love it when I just happen across recipes using random ingredients I already have. Was this recipe designed with the current contents of my fridge in mind?

Of course not, but it's a really convenient coincidence.

My parents came up a couple weeks before I made the recipe below, and they brought me a big grocery bag full of catawba and concord grapes from my grandma's house, which is essentially covered on 1 and a half sides by grape vines. As a child, I have no memories of the grapes, aside from them being there, and the dining room reflecting the exterior wall with a grapevine wallpaper. I don't remember picking or eating them until I was a freshman in college, and picked a mess of grapes that were different than any I'd ever had before- I'm used to the seedless green and red grocery store varieties, which are as unlike grandma's house's grapes as mangoes from apples- they're both tasty, but they're completely different, and one of them has a really tough skin.

In the following recipe, I used catawba grapes. My parents brought be both concords and catawbas, but mostly catawbas, so I ate all the concords. Both these varieties of grapes have seeds: concords have very bitter, hard seeds that I prefer to spit out, but catawbas had 2-4 small seeds that aren't quite as hard, and are mostly tasteless. So essentially, you can happily eat the seeds of the catawba. However, that being said, it is a little annoying to eat a dish with lots of grape seeds, so matter how tasteless they are. And I did not seed the grapes. Why, you ask? Because I couldn't figure out how, without ruining the perfectly round grape. So, if you have any pointers, I'd love to hear them.


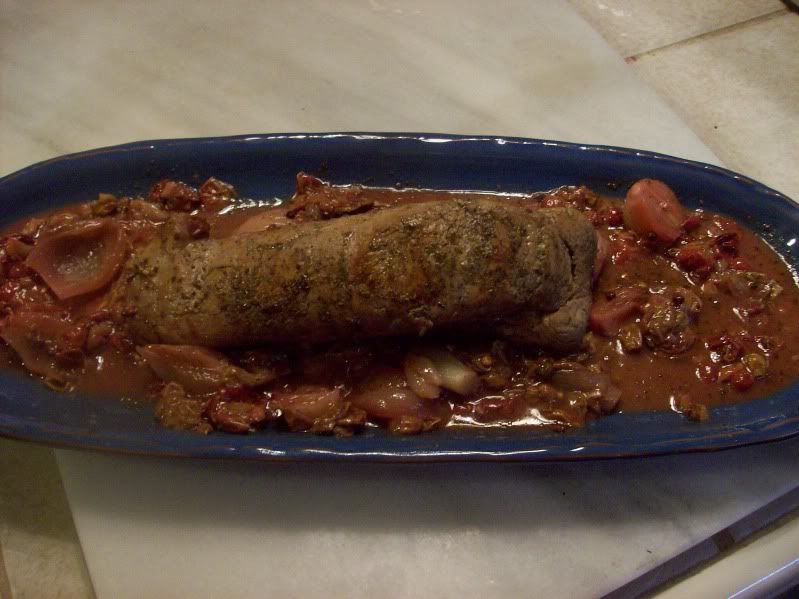
Pork Tenderloin with Roasted Grapes and Shallots
from Blue Kitchen

4 shallots, peeled cut in half
olive oil
salt and pepper, to taste
1-1.5 lb pork tenderloin
1T dried sage
3 cloves garlic, minced
1/2 cup chicken broth
2-1/2 cups grapes

Preheat oven to 375F. Place shallots in a small baking dish, drizzle with a little olive oil, and bake for 15 minutes. (This is all you need the oven for, the rest of the meal is cooked on the stove top.)

Rub the pork with olive oil and salt and pepper. Wash and destem the grapes, and toss with a little olive oil.

In a large skillet/pan (I used my LC braiser) over medium-high heat, heat 1T olive oil. Add the pork, and brown on all sides, about 2min per side. Remove the pork and set on a plate.

Add the garlic and sage to pan, cook for a minute while stirring. Add the chicken broth and remove from heat. Place the pork back in the pan, carefully arrange the shallots around the pork (after being roasted, they may want to fall apart) and add the grapes around the pork. Cover and cook over medium-high for 10 minutes, then uncover and cook 10-15 minutes more, until pork reaches 155F at the thickest part. (During the uncovered cooking time, I poked around a bit with a wooden spoon, so make sure things weren't sticking to the bottom of the pan.)

Remove pork from pan, and let rest 5-10 minutes. Cut and serve with shallots, grapes, and liquid from the pan.


We all found this dish to be delicious. It's like savory grapes, with pork, and we love pork with fruit flavors. I actually served this when a friend came over for dinner, and he's an easy-going guy and too polite to ever say anything, but I was a little embarrassed about underestimating the crunch of the grape seeds. Oops! Then, to make matters worse, I served the pork along withthe following sauteed spinach recipe, which I reduced by 1/3.... except for the salt, which was the full amount. It was very salty spinach!

Ina's Garlic Sauteed Spinach
from the Food Network

(for the full recipe)
1.5 lbs fresh spinach
2T olive oil
2T minced garlic (6 cloves)
2t kosher salt
3/4t black pepper

optional: 1T butter, lemon juice

Rinse the spinach, and half-heartedly dry (as in, a little water on the leaves is ok).

Heat the olive oil in a very large pot, add the garlic and saute for 1 minute. Add the spinach, salt and pepper, toss around and cover the pot, and cook for 3 minutes. Uncover the pot, cook for another minute, until the spinach is wilted, and place in a serving bowl. Optional: top with butter and lemon.

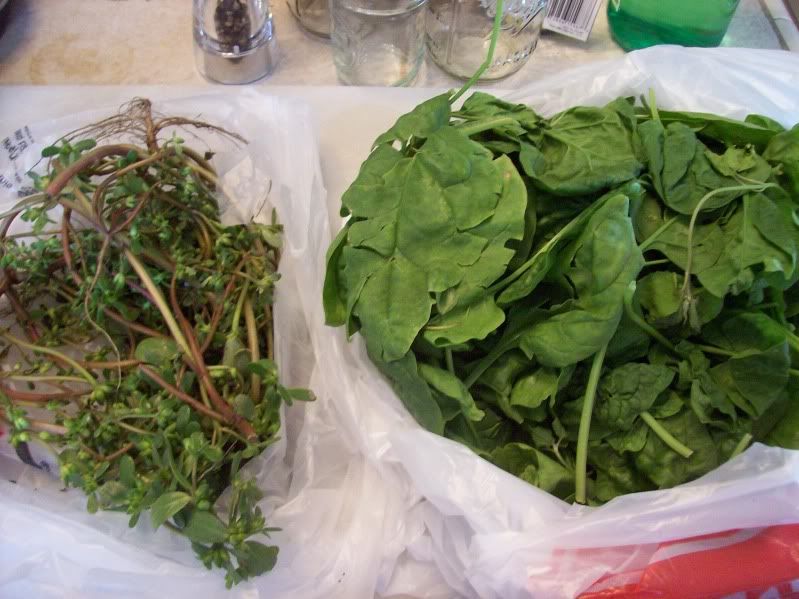
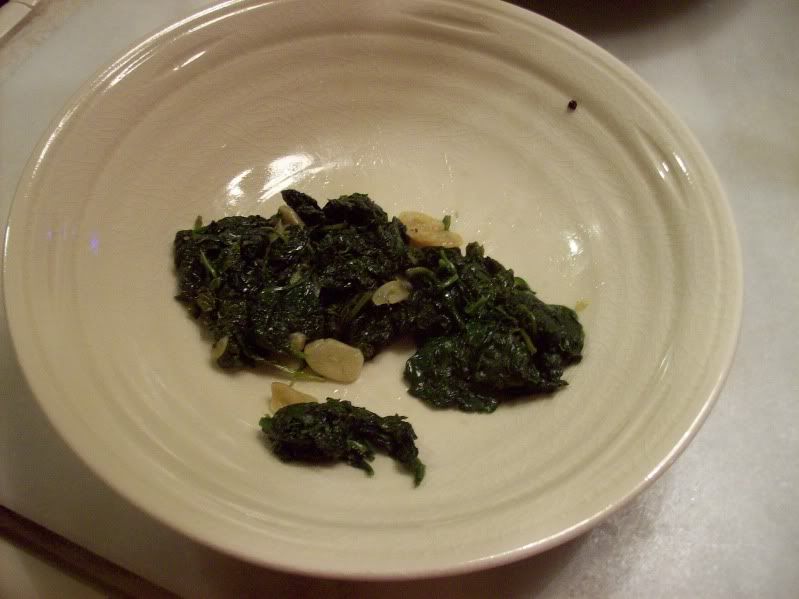
Have you ever wondered how much spinach cooks down? theoretically I know, but I'm still always surprised.
Before:


After:
Crazy, huh?

Saturday, October 9, 2010

CSA #17

Time really flies! This is the 4th-to-last share from our CSA. :( We didn't act quickly enough to get into the fall CSA, so we're nearing the end of automatic veggies! Fortunately, we passed by a really nice farm stand in Northboro, Davidian Bros Farm, that had pretty much every type of veggie we'd want, great quality, and many grown by their farm. They're at the end of the road Tougas Farms is on, so we stopped by there after apple picking on Sunday- the last day of Tougas' apples! sad.

Anyway, the CSA. I think this was the last week of tomatoes, since we only got 2- I was very sad, we've had such a bounty this summer, between the CSA's excellent tomatoes, a cousin's garden's surplus, and the millions of pounds my mom gave me, from Hurricane Flats in South Royalton, VT, and Blossoming Acres, in Southwick, MA.
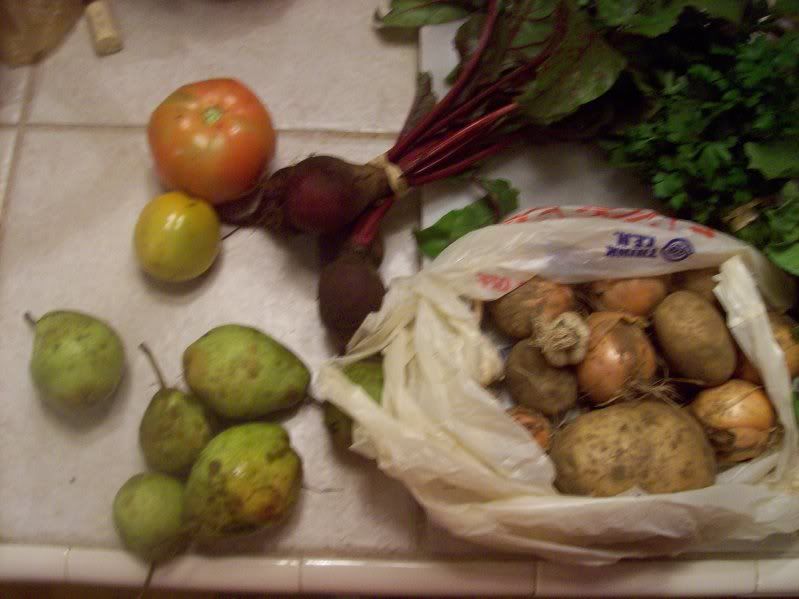
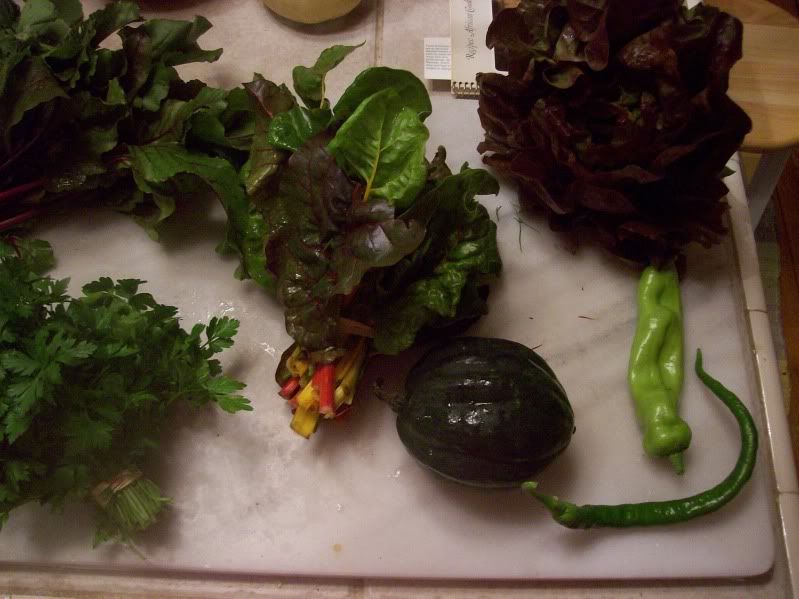
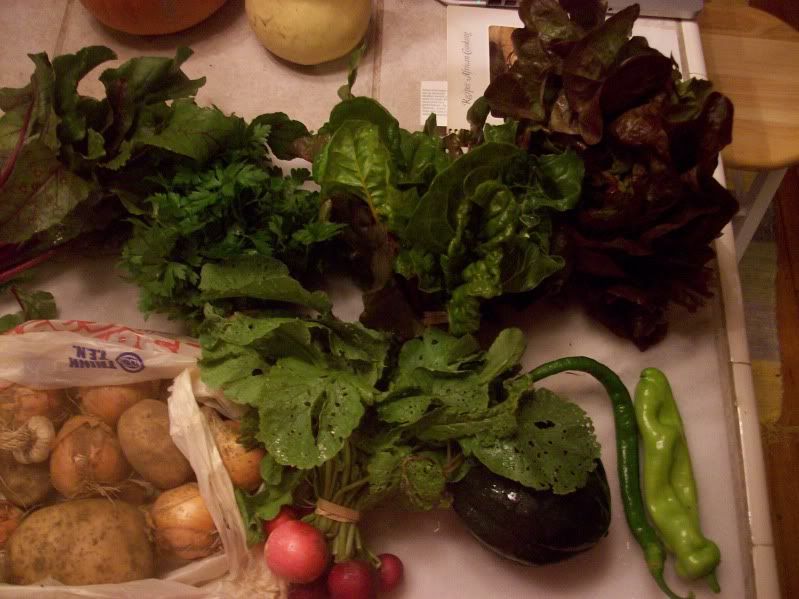
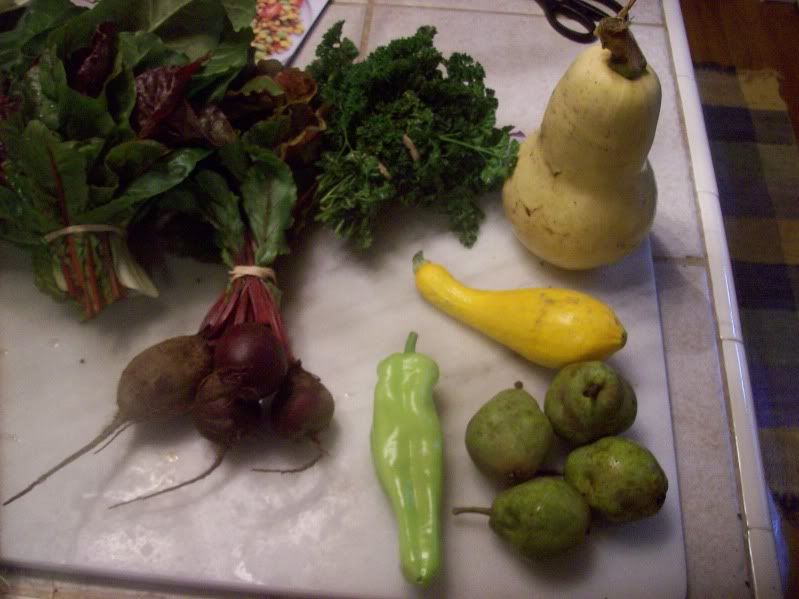
2 tomatoes, 6 pears, a bag of potatoes, onions and garlic, beets,
flat parsley, chard, lettuce, a bell-like pepper, a hot pepper, an acorn squash.
and a bunch of radishes.

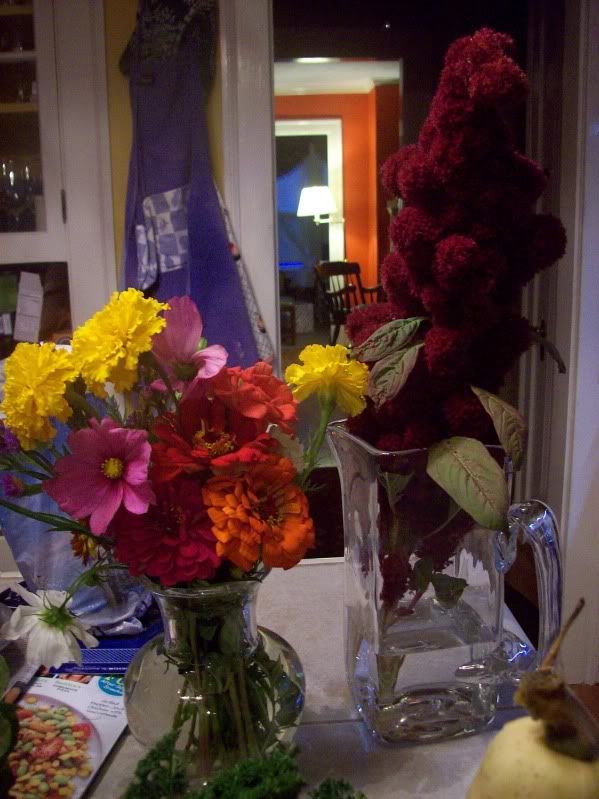
I forgot to photograph the flowers, but it was a mix of zinnias, cosmos, marigolds, and one of the puffy pointy purple things.

I used the tomatoes in a tomato salad, the onions in the halibut I mentioned earlier, I cooked and froze the chard and beet greens, and I tossed the radish greens in some rice. The lettuce has been for salad, and the peppers are still waiting...

Wednesday, October 6, 2010

CSA #16

I'm so behind! I haven't even cooked much with our CSA goodies, we're getting into hardier veggies like winter squash and more onions and potatoes, and many of the other things have just gone straight into the freezer.
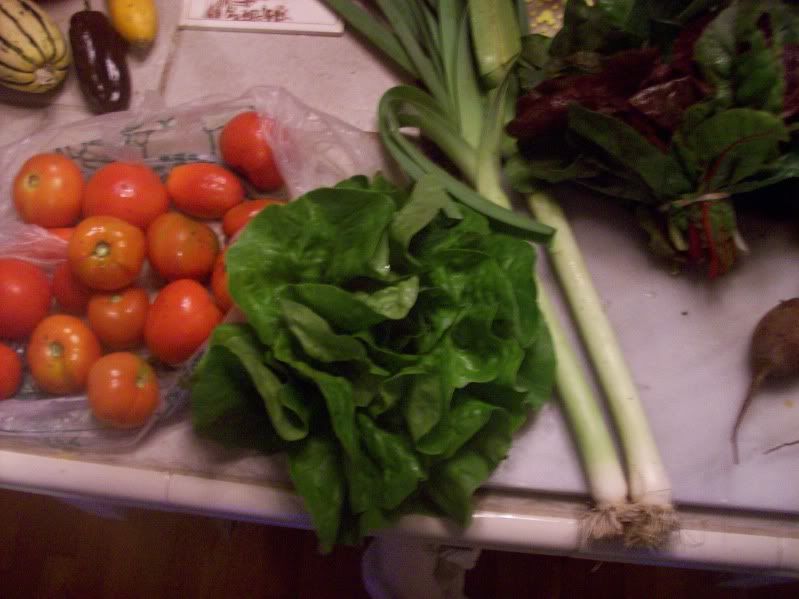
Swiss chard (washed, roughly chopped, boiled for 5 min and frozen), beets (greens frozen, prepared like the chard), a butternut squash (currently part of our dining table centerpiece), 1 summer squash (grouped with leftover squashes from the previous 2 weeks: chopped and frozen), 4 pears (will tell you about that later), 1 bell-like pepper (in the fridge).

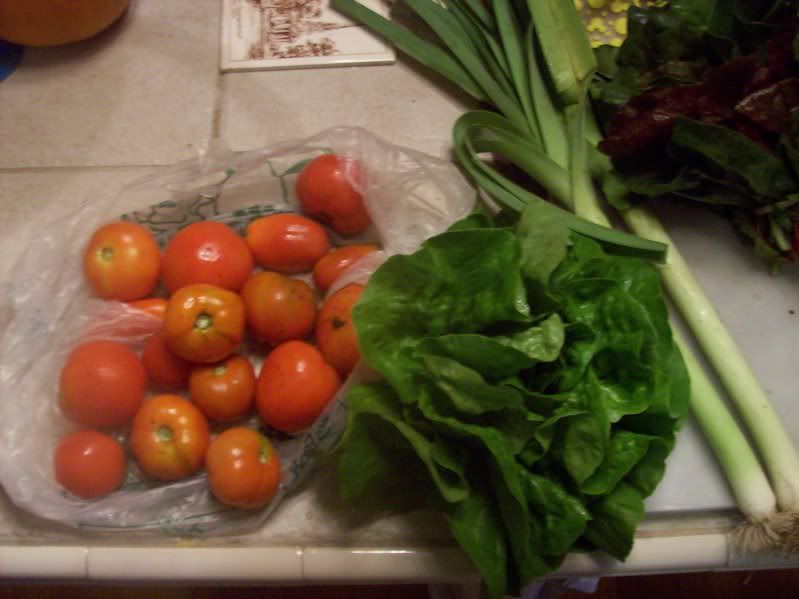
4lbs of tomatoes (blanched to remove skins and frozen), lettuce (salad), 2 leeks (one used in this halibut curry that I probably won't blog about- I overcooked the fish terribly, but the sauce was good. I used 1 leek and 2 small onions instead of the onions and scallions).
And flowers!

Sunday, October 3, 2010

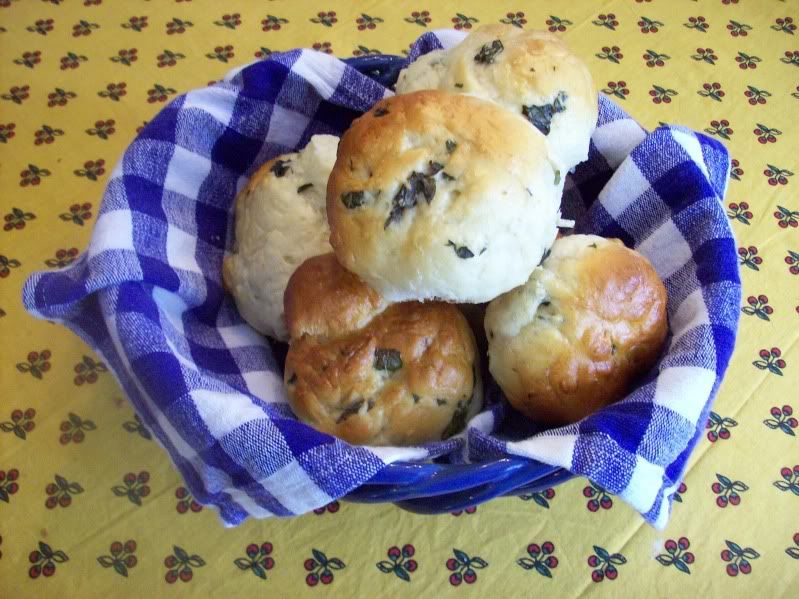
Vanishing Sally Lunn Buns!

Oh look, more basil! I feel like it's basil week over in wamozart12's kitchen.

I have to say, these buns were ridiculously good. Like, wow. I saw them on tastespotting a while ago, and realized they came from a blog I actually read regularly (who got it from another blog I read regularly, who got it from Williams Sonoma's recipe collection, which I love and use often). Anyway, I saw them and I laughed at the comment that Sally Lunn buns are southern challah, but after I made them... they're right. They are southern challah.

Probably the real reason I made them is because I was going to Disney World the following weekend, and the first full day we'd be there, we were planning to have tea at the Grand Floridian Garden View Lounge, something we do each and every year. They serve Sally Lunn Buns. The only other place I know of that serves SLBs is Gadsby's Tavern in Alexandria, VA, a restaurant we always go to the first night of our stay in Washington, DC in July (this year, since Clint and I went alone and stayed in the city instead of in Alexandria, I had to miss out on this tradition :( ). But woohoo, SLBs without having to travel far? Sounds good!

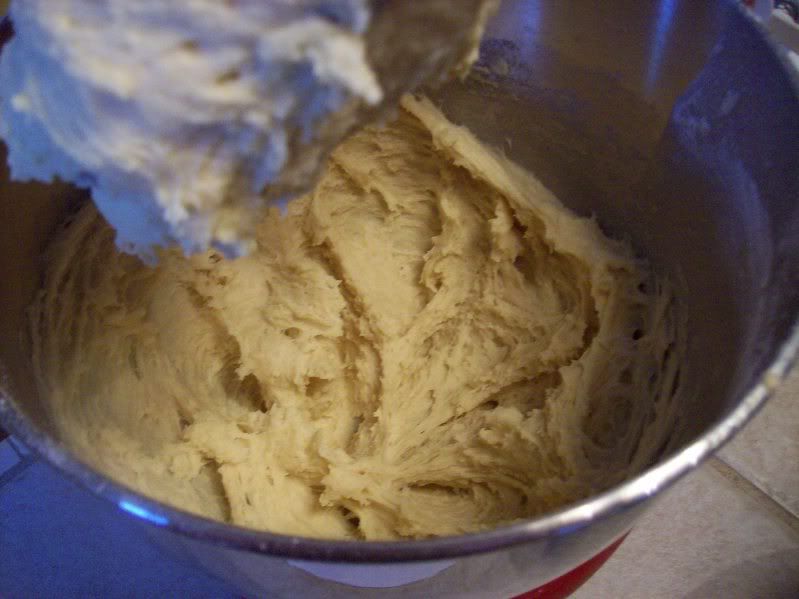
This was an interesting bread, very unlike other breads I've made. I was a little concerned I'd screwed up. However, because they turned out close to perfect, I think I did everything correctly. The issue that worried me was: this is super duper sticky dough. Like, you have no hope of kneading it. It's like cookie dough. Fortunately, you're not supposed to knead it. And when you go to bake it, you scoop out the dough instead of cutting it into rolls. Iiinteresting.

Herbed Sally Lunn Buns
from Annie's Eats, also seen on Pink Parsley, originally from Williams Sonoma
4 eggs
2 t salt
2 scant T active dry yeast
1/3 cup sugar
1 cup warm milk
1/2 cup unsalted butter (1 stick), melted
4 cups bread flour
½ cup chopped fresh herbs (basil for me, but I think thyme, rosemary, sage, dill, etc would be delicious)

In a small bowl, combine the yeast, milk and about half the sugar (I measured out the sugar in 1 1/3 cup measuring cup, dumped a little into the yeast, and set the half-full cup aside til I needed the rest). Set it aside for a few minutes to wake up (while you get the other ingredients out).
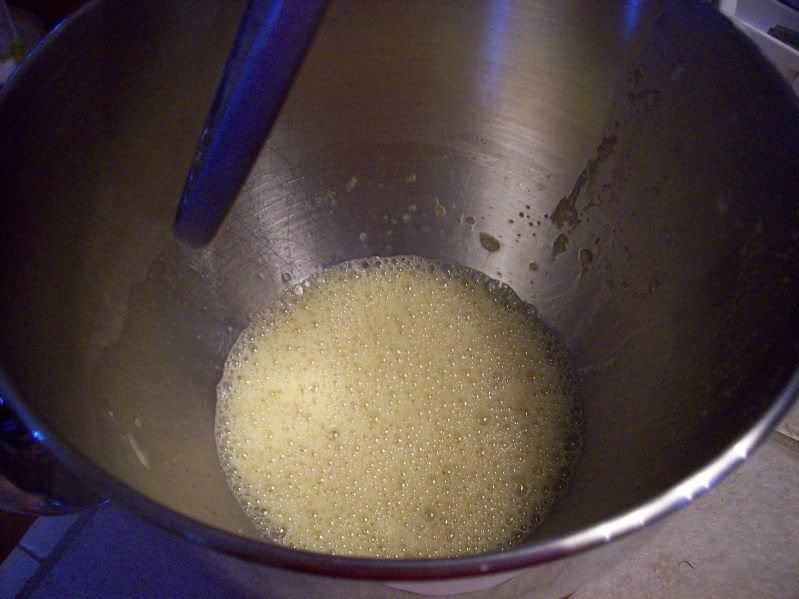
Meanwhile, beat the eggs and salt in the bowl of your mixer for about 5 minutes, til they're fluffy. Beat in the melted butter and add the yeast mixture and the rest of the sugar.

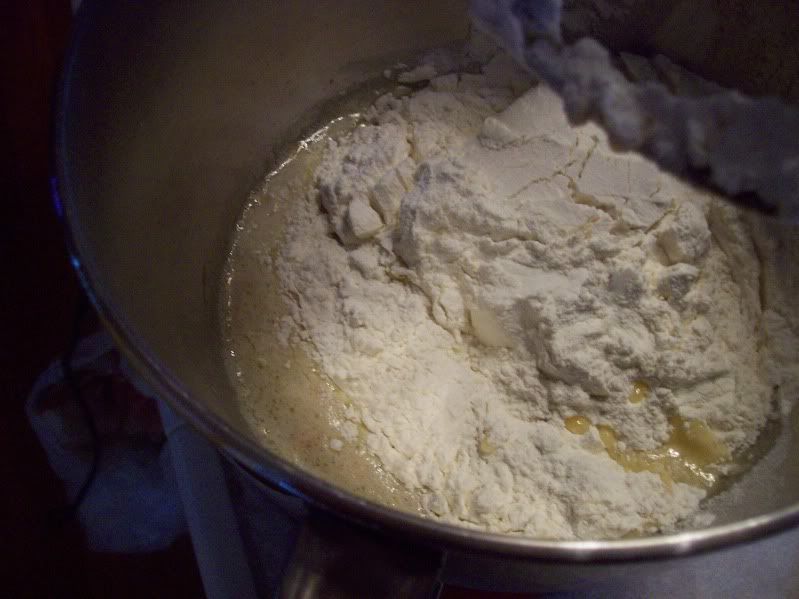
Add the flour (I added it all at once). Mix to combine- I used the paddle attachment for this.

Once everything's combined,
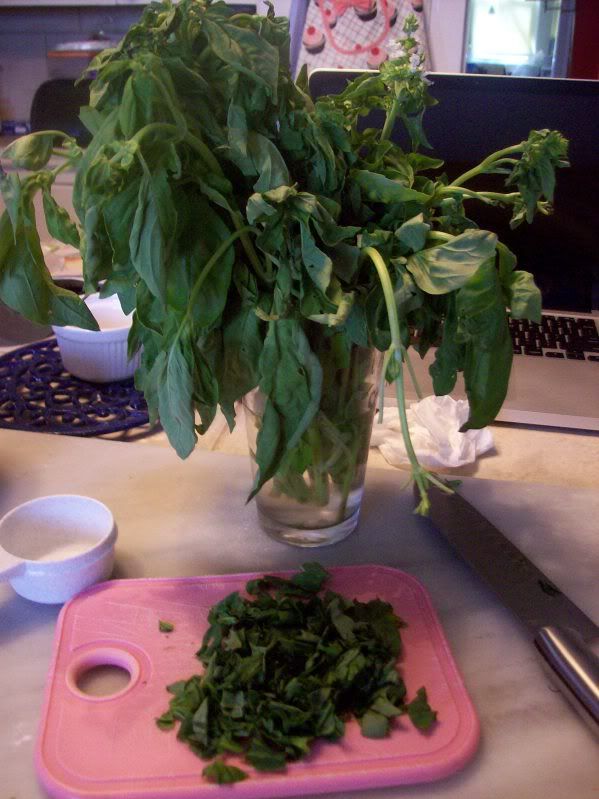
add in the chopped herbs. Here were my chopped herbs:
I also had a few sprigs (or whatever unit it is) of chives from my garden.

Once everything's mixed together fairly well, cover the bowl loosely with plastic wrap and let rise for about 2-3 hours.

Then, grease 24-30 muffin cups (depending on how big you want these- I did 18, and the rolls were bigger than my fist, which I thought was too big.). Scoop out dough (with an ice cream scoop was easiest for me, a regular serving spoon would also work) and fill the muffin cups. Poke a bit as needed to smooth out the dough balls. Cover loosely with plastic wrap again and let rise for about 45-60 min.

Make an egg wash (1 egg (or egg white or yolk if you have an extra on hand) beaten with 1T milk) and brush over the tops of the rolls. For a pretty presentation, press an herb leaf onto each roll (I skipped this). Bake in a preheated 350F oven for 25-30 minutes.

Serve warm with herb butter (recipe below). Store extras in tupperware or a ziploc bag, but they'll taste stale after a few days- they're still good, just not as good.


Basil butter
inspired by various recipes from google searches

1 stick unsalted butter, softened
2 cloves garlic, minced
2T finely chopped/minced herbs (I used basil)
1t salt (or more or less to taste, I like my spreading butter salty)

Combine all together, beat thoroughly. Serve with herb SLBs or however you like your butter. Store in tupperware in the fridge.

Friday, October 1, 2010

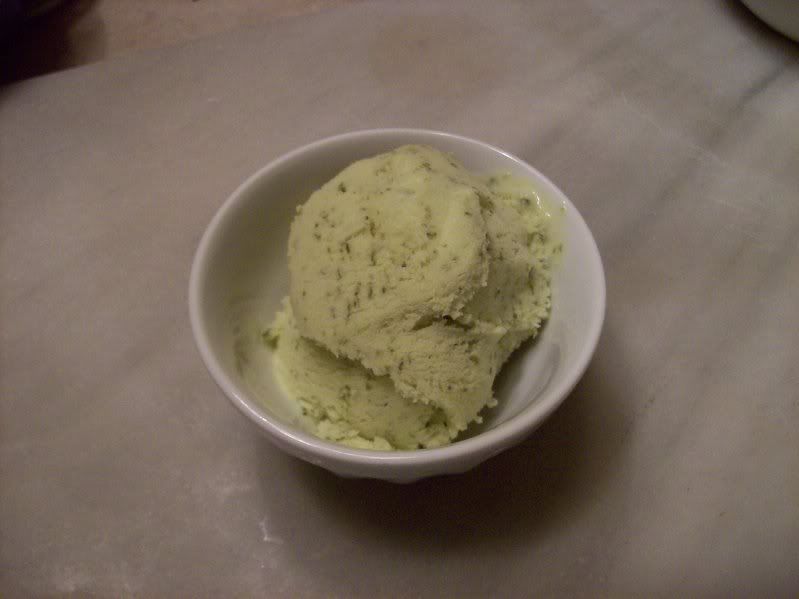
Basil Ice Cream

Hey everybody, look! It's another use for basil!

I know, basil ice cream probably seems a bit odd, but it's actually really good (far better than the strawberry balsamic ice cream I made a few years ago- strawberry balsamic sorbet, yes, mixing balsamic and dairy, no.) As you can probably guess, I made this because I had more basil than I knew what to do with.

This ice cream had a nice vanilla taste but with the bite of basil. The basil wasn't overpowering, and it actually complements the sweet really nicely- maybe that's why basil and heirloom tomatoes are such a perfect combination?

Basil Ice Cream
from The City Sisters
4 cups 2% milk (original recipe called for whole)
6 T fresh basil, roughly chopped
1 cup sugar
pinch salt
8 egg yolks
1 cup light cream (the original recipe called for heavy, and I actually intended to use my favorite ff1/2&1/2, but I grabbed the wrong carton. I actually had no idea I had light cream)

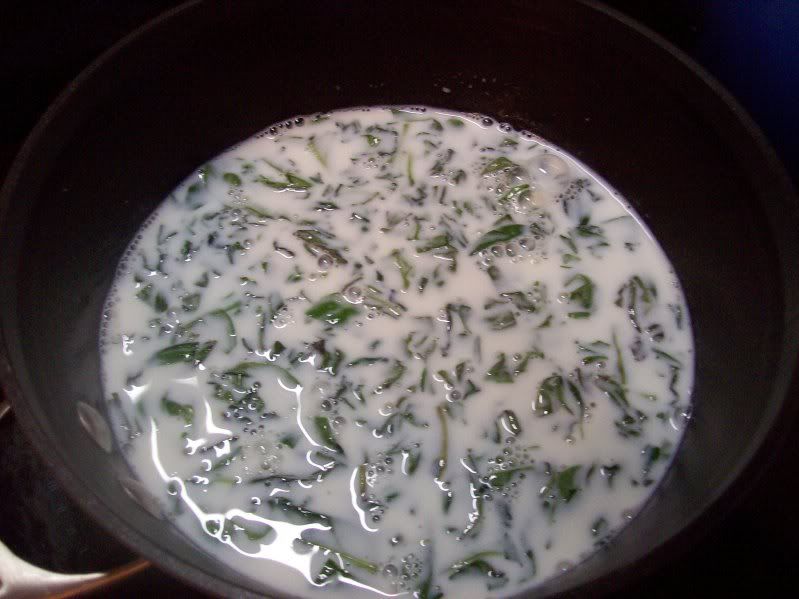
In a medium saucepan, combine the milk, basil, half the sugar and salt. Stir to dissolve the sugar and bring to a boil over medium heat. Remove from heat (once it's started to boil) and let steep for 30-60 minutes. Then transfer to a blender and puree.

Meanwhile, combine the remaining 1/2cup of sugar with egg yolks in a bowl and whisk vigorously for a few minutes, until the mixture is a light yellow. Combine the egg and basil/milk mixture together, whisk to fully combine, and put back in the saucepan, over low heat. Stir often with a wooden spoon, and heat until the mixture coats the back of the spoon and reaches 175F (or you can go with either of those indicators). Don't let it boil! Also, watch that it doesn't get too hot and the eggs scramble.

Transfer the custard to a bowl and chill (either in an ice bath for a little while, or for a few hours in the fridge).

Once it's cool, strain through a mesh sieve (which... I didn't. I forgot) and stir in the cream. Transfer to an ice cream maker and make ice cream!

I think I need to make basil sorbet next time, and use it as a palate cleanser course during a fancy dinner party. I think the dairy would cancel all palate-cleansing properties of the herb, and could be like an early dessert course.