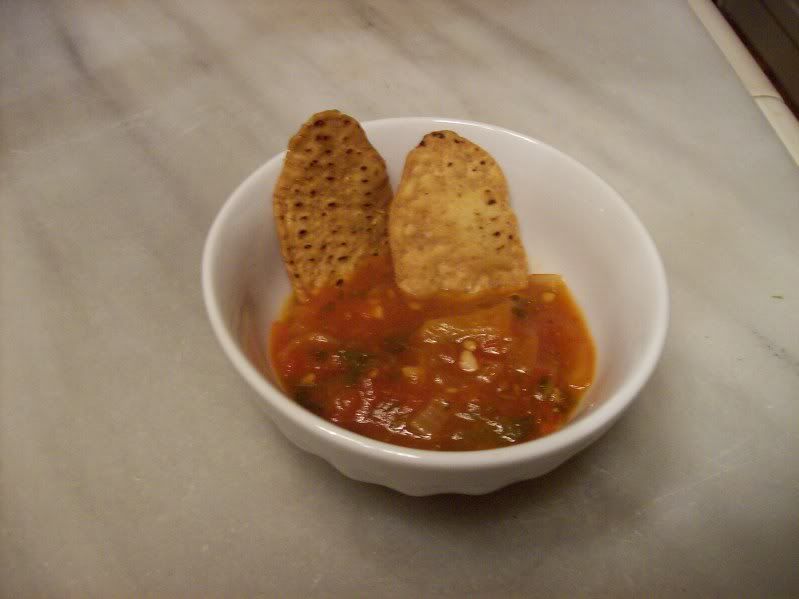
Tuesday, September 21, 2010

CSA #14

Week 14 was kind of a big week, CSA-wise.

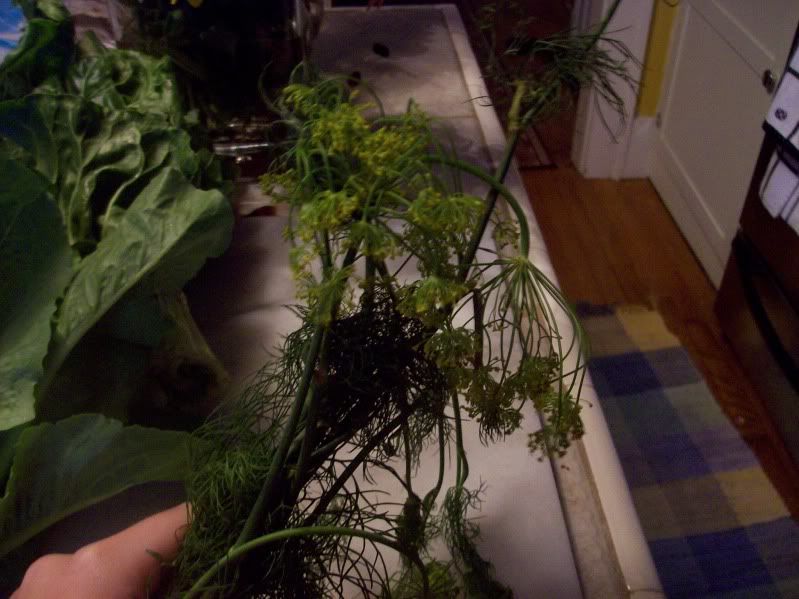
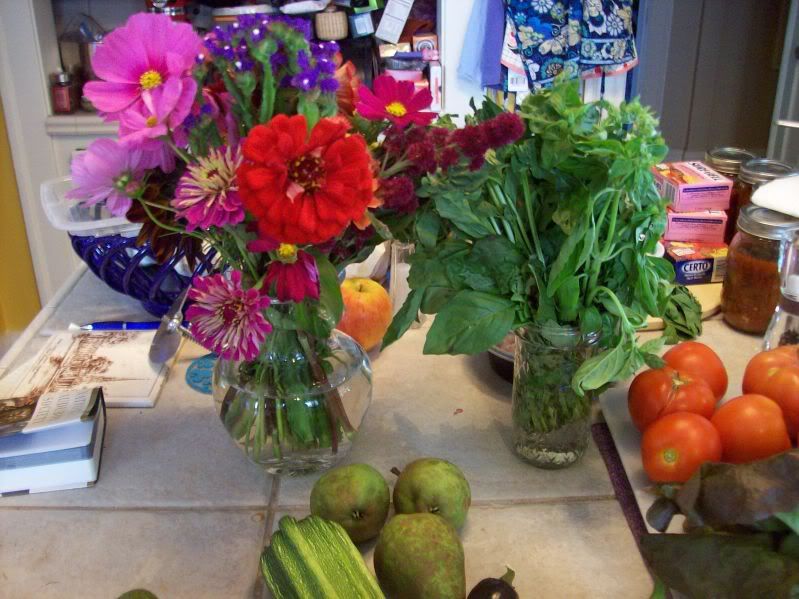
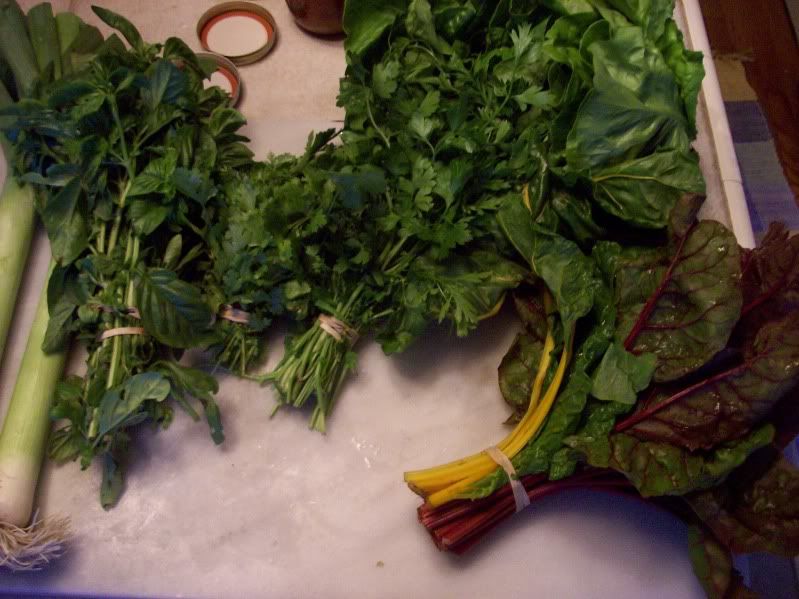
We got a big bunch of basil, and some curly parsley.We got this, which made me say, "why did we get Queen Anne's Lace?" Ha, no, it's dill.
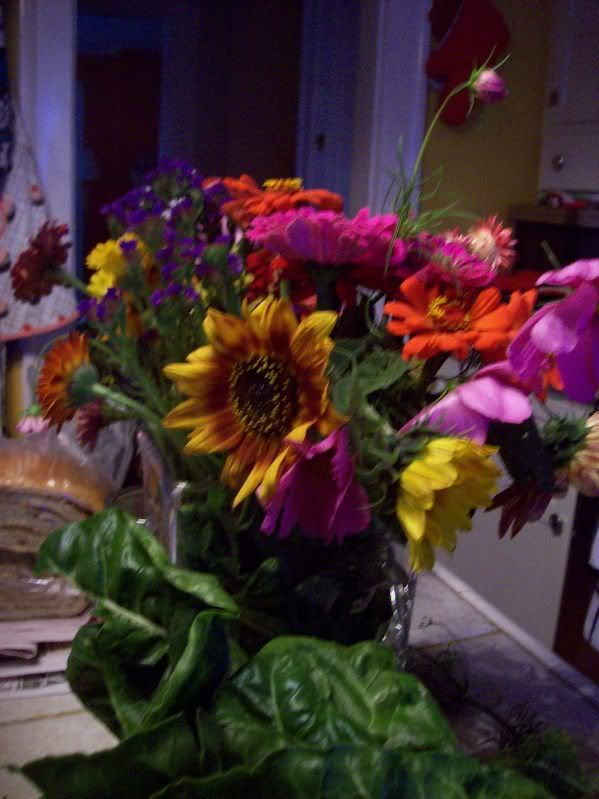
Some great flowers

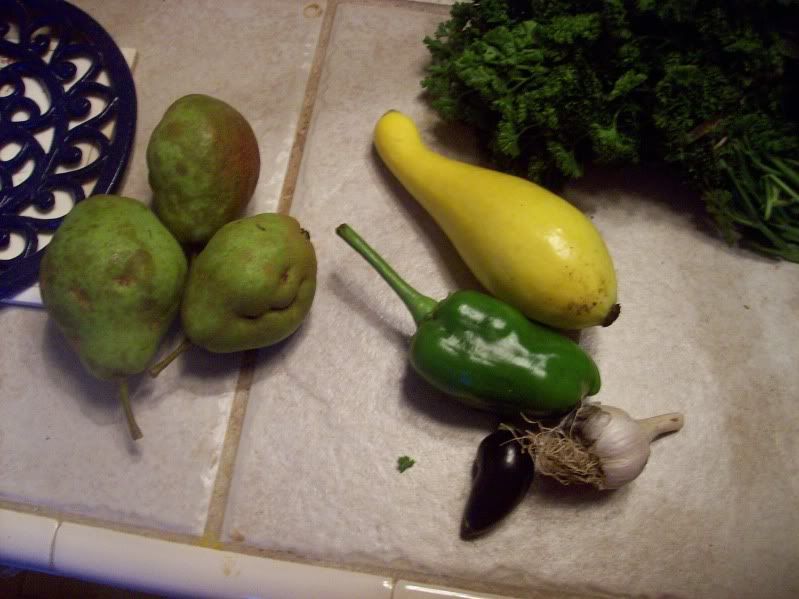
3 pears, a yellow squash, a green bell pepper, another little black hot pepper, and garlic
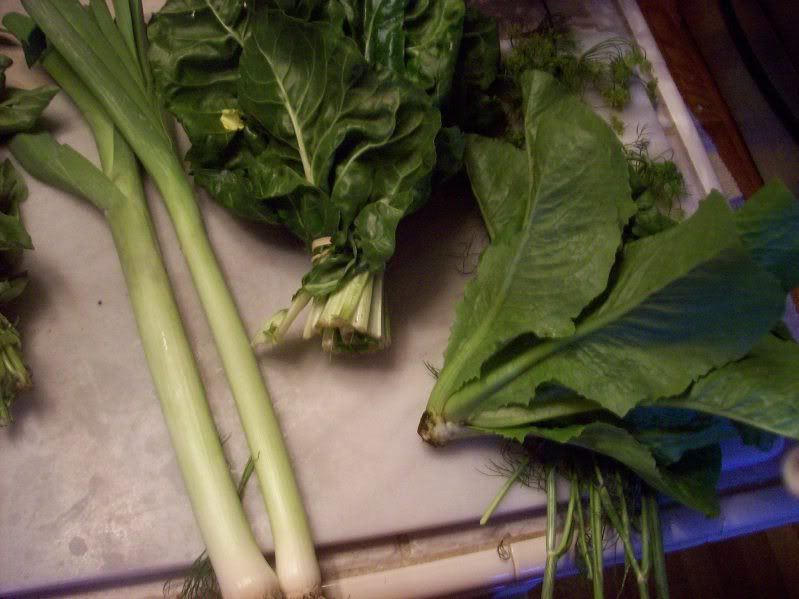
2 leeks, some chard and some romaine-like lettuce.
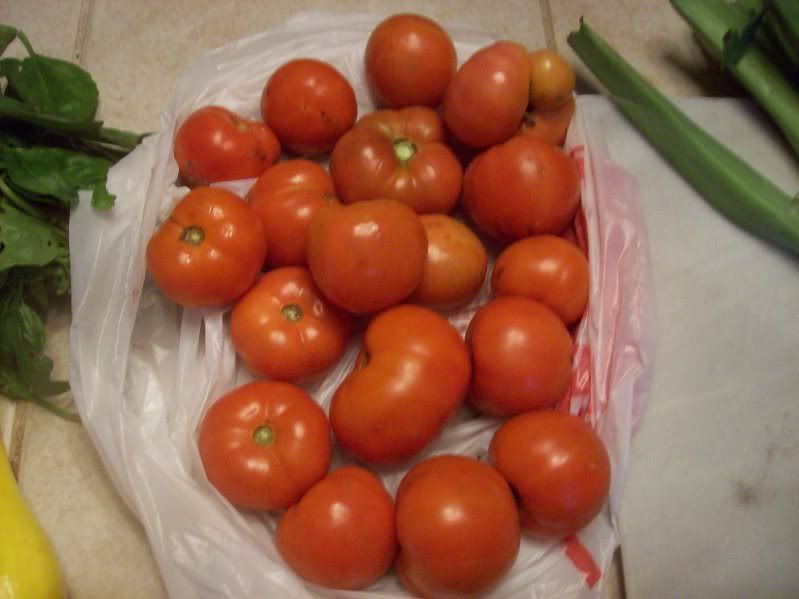
4 lbs of great-looking tomatoes!
and some salad greens
So, what did I do with it all?

The basil was used in 3 ways, which I hope to tell you about this week. Oven-dried tomatoes, delicious basil Sally Lunn buns, and basil ice cream. I froze the parsley and dill for later.

The lettuce and greens turned into salad. The leeks, squash, peppers, pears and garlic are waiting, but I think the pears will turn into an apple pear pie or crisp.

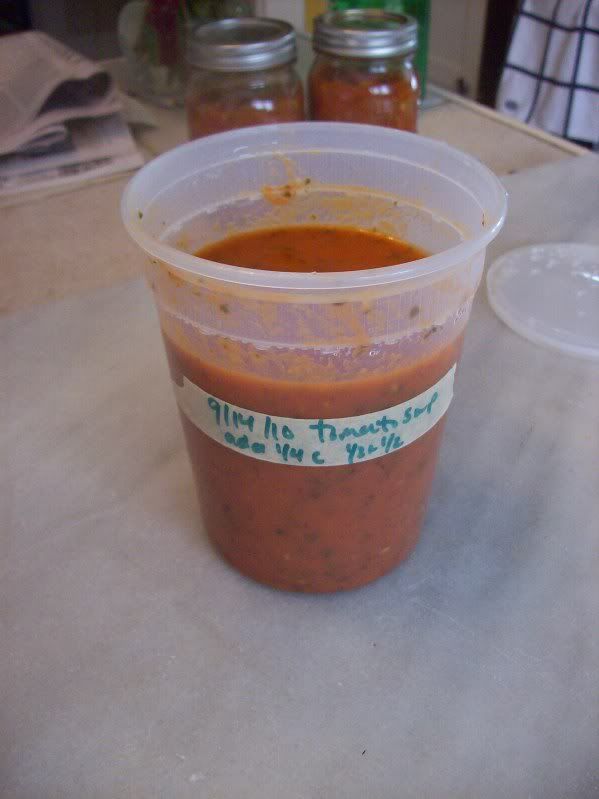
The tomatoes were combined with 2.5lbs of tomatoes from my cousin's garden and some became oven-dried tomatoes, some went into a pork posole (which is simmering on the stove right now) and the rest became this really tasty tomato soup, half of which we froze, and half of which never even made it to the freezer, since my husband, unbeknownst to me, really likes tomato soup. I totally thought this was my soup, but I'll just have to make more!
Roasted Tomato Soup
adapted from Cook Like a Champion

When I made this, half of the tomatoes were actually roasted using Molly Wizenberg's recipe, which is to halve the tomatoes, sprinkle with cumin and roast at 200F for 6 hours.

1.5lbs Molly Wizenberg-roasted tomatoes, see above
1.5lbs fresh tomatoes, halved
6 cloves garlic, peeled
1 medium onion, quartered
olive oil
salt and pepper for seasoning
4 cups (1 quart) chicken stock (I used 2 cups homemade chicken stock and 2 cups water)
2 bay leaves
pinch of chipotle pepper flakes
1/4 cup basil leaves, chopped
1/2 cup fat free 1/2&1/2

Roast the fresh tomatoes: place skin side down on a foil-lined (easy clean-up), sprayed cookie sheet, arrange onions and garlic among tomatoes. Drizzle all with olive oil, season with salt and pepper. Roast at 450F for 30 minutes. Remove from oven, transfer to a large pot and add stock, bay leaves and pepper flakes (I added the Molly Wizenberg tomatoes here).

Bring to a boil, reduce to a simmer and simmer for about 20 minutes. Add basil leaves and cool. Remove bay leaves and puree soup in a blender. Return to the pot and heat through.

If serving now, stir in 1/2&1/2. (I let the soup cool in the fridge overnight and then planned to freeze the next day, but Clint got to it first.) I added a splash of 1/2&1/2 when heating up each serving to eat.

I've made things with roasted tomatoes before, and the roasted flavor can sometimes really overpower the rest of the dish. That doesn't happen with this soup. It's fresh-tasting but has a little extra zing from the roasted tomatoes. This soup is great garnished with some garlic croutons, or eaten with a slice of toasted rye bread.

Sunday, September 19, 2010

CSA #13

Wow, I'm behind! When I got my snazzy new computer, which has its own little SD card slot, so I don't have to mess around with extra cords, I thought I'd upload my photos instantly and blog promptly and often. But... life still gets in the way. And I still have to upload all the photos to photobucket, which is slow on our DSL.

Anyway, on September 8th, week #13 of the CSA, we received the following:
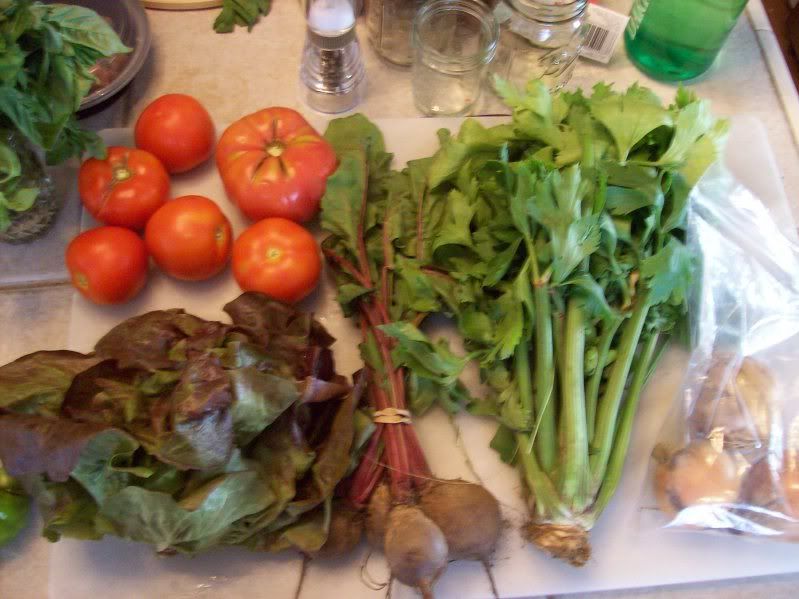
3 onions, celery (first time for that!) beets, red leaf lettuce, tomatoes,

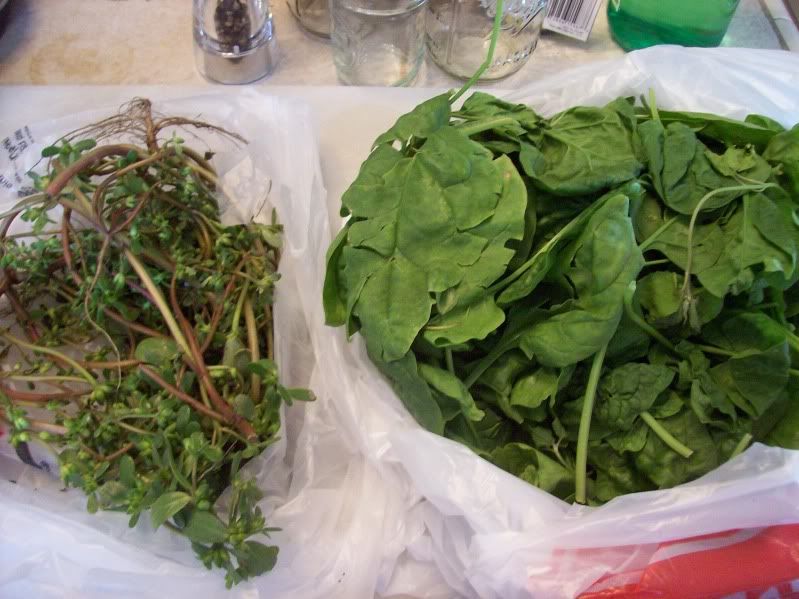
8oz spinach, purslane,
flowers, a big bunch of basil, 3 pears, and (not pictured, not sure what happened to that photo!) a big green stripey squash, 2 small yellow squashes, 2 cucumbers, a small black hot pepper, a green bell pepper, and 3 pears.

What did I do with it all? The tomatoes turned into one last batch of salsa (using 2 habeneros, but I wish I'd also added in some jalapenos and/or chipotle- it was a decent amount of spicy (could have been hotter) but the spiciness was very 1 dimensional and uninteresting.). The lettuce became lots and lots of salad, as did the cucumbers, some of the basil turned into salad dressing (which was pretty good, although rather heavy on the mustard flavor), and the squashes got steamed and were eaten plain.

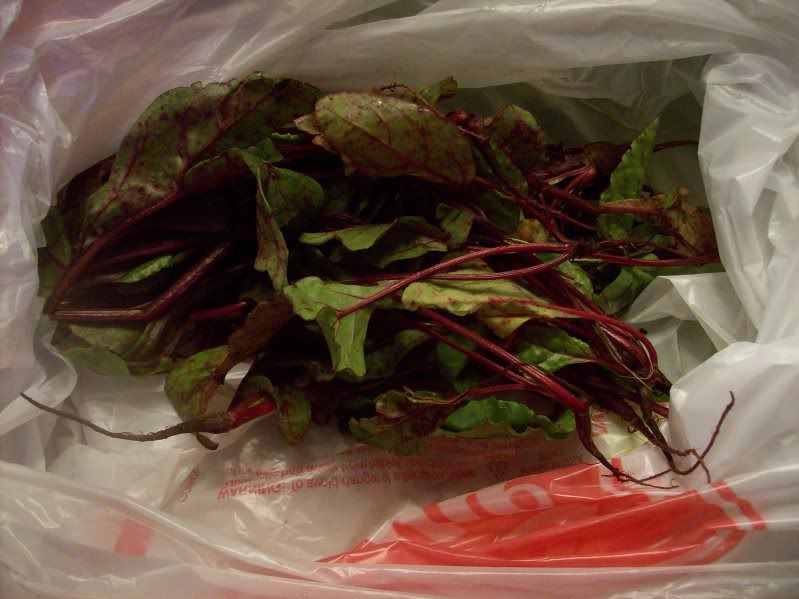
The beets turned into the beet puree I mentioned in the last post, and I unfortunately failed at saving the greens :(, I just didn't act quickly enough.

I sauteed the spinach for dinner just last night (for the most part, the food from our CSA has a much longer shelf life than grocery store veggies- once we figured out how to properly store it! The carrots are the only thing that don't last as well, a couple weeks in the crisper turn them very floppy. However, these are the most carroty-tasting carrots I have ever had, so the shorter shelf life is worth it.).

Sauteed Spinach
Ina Garten's Recipe, reduced for our 8oz of spinach

8oz spinach, washed
1T olive oil
2 cloves garlic, sliced thinly
1/2t salt
3-4 grinds black pepper

Wash the spinach, dry it a little, it doesn't need to be super dry. In a large pot, heat the olive oil and garlic over medium-high heat, cook for a few minutes but don't let the garlic brown. Add the spinach, salt and pepper, stir and cover pot. Cook 2 minutes, then uncover and cook 2 minutes more. Serve immediately. Optional: add a dash of lemon juice and a pat of butter when transferring to serving bowl (we didn't, it was fine without).

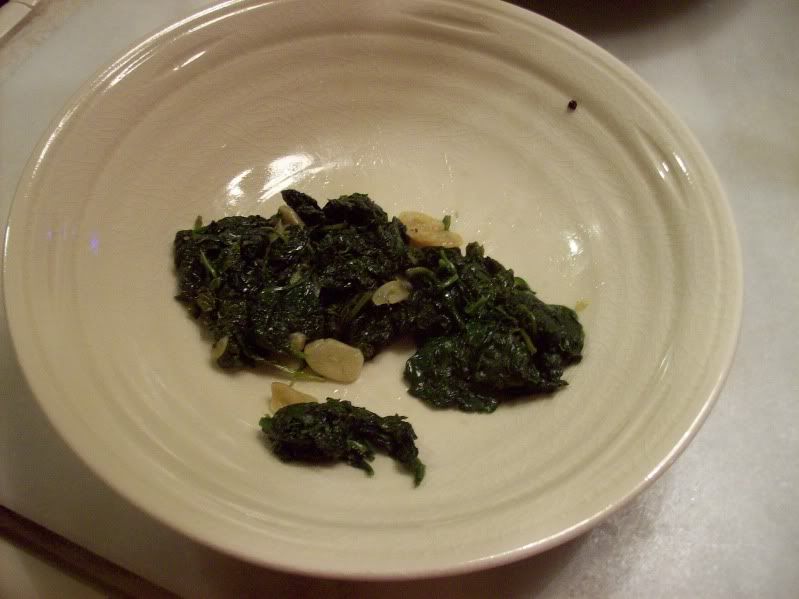
Ever wonder how much spinach reduces?
Before:
After:
And that was supposed to serve 3 people. Oops! I should have added in some chard or beet greens.

Friday, September 17, 2010

Bears. Beets. Battlestar Gallactica.


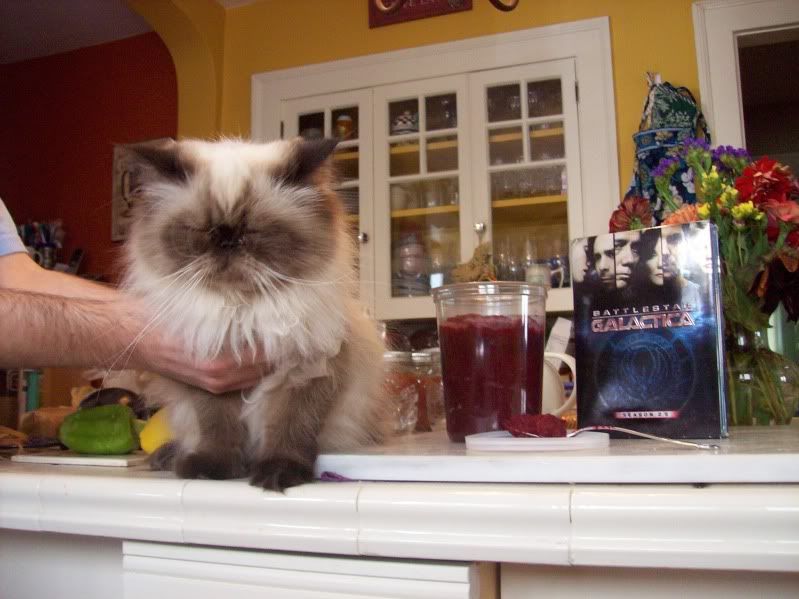
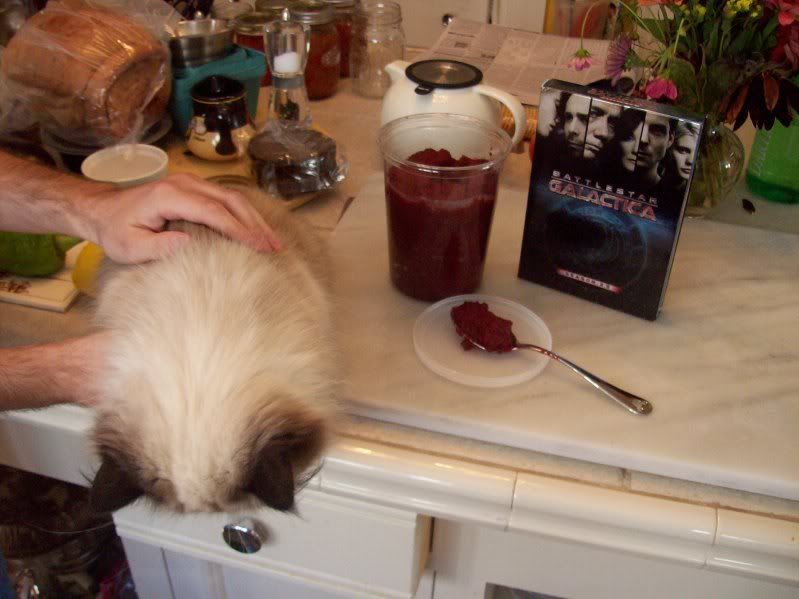
As much as I love the corny title, this was my husband's idea. And yes, we realize that that's not a bear, it's Tiny Kitten, but it's close enough.

We had to photograph quickly, Miss Tiny was not pleased to be up so high. One funny bit about her: she lives in a 2-dimensional world. She really has to be coaxed to even look up, and she doesn't like to go higher than chair-height (unless I'm making her fly, when she looks around with great interest before my arms get tired and I put her down). She spends most of her time on the ground, or on a box 3-6 inches above the ground.
All summer we've had a ton of beets. I buy them, mom buys them, the CSA has had a bumper crop of them this year. I'm the only one that eats them, and I pretty much just eat them the same way every time: boiled, peeled, sliced, topped with chevre, honey and black pepper and heated in the oven. It's good, but it gets boring. I've tried other ways, but they're not that exciting. So when I saw this beet pizza crust recipe on taste spotting, I was pretty darn excited. When I tasted it, I was even more excited- it's really good.

Beet Pizza Crust
from (Never Home) Maker

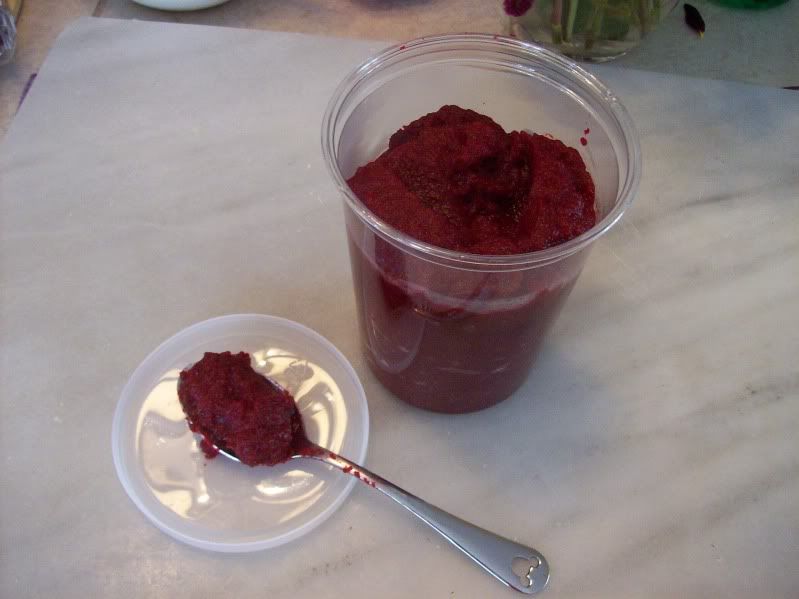
First, make beet puree.
I used fresh beets, but canned are fine and are probably easier. I, um, don't remember how many beets I used, but I'd say 2 really big ones, 3 or 4 regular-sized ones, and several tiny ones.

1a (fresh beets). Wash beets, cut the greens off (save and cook as you would chard) (and maybe cut any enormous beets in half). Place in a large pot of water and bring to a boil. Boil about 45-60 minutes. Remove from water (but don't discard the water yet) and when cool enough to handle, simply rub with your hands to remove the skin.

1b (canned beets). Open the can. (easier, but so not as tasty)

2. Puree. Dump the beets (without liquid) in a blender (cut the larger ones into chunks), add some of the cooking water (or canning liquid) and puree. For about 3cups of pureed beets, I used about 3/4 cup of water, just enough so that my blender could blend.

3. Store the puree in the refrigerator (or freezer) until you use it up.

Now, to the pizza dough!

1 cup warm water
1 T active dry yeast
Combine the bowl of your mixer (or any bowl, if you're doing this by hand), let the yeast wake up, about 10 minutes.

Then add:
2 T honey (but I'd do 1T next time)
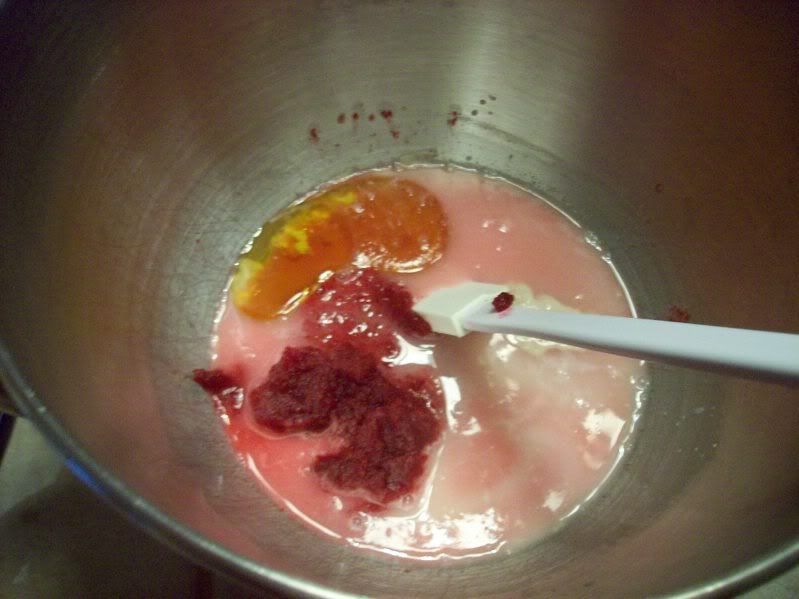
1/2 cup beet puree
1T olive oil


Mix til combined (I used the paddle on the mixer)

Then add:
1 and 1/2 cups whole wheat flour
1 and 1/2 cups all purpose flour


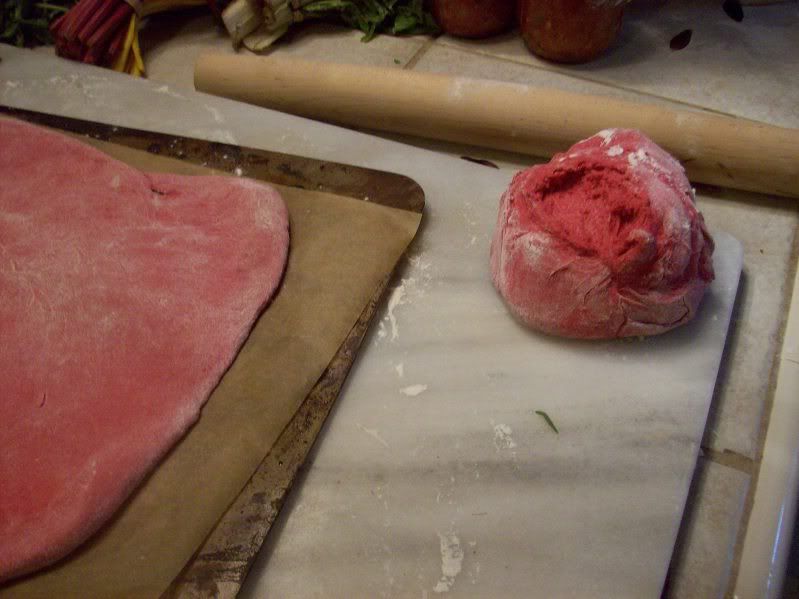
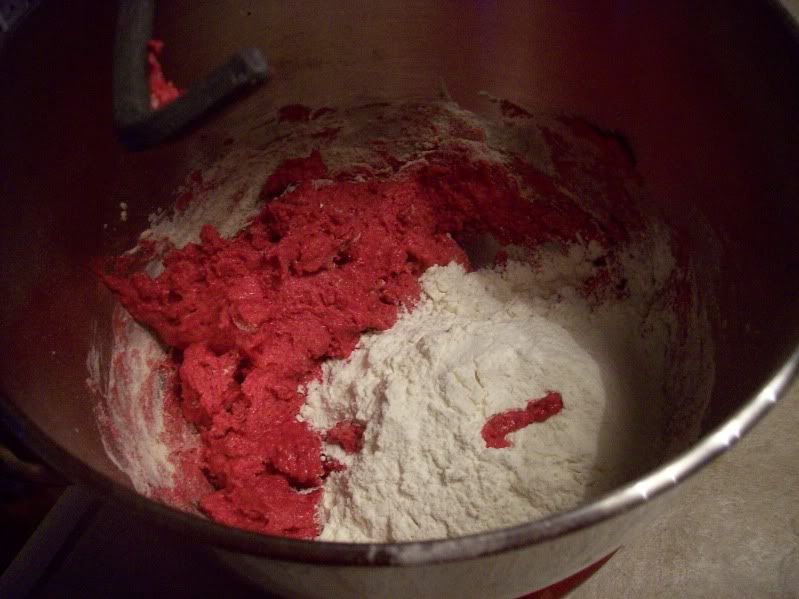
Mix to combine. Giggle gleefully over the awesome pink color (sadly, I did not photograph this, but my shirt just happened to match the dough nearly perfectly. You are what you eat!).

Add 1- 1 and 1/2 cup flour more, until the dough is workable. I found the dough to be fairly soft and sticky (but not overly so) after adding 4 and 1/2 cups flour total. Note: the original recipe called for 3 and 1/2 cups bread flour. Knead (in the mixer or by hand) for a few minutes, 5-7? I did it until I got bored.

Lightly oil the bowl, let the bread rise for 1-2 hours. When ready, divide dough in two or three pieces, depending on how big you want your pizza (half the dough gave me a 16 inch pizza), and roll out into a somewhat circular shape. Freeze the remaining dough (wrapped in plastic wrap) if not using.

Now, assemble the pizza!

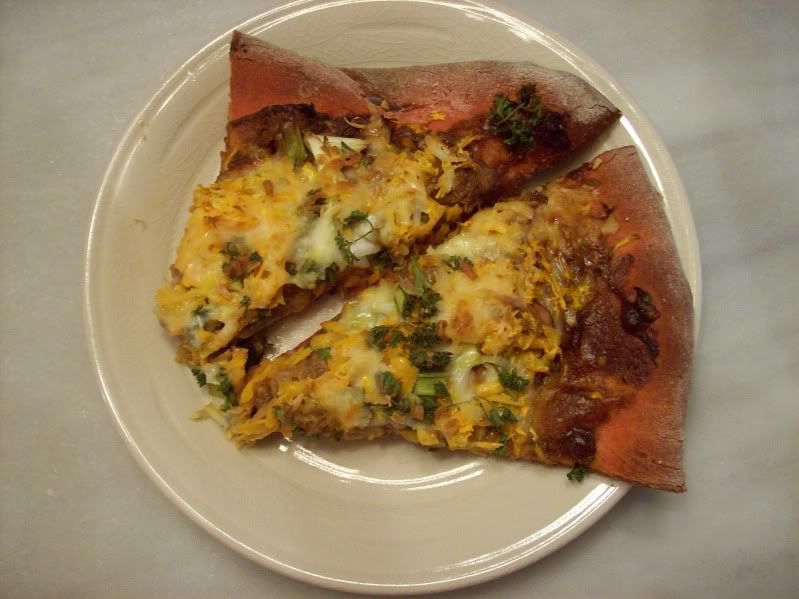
CPK Thai Chicken Pizza (a copycat recipe, not exact but still tasty)

Pizza Sauce*:
(this makes enough for 2 16 inch pizzas. I made one pizza and have the leftovers waiting for the second)
In a saucepan, combine:
1/2 cup peanut butter (I used smooth, but I can imagine chunky being nice)
1/2 cup hoisin sauce
1 T. honey
2 t red wine vinegar
2 t grated ginger
1 T sesame oil
2 t soy sauce
1 t chili sauce (I used some random "chili and garlic sauce" I had, but I think sriracha would have been better- see *)
1 T oyster sauce
2 T water

Bring to a boil over medium-high heat, then boil 1 minute. Set aside.

*it's called "spicy peanut sauce". It's not spicy at all, not one bit. I should have used sriracha.

Additional pizza toppings (for 1 pizza):
1 carrot, grated
2-3 scallions, cut on the diagonal
1/2 cup bean sprouts (I omitted, we didn't have any)
1 cup mozzarella cheese
1-2T cilantro
2T cup roughly chopped peanuts
6oz chicken, see below

Chicken:
Use leftover chicken (I used the meat from about 1-1.5lbs of legs and thighs that I'd used recently to make crockpot chicken stock. The chicken was cooked in a crockpot for 24 hours along with water, onions, carrots and various herbs. The meat was picked off the bones and saved.), the meat from a rotisserie chicken or stir fry some meat (white or dark, whatever) cut into small bite-sized chunks.
Combine about 6oz chicken with 1/3cup of the above pizza sauce. If you use leftover chicken, it might take on a pulled-chicken appearance, this is fine. Chunks of chicken might taste better, but chicken is chicken.

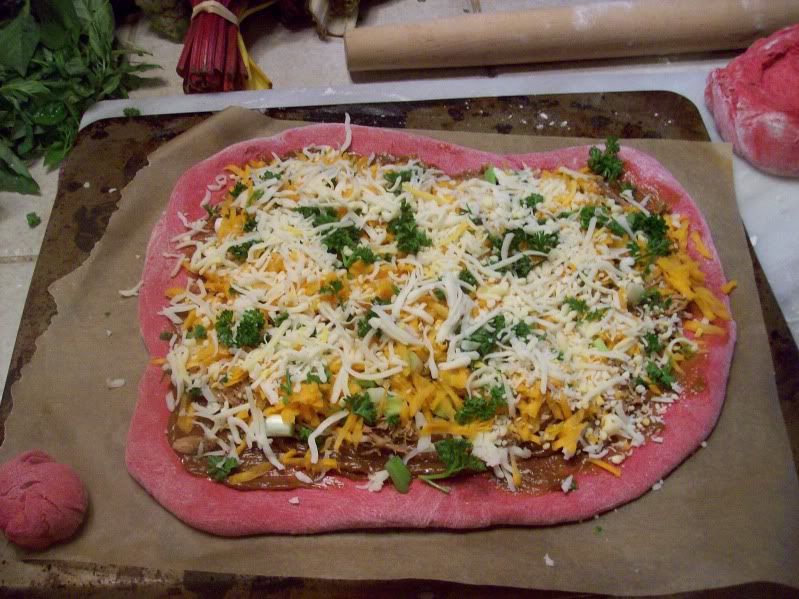
To assemble the pizza (it does look bizarre with these non-traditional colors):
Roll out the dough. Place it on a baking sheet or on a pizza peel if you're using a pizza stone (our pizza stone was too small for this :( ). Spread about 1/3cup of the pizza sauce all over the pizza. Add chicken, then carrots, then scallions, then bean sprouts, then cheese, then cilantro and peanuts. Bake about 450F for about 25minutes.

This pizza dough is really soft, very different from the crusts I've been making lately. I loved it. Despite the awesome vivid pink color, the beet flavor is very faint but undetectable when you eat it with toppings. I can't wait to make this again. The developers of this recipe have also made pumpkin pizza crust, and you know I'm just itching to try that one next- especially since they used it to make pumpkin garlic knots. Oh my!

I'm eager to experiment with other purees- apple pizza dough, perhaps?

Tuesday, September 14, 2010

Zucchini, and more zucchini

And new ways to use it up!

As a snack, app or side dish:
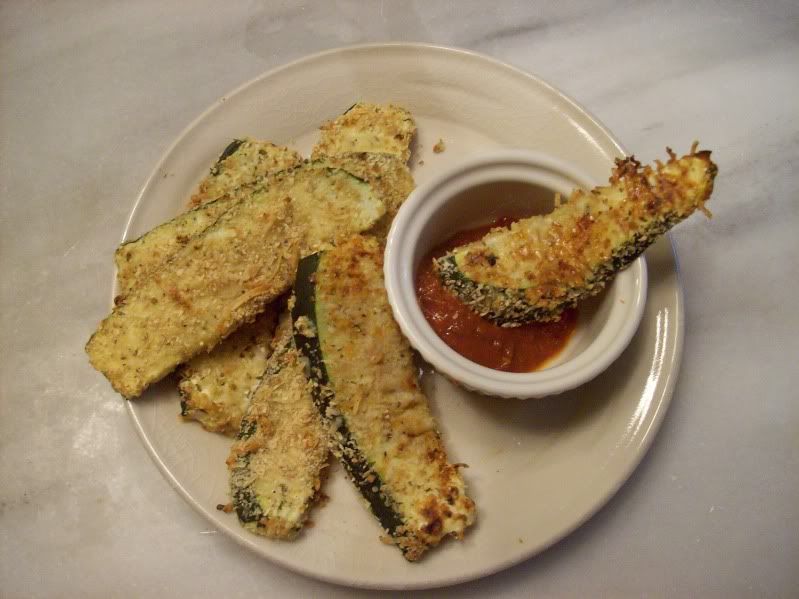
Parmesean-encrusted Zucchini Wedges
from Savoring the Thyme (found from Tastespotting.com)

1/2 cup seasoned breadcrumbs (i.e. plain breadcrumbs plus whatever herb/spice mix you like- I used 1 t Penzey's Sunny Paris)
1/4 cup parmesean cheese
pinch of salt
dash or two of pepper
Combine all in a shallow bowl.

2 eggs, beaten
Place in a second shallow bowl.

1 large zucchini, cut into steak fries-sized wedges

Preheat oven to 450F (note: this is also the temperature for baking pizza, so... this was our side dish for a home made pizza dinner :) )

Assembly: Dunk the zucchini wedges into the egg, then the breadcrumb/parm mixture. Make sure each wedge is nicely coated with the breadcrumb/parm mixture, then arrange on a baking sheet. Once all are coated and on the sheet, bake at 450F for about 25-30 minutes, until zucchini is softened, but the coating isn't burned.

We served with a small bowl of leftover pizza sauce (going with the idea of mozzarella sticks dipped in marinara), rather than the parmesean cream sauce the original recipe suggested. We reheated leftovers in the oven, but they didn't crisp up the way they did when they were fresh- I'd only make as much as you plan to eat.


And zucchini as breakfast or dessert:
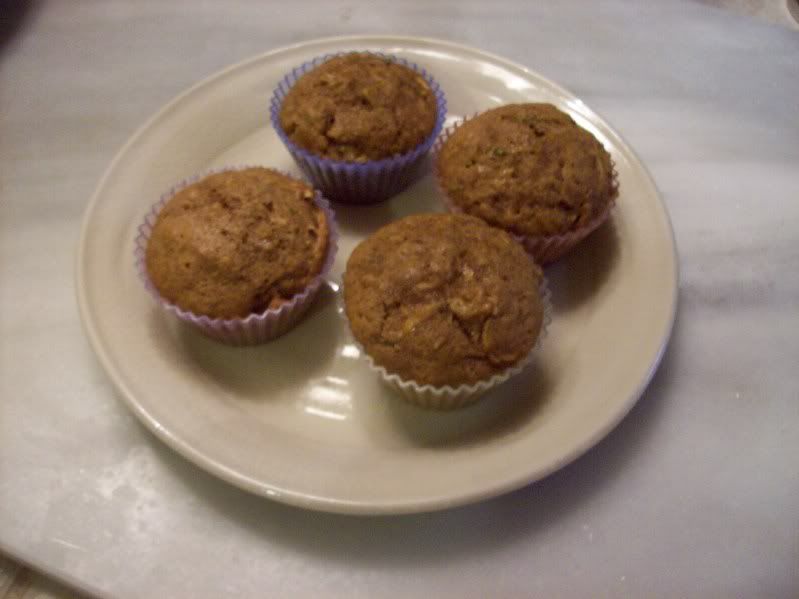
Zucchini Spice Muffins
adapted from Martha Stewart Cupcakes via Big City Cooking
2 cups whole wheat flour 1 cup all-purpose flour
1 t baking soda
1/2 t baking powder
1 t salt
2 t ground cinnamon
1/2 t nutmeg
1/4 t ground cloves
Whisk all the above together, set aside.

2/3 cup vegetable oil
2 eggs
Beat together in the bowl of mixer. Add:

2t vanilla
3/4-1 t grated lemon zest
2 cups brown sugar
Beat. Add:

3 cups packed grated zucchini (about one very large and 2 small, and I used a mix of zucchini, summer squash and that striped green squash we keep getting))
1.5 cups chopped walnuts or pecans (optional, but they'd be really good)
Stir til combined.

Whisk in the dry ingredients, fill muffin tins (I used my new individual silicone muffin wrappers, which worked really well) about 2/3 full. Bake in a preheated 350F oven for about 20-25 minutes. Store in an airtight container for a few days, put in the fridge if you plan to keep them around longer. My unrefrigerated muffins got moldy after 6 days.

Remember, cupcakes have frosting, muffins don't. You could easily turn these into zucchini spice cupcakes with the addition of cream cheese frosting, if you'd rather eat them for dessert.

Friday, September 10, 2010

Lord of the Fries

You have no idea how excited I am by this corny title.

Anyway. Last night, for the first time ever, and maybe for the first time in the history of my family (I might be exaggerating, but it's feasible), I deep-fried something.

Does that seem odd? Remember, I grew up in puritan-land Connecticut, where everything is boiled or roasted. We go for pure, unadulturated flavors of the food, which, in the case of a clam bake, is phenomenal, but in the case of chicken... is a little dull. I've heard stories about how my mid-western dad's family was shocked and horrified at learning that my mom, his new wife, had no idea how to fry chicken. How can you be a good wife if you can't make your hard-working husband some fried chicken? I know how- by not clogging his arteries! (honestly, I don't really even like fried chicken).

So what happened to make me deep fry something?

It all started with an eggplant.

We got this cute, little (medium sized?) 3/4lb eggplant from the CSA last week. It was a lovely little eggplant. However, I'm not such the eggplant fan, and I'd never actually cooked one before. As I tried to decide how to prepare it, somehow the idea of tempura popped in my head (mostly because I saw a recipe for eggplant fritters that didn't excite, but frying an eggplant was intriguing), and after spending literally 2 minutes looking for a tempura recipe, it was obvious that tempura eggplant was going to happen.

Veggie Tempura
not really a recipe, just a cooking method

Ingredients:
Tempura batter:
1.5 cups seltzer or club soda (I actually used lemon seltzer, I thought it was all I had, but the lemon flavor is so faint that it was fine)
1 cup flour

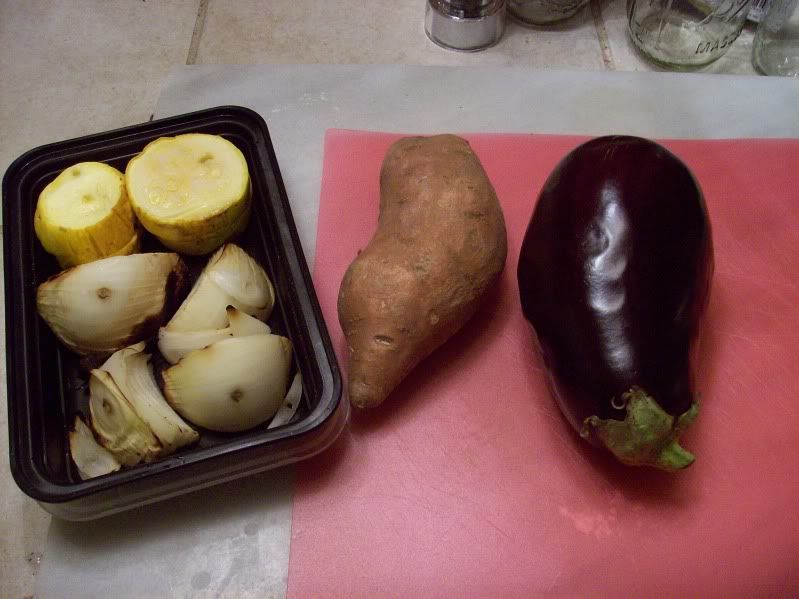
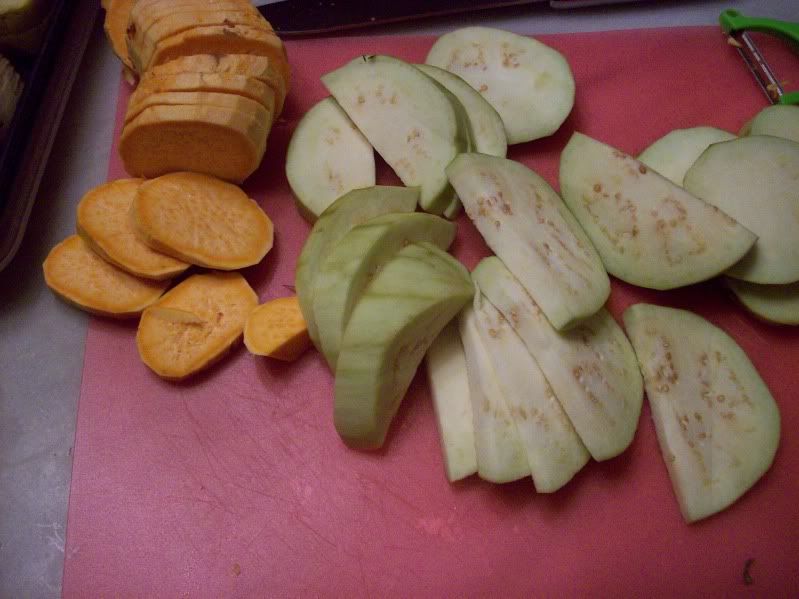
1 medium-ish eggplant (just under 1lb), cut into 1/4-1/2 inch thick rounds and half-rounds, depending on how wide the eggplant is
1 medium-large sweet potato, cut into thin rounds
1/2 vidalia onion, cut into wedges and pulled apart so all pieces are 1-2 layers of onion (although perhaps next time I will just cut into thick rings)
Oil, for frying (I used about 3-4 cups of canola oil- enough to get about 2-3 inches of oil in my pot)
Dipping sauce, recipe follows


Combine the seltzer and flour, whisk a bit but not much (lumps are fine), and chill for 30 minutes (I left it uncovered). Stir again after chilling.

Cut the veggies, have them ready to go.

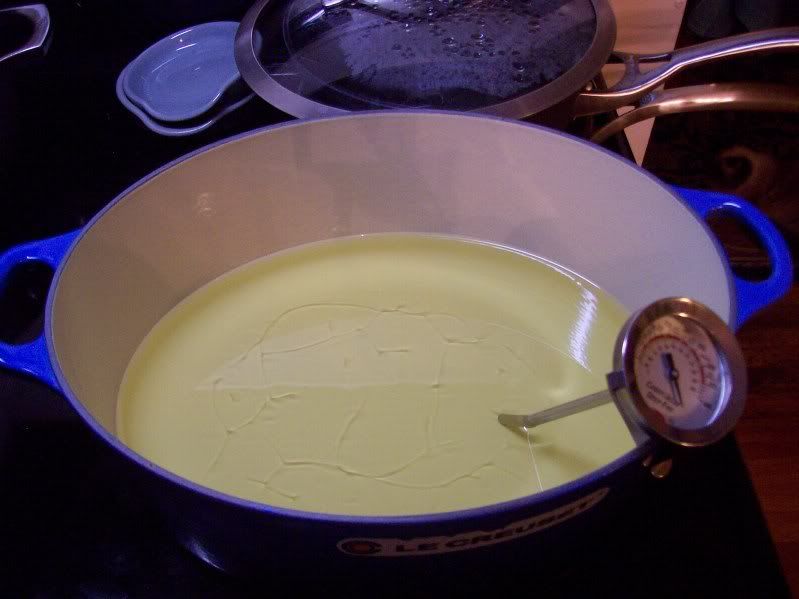
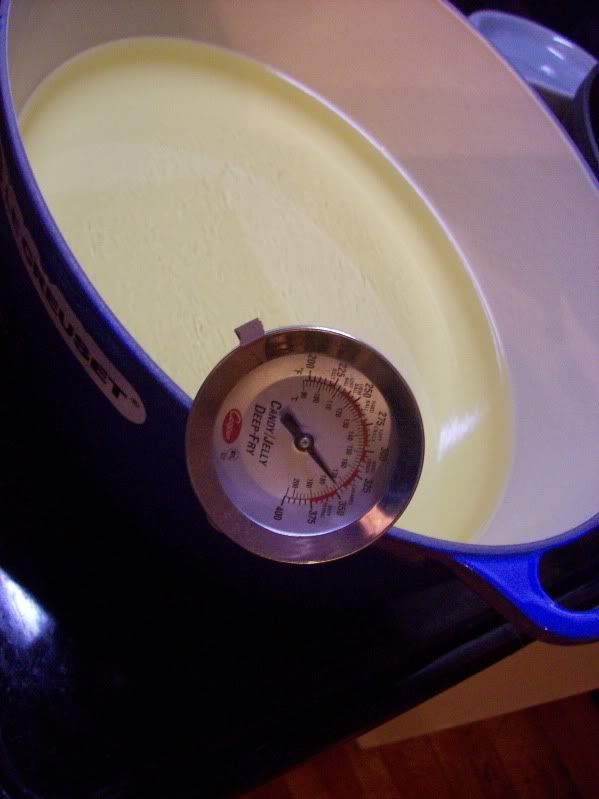
Pour the oil in a large pot/dutch oven, add your candy/frying thermometer, and turn the heat to high. You'll want to try to maintain about 350F while frying, which for me, required a fair amount of adjustment (lowering the heat). Just keep an eye on the thermometer as you go, you don't have to be super precise.


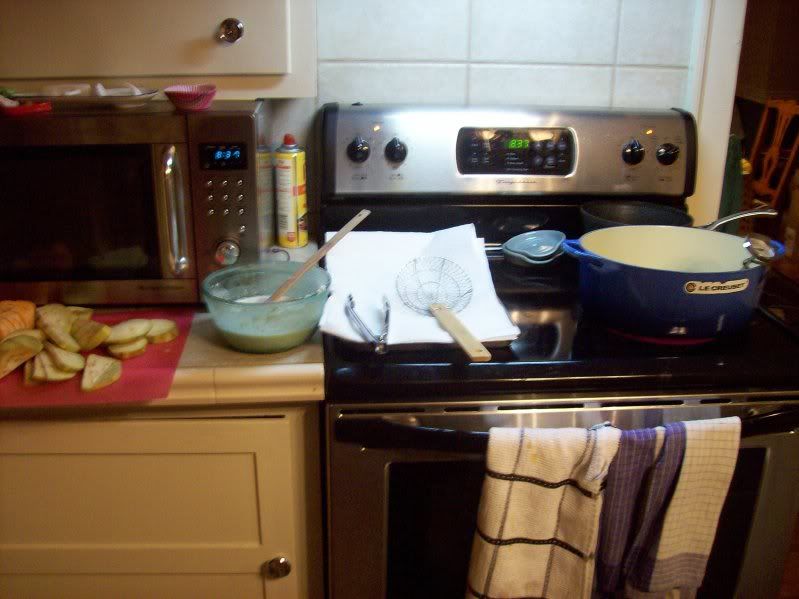
Set up your work station.
From left to right: I arranged my cut veggies and set them next to the bowl of tempura batter. Next to that is a cookie sheet lined with paper towels (4 sheets thick). Not pictured on the island is a second paper towel-lined cookie sheet. I had my tongs and spider (never before used to its intended purpose!) ready to use, and my 6 3/4 qt dutch oven with oil and a candy/frying thermometer over high heat. I had everything all set to go before I started frying (I started heating the oil, and then assembled the rest of the work station).

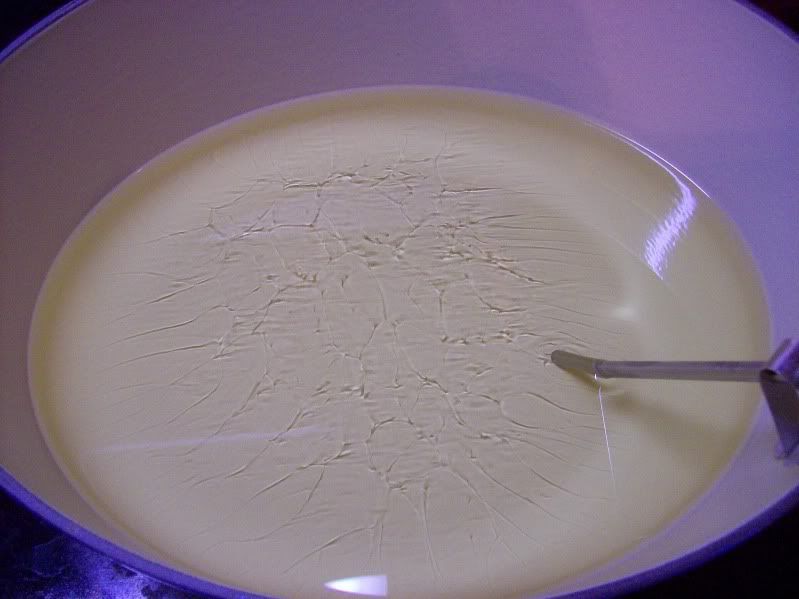
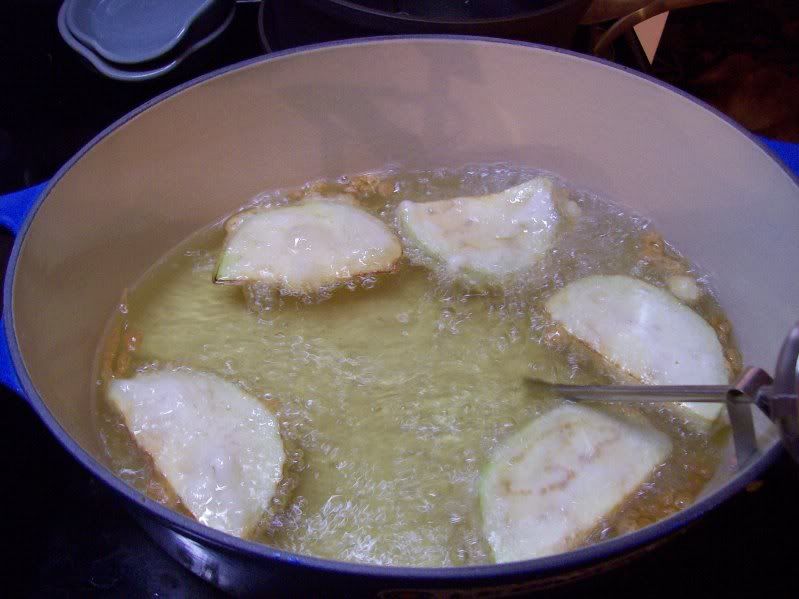
Hot oil terrifies me, but aside from the crazy bubbling as soon as I put the battered veggies in, it was perfectly fine. I wore my apron and tied my hair back, but I didn't feel the need for safety goggles (I work in a lab, you know I have extra pairs lying around). The oil does make some cool swirly patterns as it heats.


Ok, the veggies are cut, the batter is ready. The oil is just about at 350F. My method:
I fried about 6 pieces at a time- you don't want to crowd the pot, that will interfere with frying by lowering the temperature too much (cold batter/veggies + hot oil= not quite as hot oil). Note: I did find that adding the veggies made the temp shoot up, which we attribute to the veggies causing the oil to move around more and disrupt the likely hot/cold pockets that were in there earlier. I should have stirred the oil a bit during heating. I dunked the veggies in the tempura batter (dunk one, coat, dunk the next, coat, etc, so that all in the batch are in there together), then transferred them one by one with the tongs into the hot oil. I fried about 2-3 minutes per side, flipping with the spider. Once they were done, I scooped them out with the spider, allowed them to drain over the pot for a few seconds, then set them on the paper towel-lined cookie sheet.

While each batch was frying, I put the next batch of veggies in the tempura, so that when the pot was empty, I just had to take them out of the batter bowl and place them in the oil, and saved time by not having to dunk them in the batter.

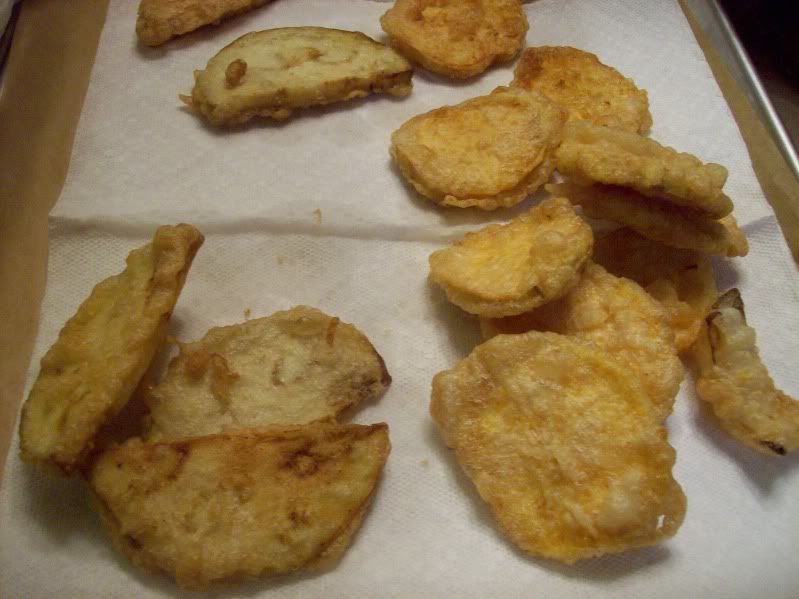
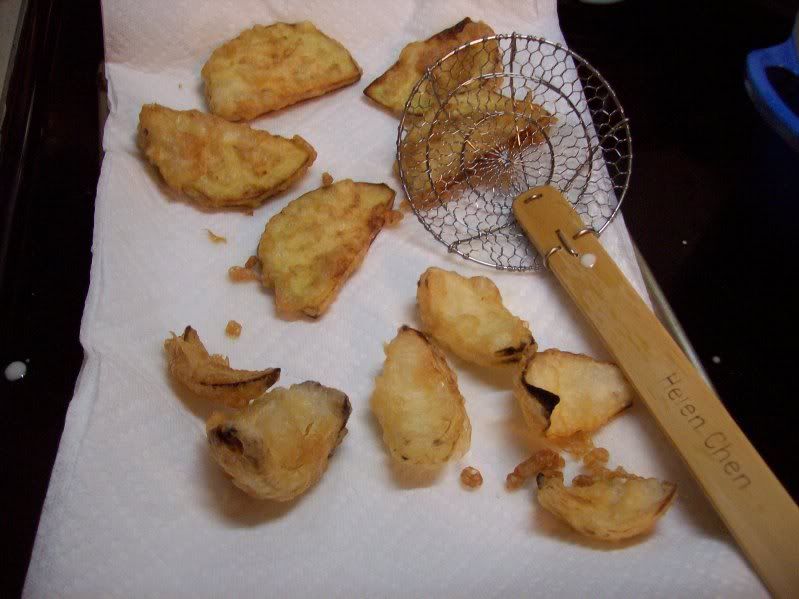
Once the fried veggies had been on the paper towel for about 4 additional batches (and were cool enough to touch/eat), I transferred them to the second paper towel-lined cookie sheet. I mostly did this to try to drain off more oil.

The whole process, for all the veggies mentioned above, took about an hour, from making the tempura batter, chilling it, cutting veggies and frying. The frying itself took about 25-30 minutes. The amount of tempura batter I made was perfect for the amount of veggies.

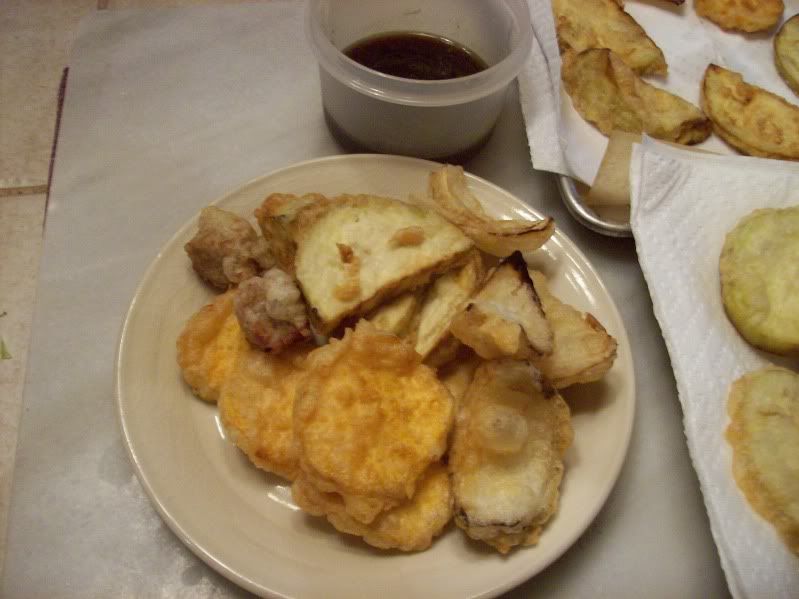
Now, on to the taste. Recall, I've never fried anything before. And who really knows how fresh something is at a restaurant? Well, I ate as I fried, so my tempura eggplants were as fresh as can be without burning yourself. They were good. They were crispy on the outside, soft and warm on the inside, and with the dipping sauce, had a really great flavor. They totally rivaled the tempura at any of my various favorite Japanese restaurants. I am absolutely frying eggplants again.

This made far more tempura than I could eat in one evening, even as my meal. Fortunately, tempura reheats pretty well in the oven. Simply preheat to 350F or whatever temp your oven's already at, line a cookie sheet with either paper towel or if that seems like a bad idea, parchment paper, and spread the tempura over the sheet. Bake about 15 minutes or until they're nice and hot and crispy. Don't microwave tempura. It's a very foolish thing to do.

ps. I also got a little crazy and tempura-ed some leftover beef kebabs that had been marinaded in a sweet chili sauce and grilled so they had kind of a smokey, charcoal-y flavor, on top of the sweet chili marinade. I fried those for about 2 minutes total, and they were pretty good!

Notes:
Frying oil can be reused, most people say 3-5 times. I asked around, and have been advised to the following:
1. filter/strain the oil and store in an air-tight container. I'll keep it in the fridge, but the general foodie public seems to be split on cabinet vs fridge.
2. the oil will take on the flavor of what's in it. i.e., frying green tomatoes will give the oil a tomato flavor, which could be transferred to, say, potatoes. Just keep that in mind.
3. Don't reuse oil used to fry meat. It might be ok, but it's probably not worth risking. My plan is to fry veggies 3-4 times, and on the last use of the oil, fry meat, then discard.
4. Buy your oil at BJ's, Cosco, etc. It's much cheaper.
5. To discard your oil: do not pour it down the kitchen sink drain. Transfer it to an old bottle, cap, and throw in your trash. It can gunk up your plumbing. Or better yet, convert your car to use biodiesel and use the oil to drive to the store for more eggplant.

Easy Tempura Dipping Sauce
from Ming Tsai

1/4 cup soy sauce
1/4 cup + 1T white vinegar (I'd rather have used rice vinegar)
1/4 cup + 1T honey
1t wasabi powder
1t sesame oil (which I'd leave out next time, the tempura was oily enough without oil in the dipping sauce)

Mix all together, serve with tempura.
Thursday, September 2, 2010

CSA #12

And with that, we reach September. Where did the summer go? At least it's still oppressively hot, so we won't miss it too much.

CSA #12 brought us a nice stash, including one veggie I've never cooked before.
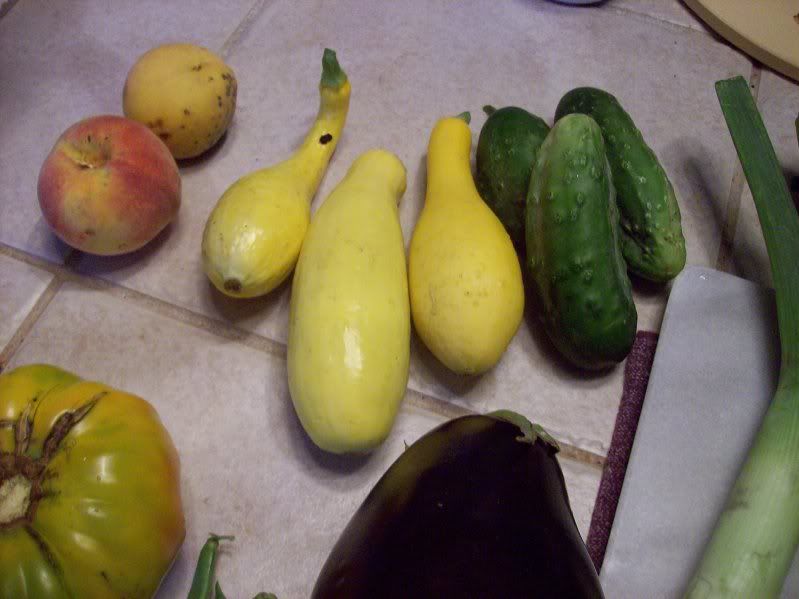
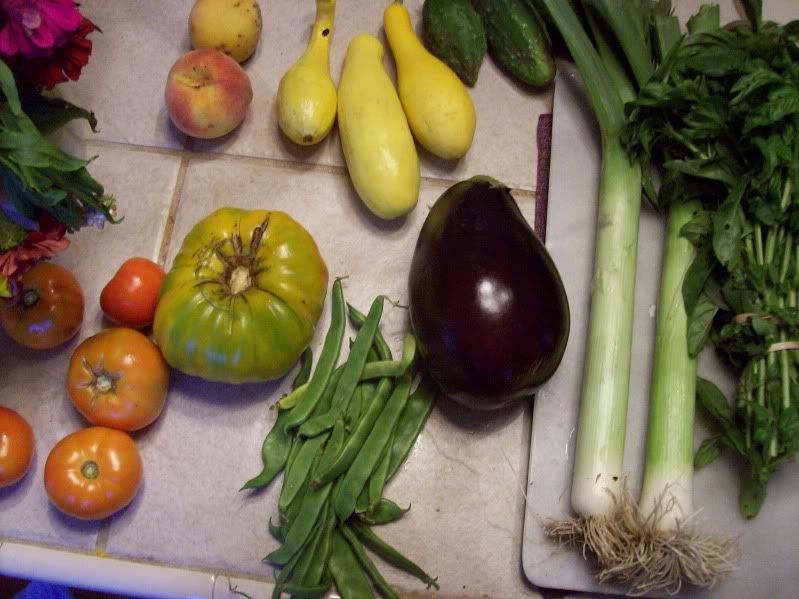
2 peaches, 3 summer squash, 3 cucumbers,
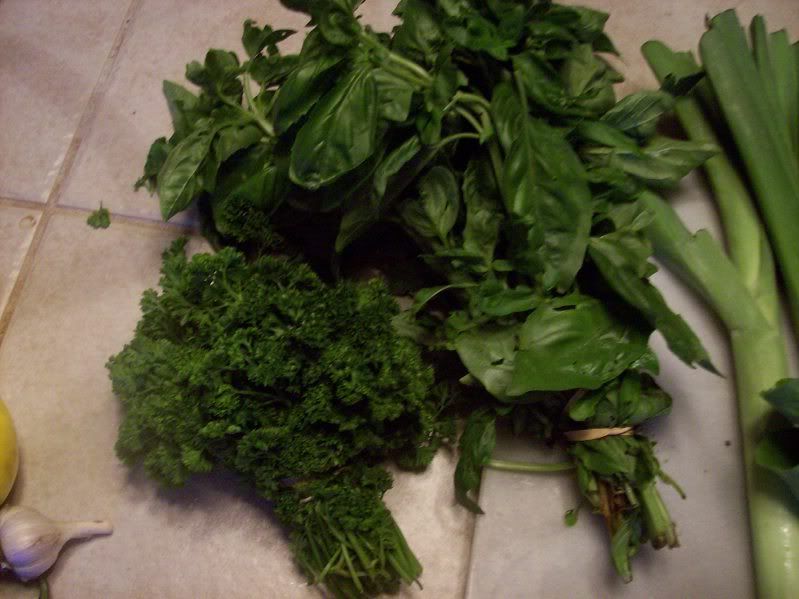
2 large leeks, basil, cilantro and parsley, 2 big beautiful heads of lettuce, some rainbow chard,
an EGGPLANT (oh my!), beans, and some awesome tomatoes,
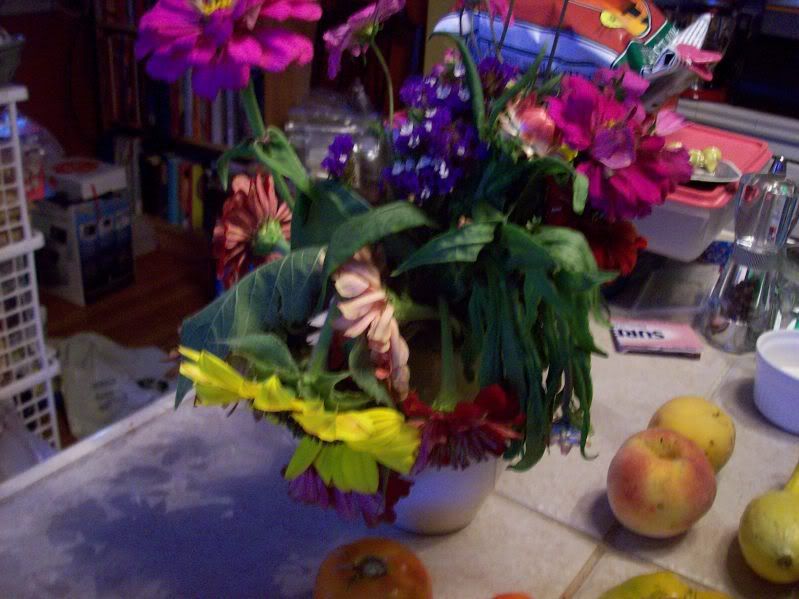
and flowers, which seem a little sad in this heat (it was nearly 100 here today, and apparently over 100 yesterday- poor flowers!)

What will I do with it all?

Well, salsa. I have to make more, of course! More pesto (which I haven't told you about yet, because I made and froze it, I haven't actually used it) with the basil and this time, with the chard. The lettuce is calling out "lettuce wraps!", the leeks will go in the crisper until chicken soup season begins, the squash we'll probably boil and eat, the peaches will be eaten plain, which leaves us with... the beans and the eggplant. I may freeze the beans, but I have no clue about the eggplant. I've never cooked an eggplant before, but I know there's quite the variety of eggplant uses out there, so I plan to have some fun with it.

Wednesday, September 1, 2010

I'm Never Buying Salsa Again

Why, you ask?

Because the salsa I made this week beats any other salsa I've ever had, and all I had to do was chop a bunch of veggies, throw 'em in a pot, and boil half an hour. That's it!

Remember when I had all those tomatoes? I turned 18lbs into tomato sauce, I made a few batches of gazpacho? Then my mom brought me 10lbs more. It ended up that this past weekend, I had just over 7lbs of tomatoes. I didn't want to make more sauce, at the time I'd just made a big batch of gazpacho that we were still working on, so I needed to find another use. And it dawned on me (or maybe Clint suggested it): salsa!

After a couple days of half-hearted searches, I found this recipe from Never Enough Thyme. Most salsa recipes are for eating immediately, and I wanted to preserve it.

Basic Salsa
from Never Enough Thyme

Since I pretty much copied her recipe exactly, and she has better photos than I do, I'll just point you to her blog for the recipe.

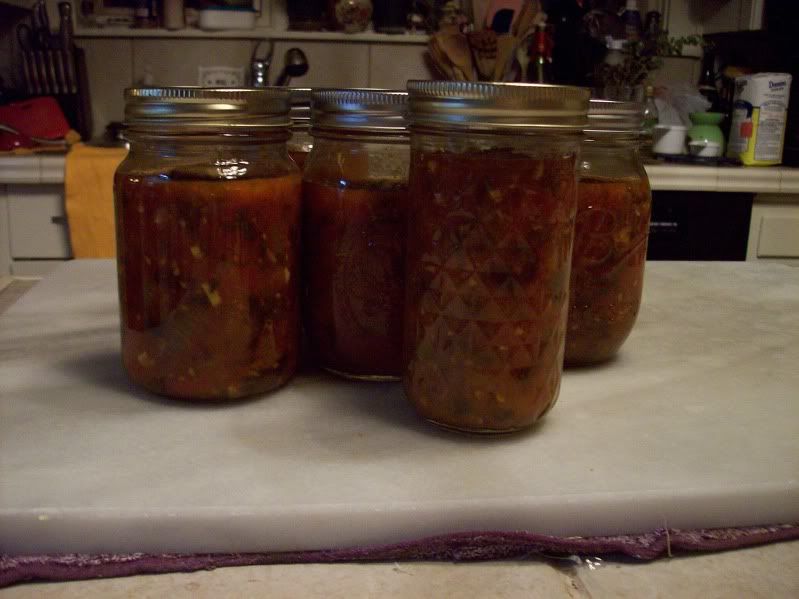
Essentially, you chop CSA tomatoes, CSA onions, jalapenos (I actually one 1 poblano pepper, since I had some I needed to use up), CSA garlic and sweet green pepper (which I skipped, this time) and throw it in a pot. Add tomato sauce (I used my homemade stuff!), vinegar (I used half red, half white), sugar, salt, cumin, CSA parsley and CSA cilantro (and I added 1t chipotle powder), and bring it to a boil, then reduce the heat to boil gently for about half an hour. And... that's it! Transfer to jars, process them (place in the giant pot of boiling water, bring to a rolling boil and boil 20 min, then turn off the burner and let it sit before removing the jars) and voila, salsa!